

These fixes run from a $10–18 cabinet-door organizer to a $25–40 rolling cart, and your measurements pick the winner, not your taste.
A cart about 17 inches wide needs a 17-inch corner, and a 5–6 inch fridge gap takes only a slim slide-out tower, so measure each spot before you spend.
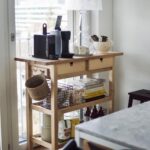
1. A Cart or Mobile Island
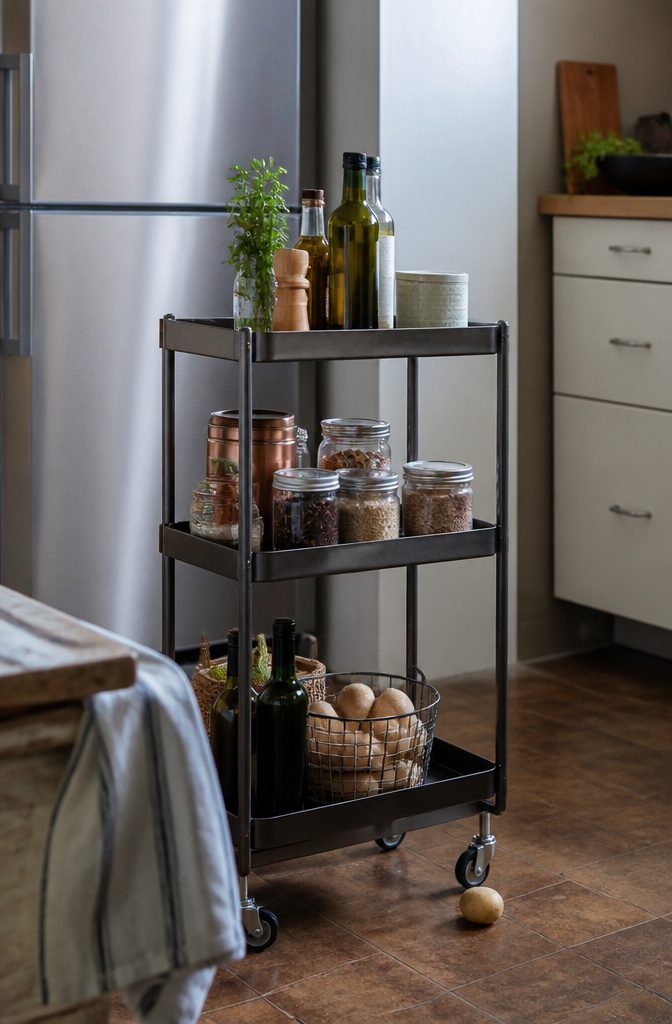
A three-tier rolling cart is the first buy.
Most are about 17 inches wide, so measure the corner or the gap beside the fridge before you shop. Put oils, spices and tea on top, tins and jars in the middle, and heavy bottles and potatoes on the bottom.
Metal frames are worth it, because cheap castors wobble under full tins. The EAGMAK 3 Tier Utility Rolling Cart is one to look at, and carts in this class run roughly $25–40.
The top also works as prep space. If your counter gives you only 12 inches, a cart that rolls out while you cook costs far less than a $400 island, and it moves with you to the next rental.
A cart plus one organized cabinet can hold a weekly shop for one or two people.
2. Freestanding Cabinet or Bookcase
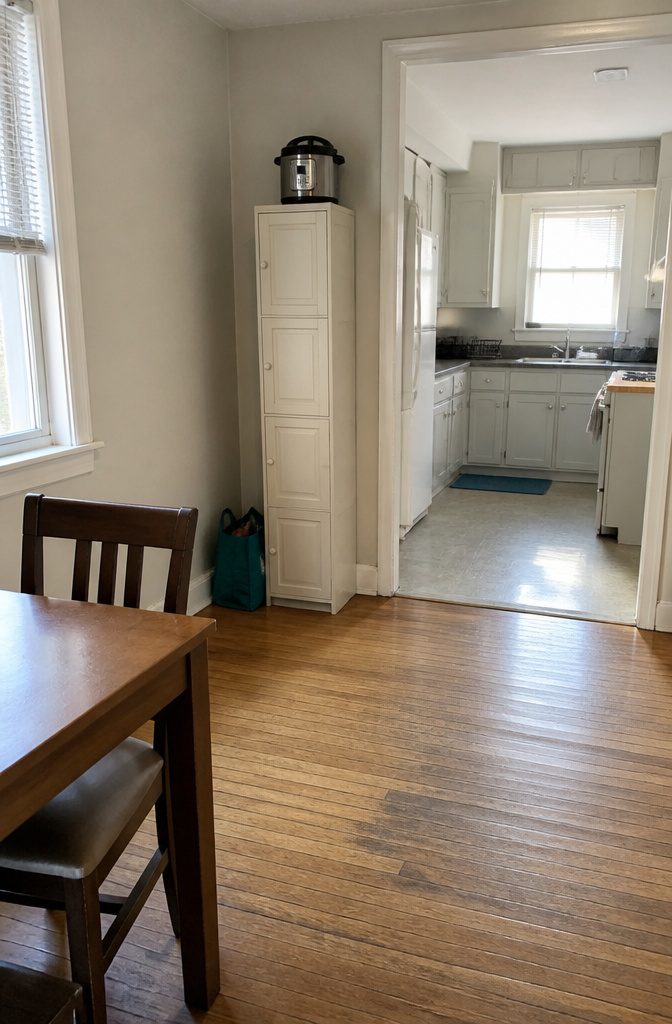
Closed storage wins for food. A slim pantry cabinet, narrow sideboard or small hutch hides cereal boxes and snack bags, while a bookcase or baker’s rack puts every label on display.
The VASAGLE Pantry Cabinet is tall with four adjustable shelves, so cans and boxes stack in one column. Open units only work if you’ll keep them tidy; a messy shelf usually means too much of that item.
Measure wall width plus door swing before buying, and look for shelves around 10–12 inches deep, which fit most food. Keep heavy items low, especially if you can’t anchor a tall unit.
A sideboard adds a top surface for a microwave or small appliances. A blank wall, dining nook or hallway edge works if the walkway stays clear, and the piece moves with you when you rent.
3. Closet and Bench Overflow
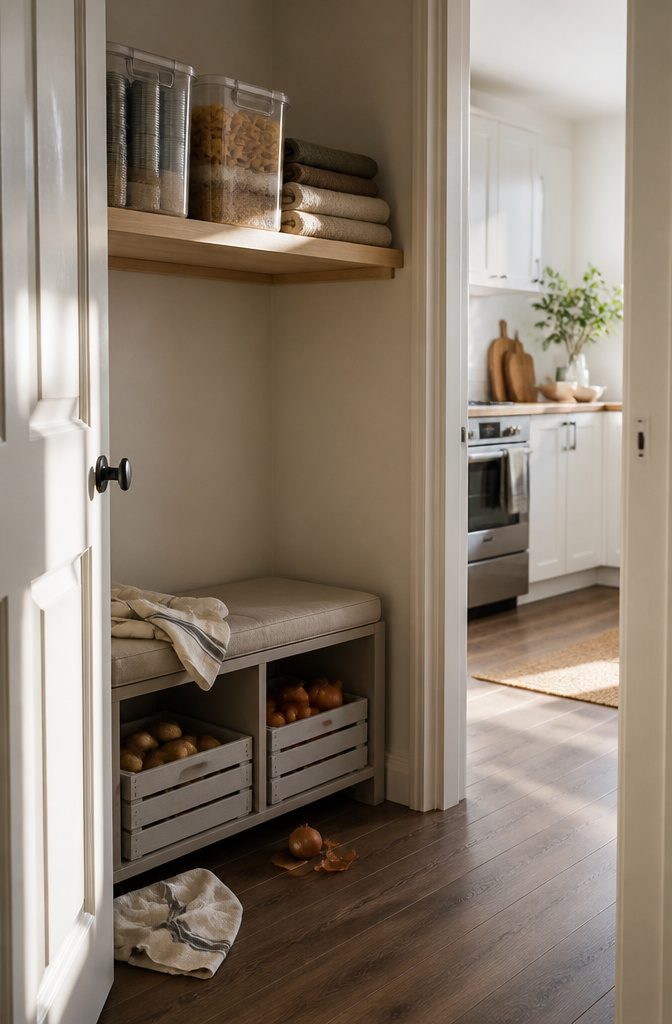
One closet shelf, about 35 inches wide, can hold the second bag of rice, spare tins and extra pasta. Linen shelves run 14–16 inches deep, so measure before buying bins.
Two clear, sealed bins cost about $12–25 and keep food away from towels. Loose packets never belong near laundry products.
For bulkier buys, a storage bench (about $30–60) or stackable crates 10–12 inches tall hold oil bottles, potatoes and onions. Give the produce air, since sealed plastic makes it sweat and sprout.
Keep one of each item in the kitchen and refill from the overflow. Food scattered across three rooms with no system gets lost and bought twice, so pick one overflow zone and label it.
4. Wall Shelves
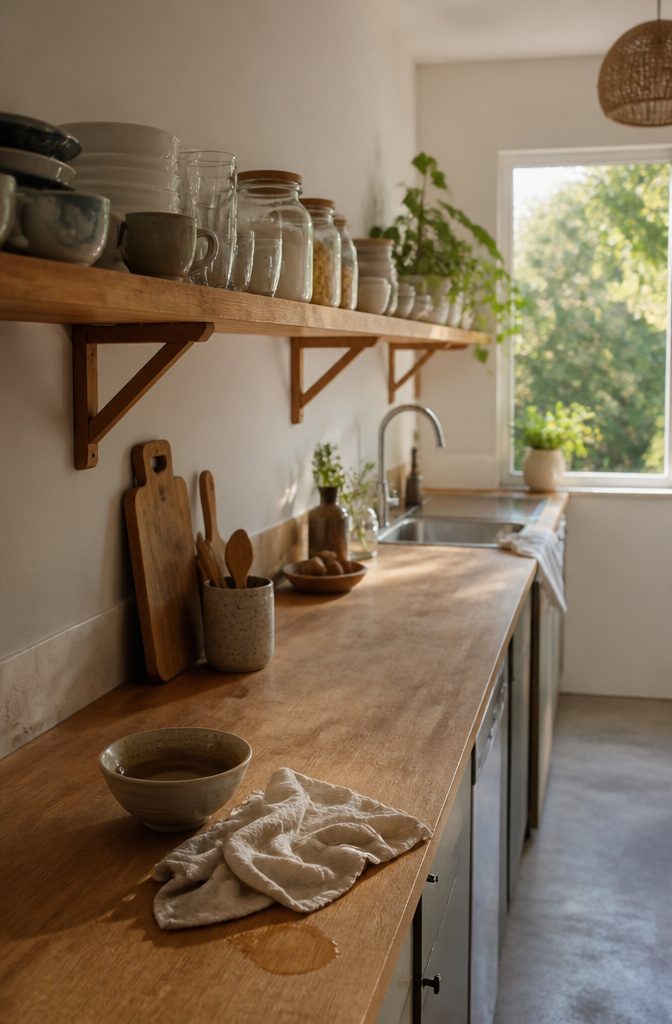
Shelves 10–12 inches deep hold plates, jars and cookbooks without jutting far into a tight walkway. Put your best-looking pieces on the wall, like bowls, mugs and glasses, and keep boxes of pasta, cereal and crackers behind cabinet doors.
A narrow shelf also takes spices and baking jars, which frees cabinet space for dry goods. Rails and pegboards belong with hanging storage, so I’m leaving them out here.
Open shelves show everything. Decant daily staples like flour, sugar or pasta into matching glass jars or canisters and label them.
Owners on Reddit warn that uncovered dishes get sticky or dusty and that shelves near the stove collect grease, so keep open shelves for things you use and wash often.
5. Over-Door Storage
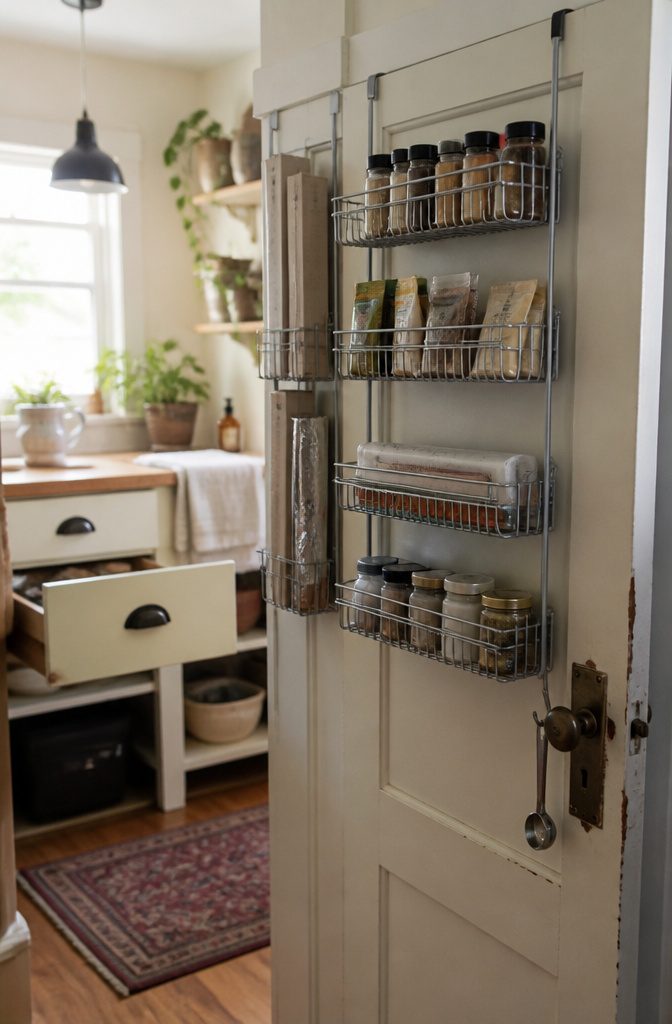
A wire rack with 4–6 tiers on the back of a door holds spices, packets, wraps and small jars in plain view.
Check door thickness first, since most hooks fit doors about 1.5 inches thick. Pick felt-padded hooks, which stop the rattle and protect the paint, and keep the total load near 22 lb across the tiers.
Packed that way, the rack lifts off clean on moving day, which is why I’d pick it over anything screwed in for a rental. It runs about $20–35.
Inside a cabinet door, a slim organizer pulls foil, plastic wrap, parchment and seasoning packets out of crowded drawers for roughly $10–18.
The door still closes only if the load stays under about 3 inches deep, so measure the gap between the door and the shelf edge before buying.
Skip doors with inset shelving; there’s no clearance. A 3M hook on the same door handles measuring spoons.
6. Fridge Side and Gap Storage
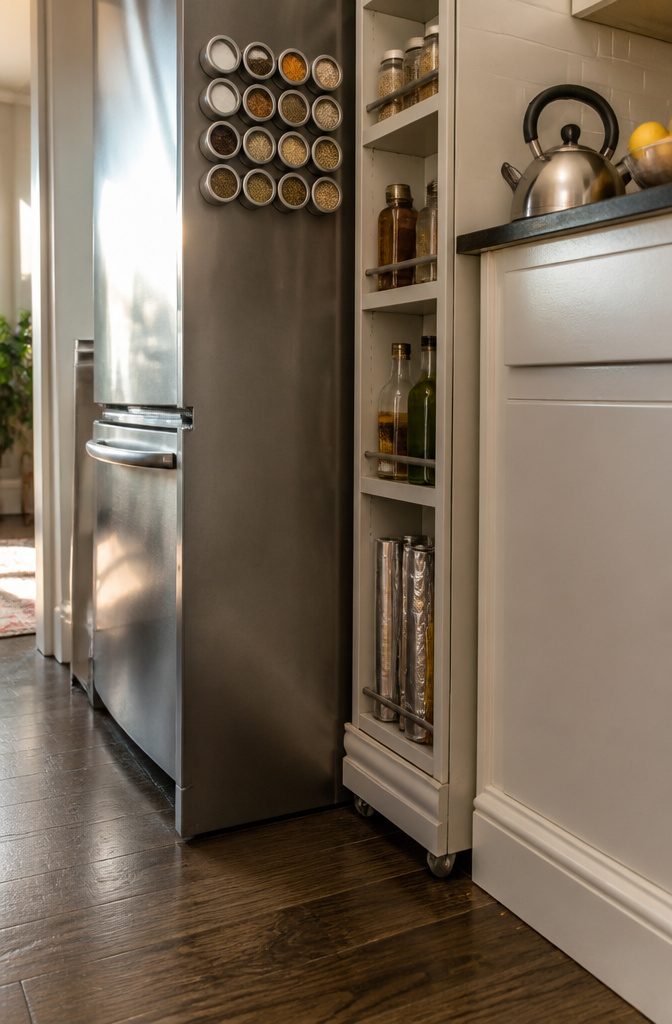
Magnetic tins turn the side of the fridge into a spice rack. A set of 12 runs about $20–30 and frees a whole drawer.
Choose the panel away from oven heat, put the lightest tins highest, and keep them clear of kettle steam, which softens spices. Twelve tins need a flat patch of roughly 16 by 12 inches, so measure the panel first.
The 5–6 inch gap between fridge and counter is the better find. A slide-out tower with four or five thin shelves holds spices, bottles and wraps for about $25–45.
Measure the gap at its narrowest point, near the floor, because baseboards pinch it where it counts. Wide towers fit few gaps, and I wouldn’t force one in.
7. Fridge Bins
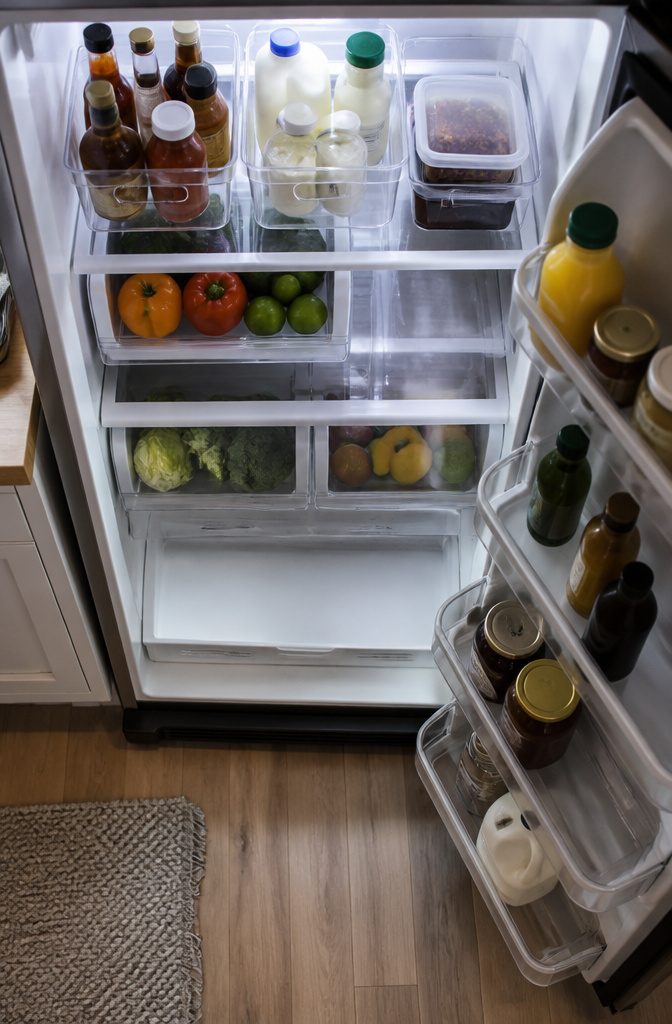
Every sauce bottle sitting in a cabinet is pantry space lost, and a fridge can take most of them back.
Clear bins group condiments, dairy and leftovers so the shelves hold more and the bottles leave the cabinets for good. A set runs about $12–22.
This only works if the fridge has the room. Measure shelf depth first, since most bins are about 8–14 inches (20–35 cm) deep, and leave air gaps at the vents, because a packed-solid fridge runs warm.
I’d hold the line at one bin per category: sauces in one, dairy in another, leftovers in a third. Once a bin turns into a catch-all, it’s just clutter with a lid.
8. Shelf Risers and Under-Shelf Baskets
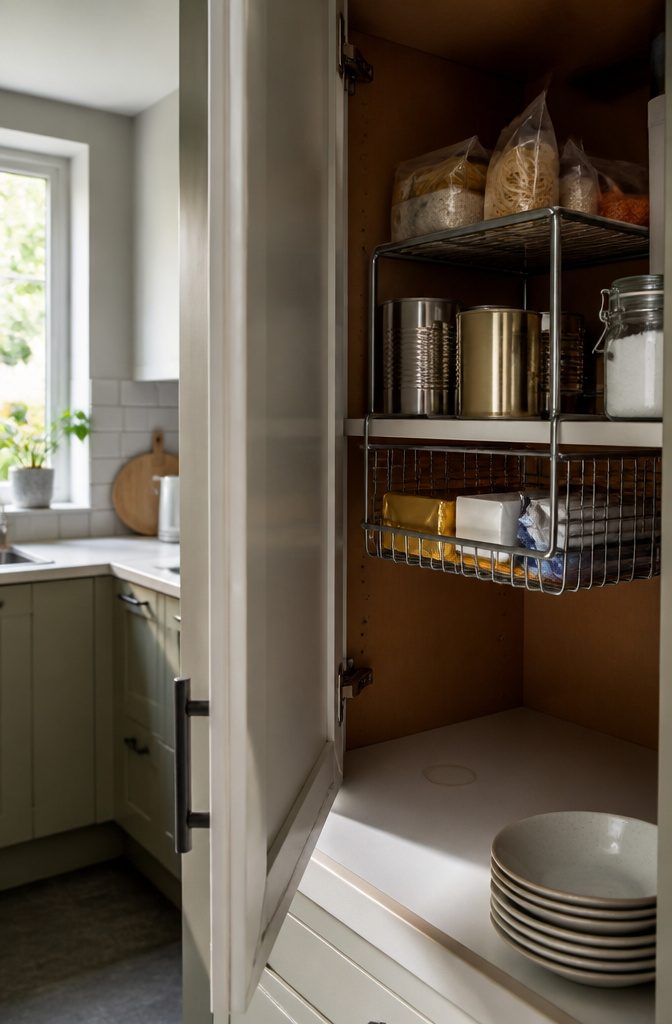
Most rental cabinets hold one shelf and a stretch of wasted air above short jars. A riser adds a second level in the same footprint, with tins below and packets on top, both in view.
Measure cabinet height and depth first, then your tallest jars, because both levels need clearance. Risers run about 10–16 inches wide, and expandable models stretch 12–22 inches.
Under-shelf baskets slide onto a shelf edge and hang in the space beneath it, which suits stock cubes, sachets, wraps and lids.
Most grip shelves about ¾ inch thick, so check yours before buying. Keep loads light; overloaded baskets bow and slide.
The pair costs about $20 to $35, which makes it the cheapest rental fix I found.
9. Clear Bins and Baskets
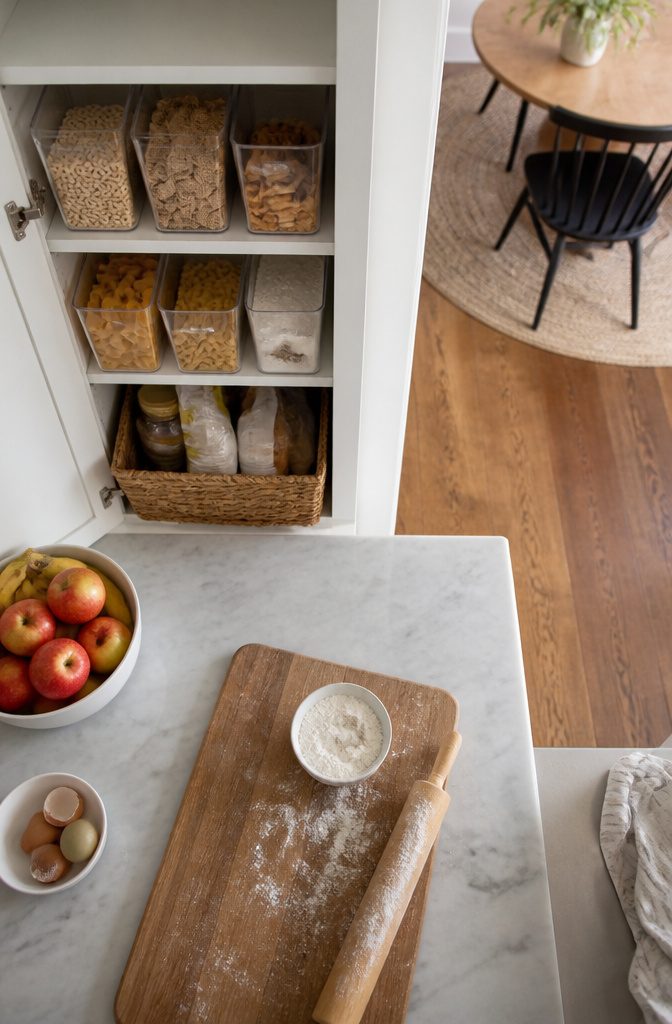
Clear bins work best on the categories that spread fastest: snacks, cereal, pasta, baking supplies. Decant only those; moving every grocery into matching containers costs time and money.
Clearspace Plastic Storage Bins are a solid pick, and in stacked bins the most-used items go on top. Bins usually run 8–14 inches deep, and labels should fit your smallest jar, about 2.5 by 1.5 inches.
Baskets group the rest, like baking supplies, pulled out whole instead of dug through. Livingetc sums up the plan:
You can add storage solutions like plastic bins and turntables to make everything easier to find and break items down into categories so you can clearly see when certain groceries are running out.
Sort everything into piles first; buying organizers before sorting leaves you with bins that fit nothing.
10. Lazy Susans
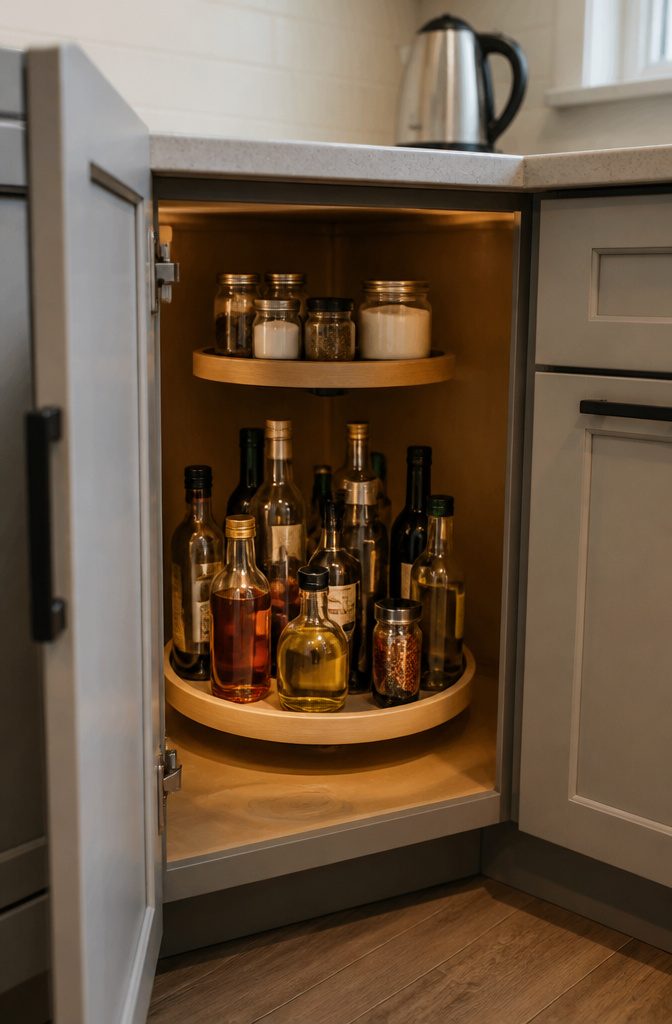
Deep corner cabinets swallow tall bottles, and a turntable fixes that with one spin: oils and sauces come forward, so the back row gets used before its date.
Expect to pay $12–20 for a basic one. A two-piece set like the Spesh 2 Pcs Lazy Susan Turntable lets you put a smaller one in a narrow cabinet for spices or baking supplies.
Measure the door opening before you buy, not the inside of the cabinet, because the turntable has to pass through the door. Use one per shelf, since stacking two helps neither.
Round shapes leave dead space in the corners of a square cabinet. In a deep cabinet I’ll take that loss, because reaching the back matters more than the last few inches.
11. Can Organizers
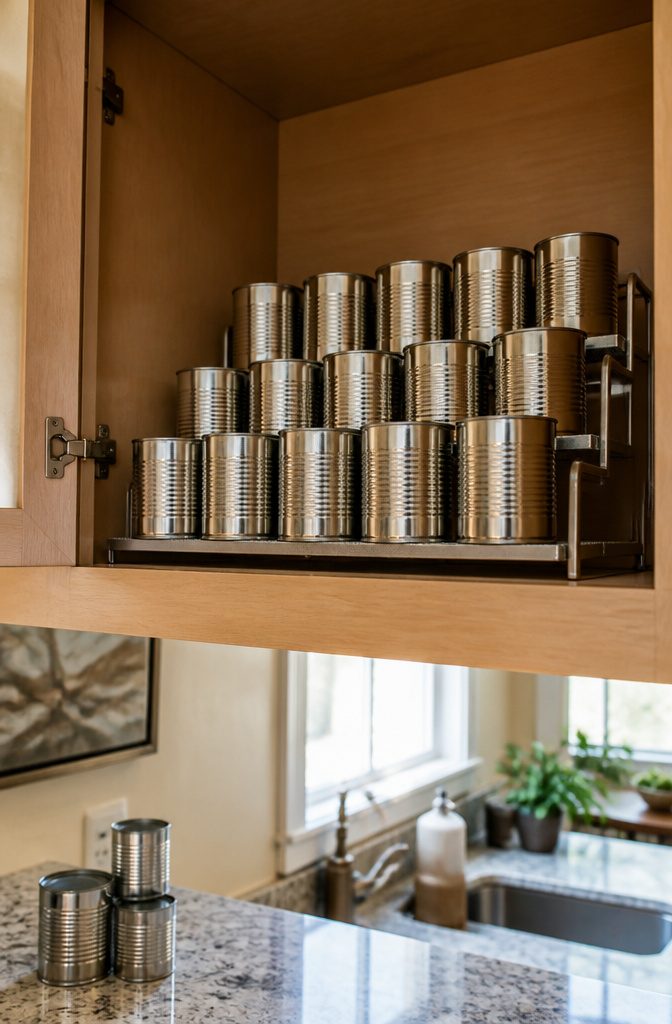
Cans lying flat hide each other, which is how a cabinet ends up with three cans of the same beans.
A stepped or stacked organizer lifts each row above the one in front, so every label faces you and the oldest can sits up front.
In a cabinet where the shelves clear only about 1.5 cans of height, a stacking set can hold 4x the cans in the same space.
A set for 12 tins runs about $20–30 and needs roughly 16 by 12 inches of shelf.
Stacked sets reach 12–16 inches tall, so measure your shelf height before you buy. Stepped models also eat depth, so I’d give one your deepest cabinet and nothing shallower.
12. Pull-Out Shelves
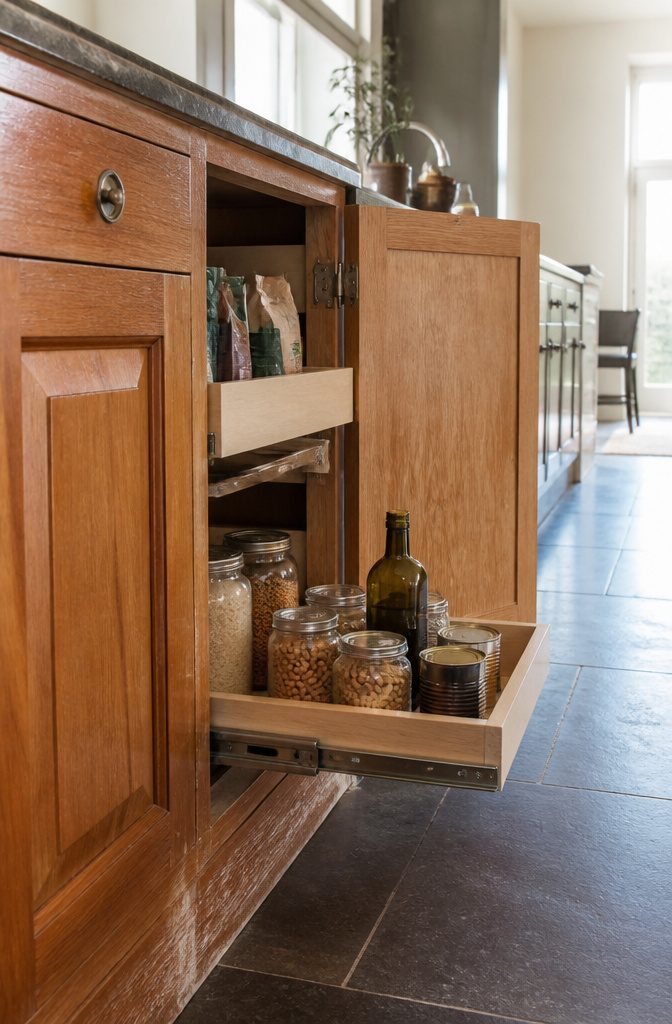
A standard base cabinet swallows whatever you push to the back: the cans from last spring, a second bottle of olive oil, the rice you forgot you bought.
A pull-out shelf slides the whole cabinet floor toward you, so you can see everything and grab it without kneeling and reaching in blind.
Interior drawers, which sit behind the cabinet door, do the same job in a smaller package. They also suit bags, boxes and packets that tip over on a flat shelf.
The cost is space. The slides and frame take up some width and depth, so the cabinet holds a little less than it did empty.
I’d still take that deal, but only for the one or two cabinets you use as your pantry. Fitting every cabinet gets expensive and eats room you’d rather save for pots and bowls.
13. Drawer Dividers
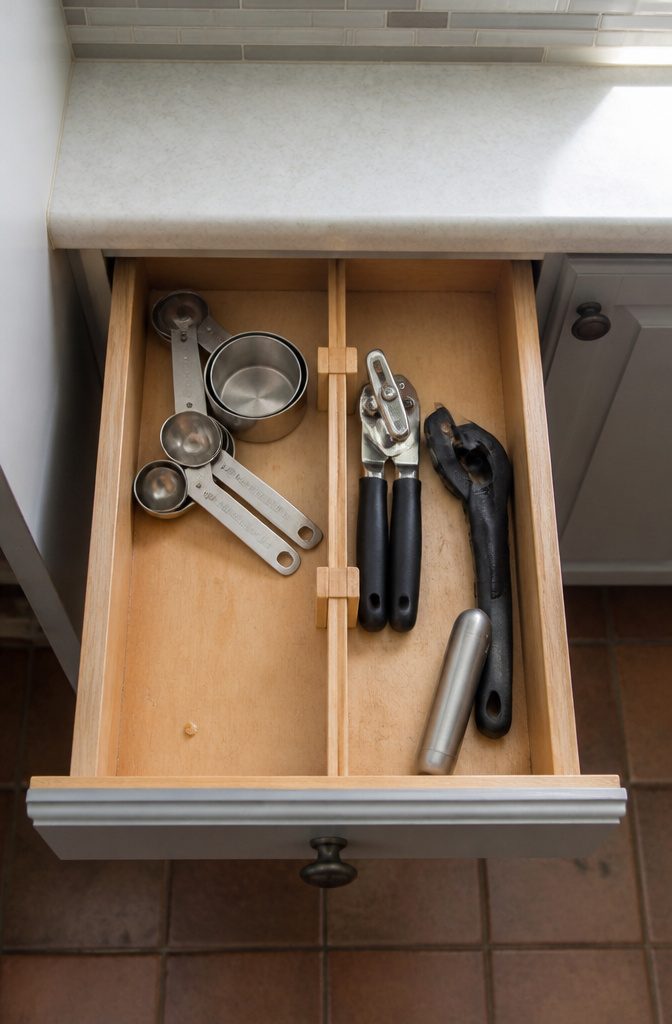
Fixed-compartment tray organizers look great in photos, but they often waste space in a small kitchen.
Their slots rarely match what you own, and the walls and empty cells eat inches a tight drawer can’t spare. A thrift-store set can end up as a clutter problem of its own.
I’d empty the drawer, sort, and edit before buying any divider. Once you’ve pulled out the duplicates and the gadgets you never touch, slim dividers do the job without the bulk.
Measuring cups can live on one side and odd tools like the can opener on the other, with no dead space between them.
Adjustable dividers fit most drawers, and if yours is an odd size, you can make a custom set yourself.
14. A Deep Drawer for Food
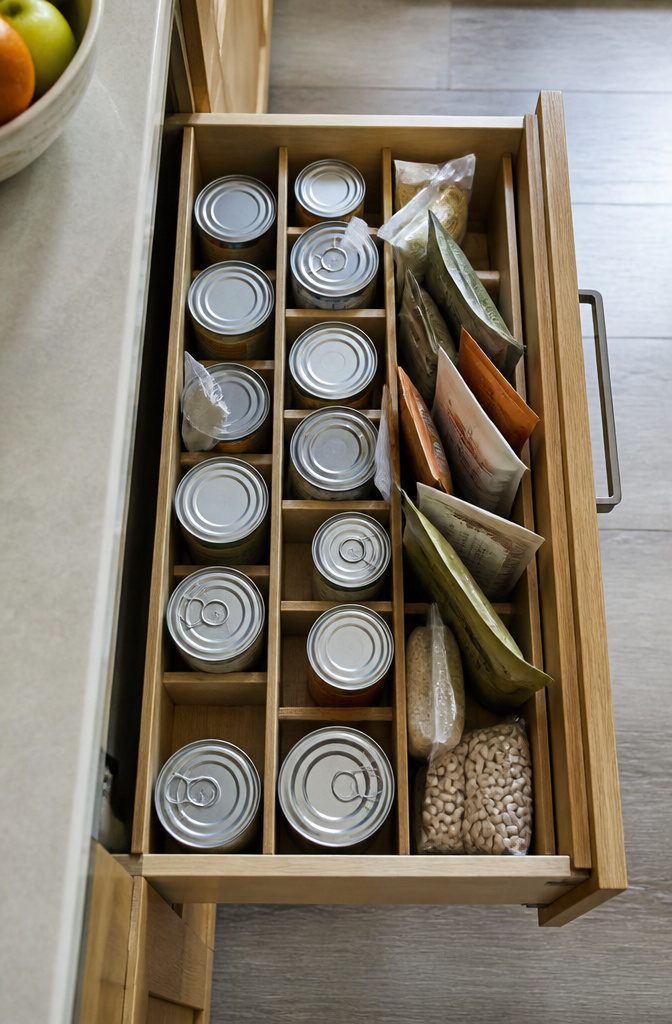
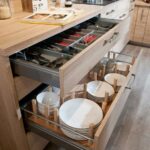
Dividers turn one deep drawer into a filing system. Tins and packets stand upright like folders, so every label reads at a glance and nothing gets buried at the back.
Any drawer deeper than about 6 inches is a candidate, and a set of dividers runs roughly $10–20. Drawers also beat cabinets for heavy items, since the whole stock slides toward you instead of hiding behind the front row.
Weight is the limit. A drawer of tins can reach 22 lb, and sagging slides are common in rentals.
Before you commit, load the drawer, pull it fully open, and watch for dipping or grinding. If the slides complain, I’d keep the cans in a sturdier drawer and give the weak one the light packets.
15. Hanging Pots, Mugs and Utensils
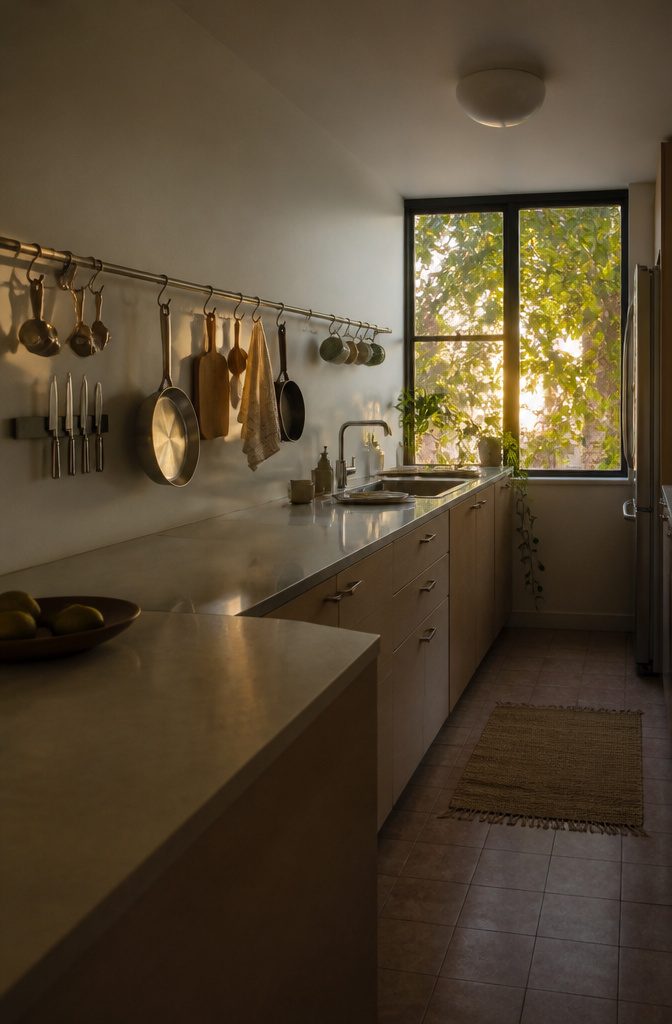
Pots are the bulkiest items in a small cabinet, so they should be the first to move to the wall.
A rail with hooks, a wall-mounted pot rack, or a wire rack mounted on the wall or ceiling can carry pans, cutting boards and dish towels too, which frees shelves for dry goods.
Check that the wall can handle the weight before you hang cast iron.
Magnetic bars hold metal utensils, and hooks added to the bar give wooden spoons and mugs a place as well. Skip a magnetic knife strip if small children live in the home.
Pass on the pot rack that mounts inside a cabinet.
Nesting pots stack tighter than they hang, and sorting pans and lids on a rack just wastes space. A hanging basket is a different idea; this one is cookware only.
16. Space Above Cabinets and Appliances
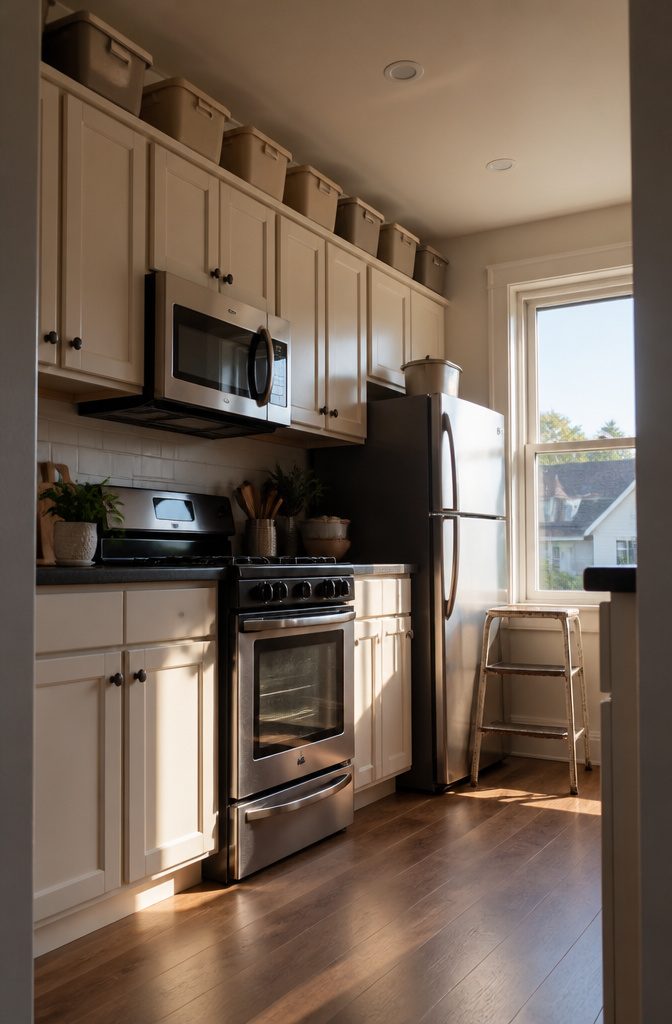
Most kitchens leave 12–18 inches above the wall cabinets, and the top of a fridge, oven or microwave with nothing on it adds more.
Whatever you use regularly goes at the front of that shelf, and the hard-to-reach back holds the things you need less often.
Bulk refills, party supplies and rarely used appliances fit this zone well, but weekly items belong lower down, where you can reach them without a climb.
This storage sits in plain view, so a row of matching bins looks calmer than loose boxes, and the bins keep dust off what’s inside. Three run about $18–30.
Keep the contents light, because nothing heavy should sit overhead. A stable step stool beats a wobbly chair every time, and it can slide into a gap beside the fridge between uses.
17. The Oven as Storage
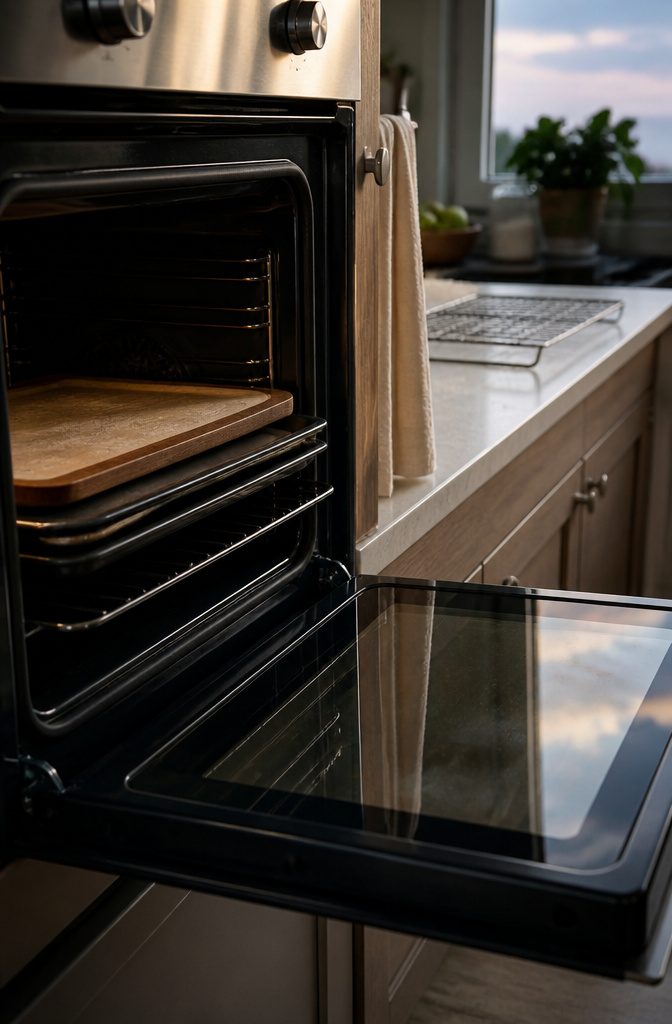
An oven is a closed cabinet most kitchens already have, and it holds cutting boards and baking sheets without using any cabinet space.
Flat, wide items are the hardest things to store in a small kitchen, and the oven cavity takes them stacked on the racks or standing on edge.
The rule is simple: everything comes out before you preheat. A wood board left inside can scorch, and a plastic one can melt.
That makes the oven a good home for cookware you rarely touch, like a spare board or a holiday roasting sheet, and for pieces you store cold and pull out only when needed.
If you bake most nights, skip this idea. Unstacking the oven every time gets old fast, and one forgotten board is a bad surprise.
18. Counter Containers and Crocks
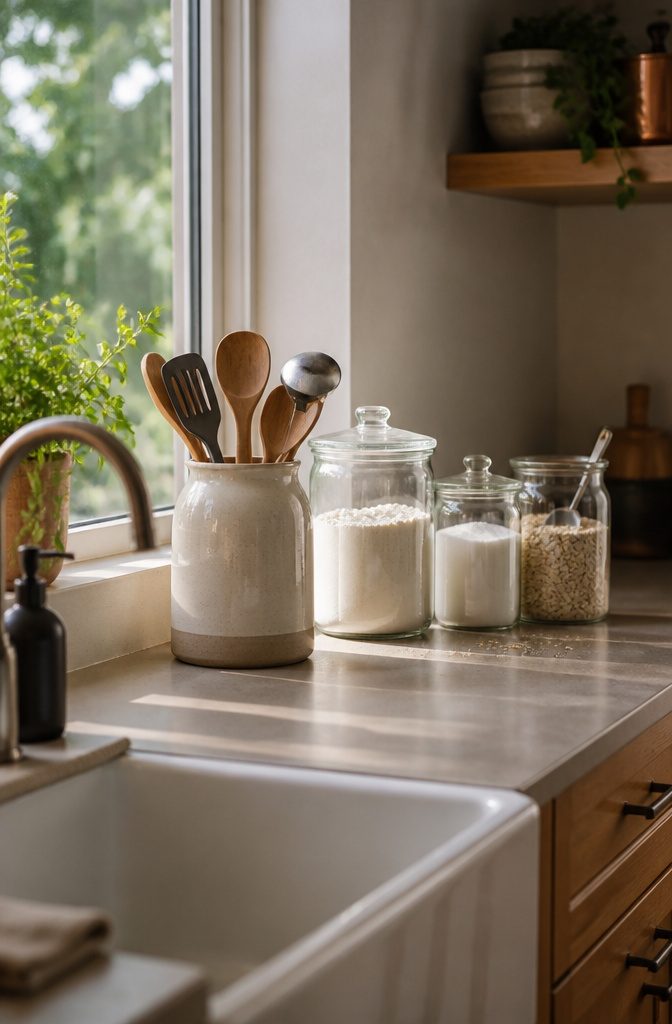
A crock of spatulas, wooden spoons and ladles can give back an entire drawer, and I’d pick a heavy ceramic one so it doesn’t tip when you pull out a ladle.
A pretty crock also reads as decoration instead of clutter.
Flour, sugar, coffee, oatmeal and pasta are the dry goods worth decanting onto the counter. Clear containers with clear labels show the level at a glance.
A metal scoop left in the oatmeal bin saves a trip to the measuring cups. Dry each container completely before refilling, flour especially.
On a counter with just 12 inches to spare, limit containers to what you use every day.
That might be two or three canisters plus the crock. Anything you reach for weekly goes back in a cabinet.
19. A Tiered Produce Basket
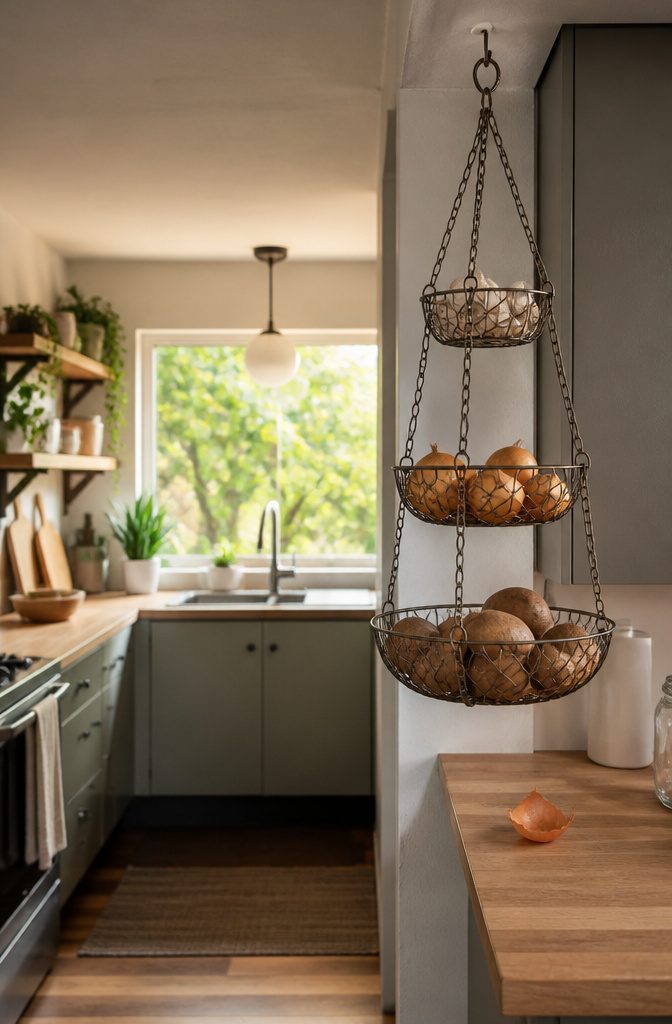
Onions, potatoes and garlic need no cabinet, and a three-tier hanging basket can take over what would otherwise fill a whole shelf while keeping the counter clear.
The open tiers keep produce ventilated and visible, so a soft spot or a sprouting potato shows early instead of hiding behind a closed door. Put the potatoes in the lowest, darkest tier, away from the onions.
Measure the hanging spot before you buy.
A three-tier basket runs about 28–32 inches, so check that the bottom tier clears the counter and won’t swing into a cabinet door. Hang it from a sturdy existing hook or an over-door hanger.
An adhesive hook is too weak for a full load of potatoes. Expect to pay roughly $15–25.
20. A Daily-Staples Tray
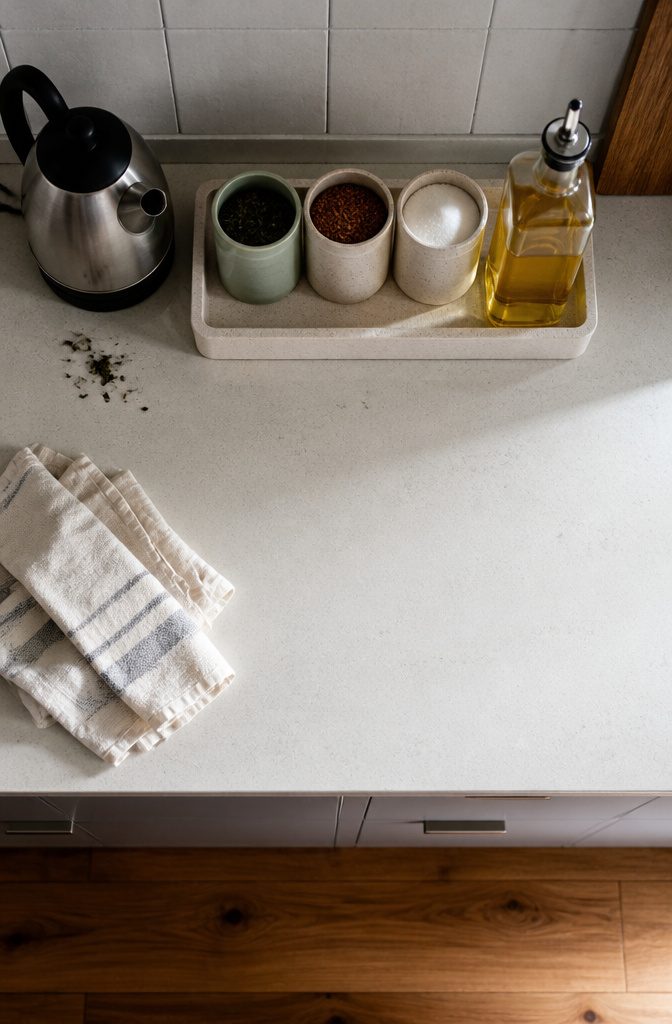
Tea, coffee, sugar and cooking oil earn counter space because they get used every day. A tray about 14 by 10 inches holds three canisters and the oil bottle beside the kettle, and it runs roughly $15–25.
Measure your counter depth before buying, and leave 24 inches of prep space clear once the tray is down. If that number shrinks, the tray is too big or the spot is wrong.
The tray’s edge is the rule: anything that doesn’t fit on it lives in a cabinet. I prefer this to a "three items only" limit because the edge is visible, so nobody has to count.
Stations still creep, one extra jar at a time, so check the tray during a weekly reset and send strays back inside.
21. Over-Sink and Under-Cabinet Space
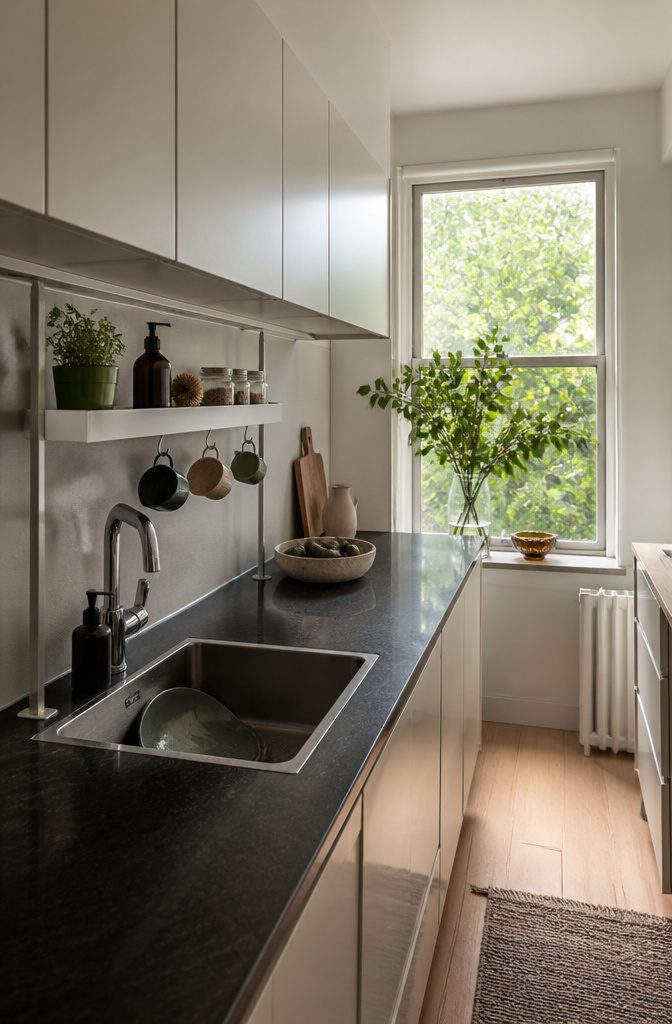
An over-sink shelf puts a working tier in the dead air above the taps, and it holds what you reach for daily: washing-up items, a herb pot, a few jars.
Moving those off the counter frees the stretch beside the sink, which is often the only real prep space in a kitchen with no pantry.
Expect to pay about $20–35. I’d call it best for counters under roughly 5 feet total.
Measure the tap first and clear the tallest one by about 2 inches. Set the feet behind the tap, never in standing water.
Under the wall cabinets, hooks or small shelves hold mugs, cups, and even a small appliance. That strip is easy to overlook, and using it takes nothing from your counter or cabinet interiors.
22. Reduce and Relocate
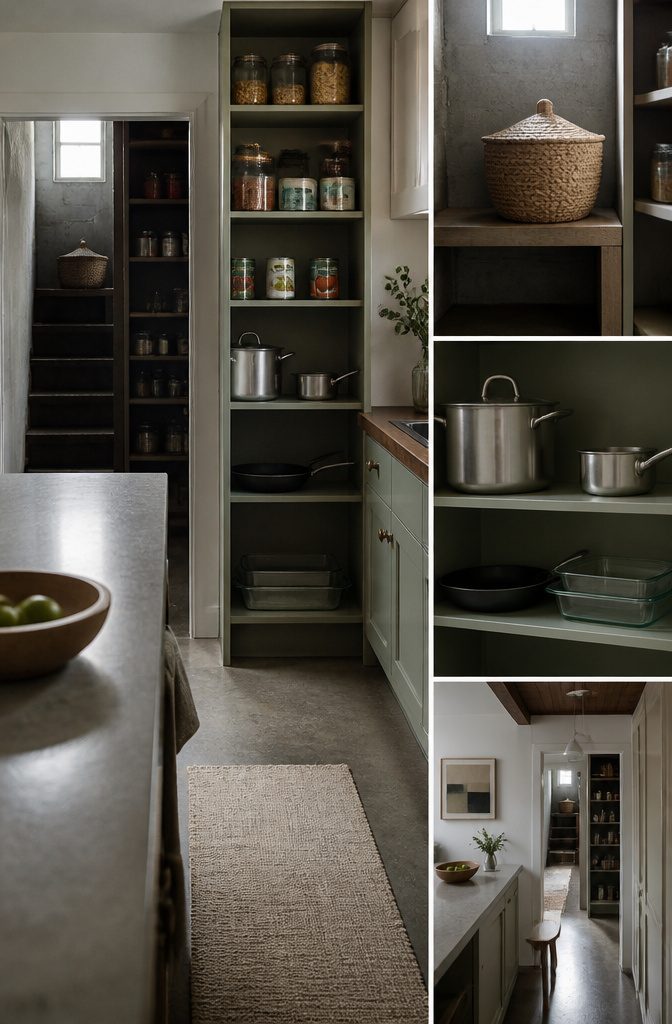
A family with 5 kids can run a kitchen on one big stock pot, one smaller saucepan, one frying pan and three Pyrex dishes (9×13, 8×8 and a round one).
At its leanest, only 3 cabinets in that kitchen held anything besides food. I’d use that as the yardstick before buying a single organizer.
Specialty pans, gear for one-time recipes and holiday baking tools don’t earn year-round space.
Move them to an attic, basement or under-stair spot. Cut the bulk shopping next, because a kitchen with no pantry has nowhere to put a warehouse haul, and you’ll likely shop more often in smaller amounts.
If you have a garage or basement that’s safe for food, surplus cans and drinks can live there in a lidded basket.
Food Zones for Each Category
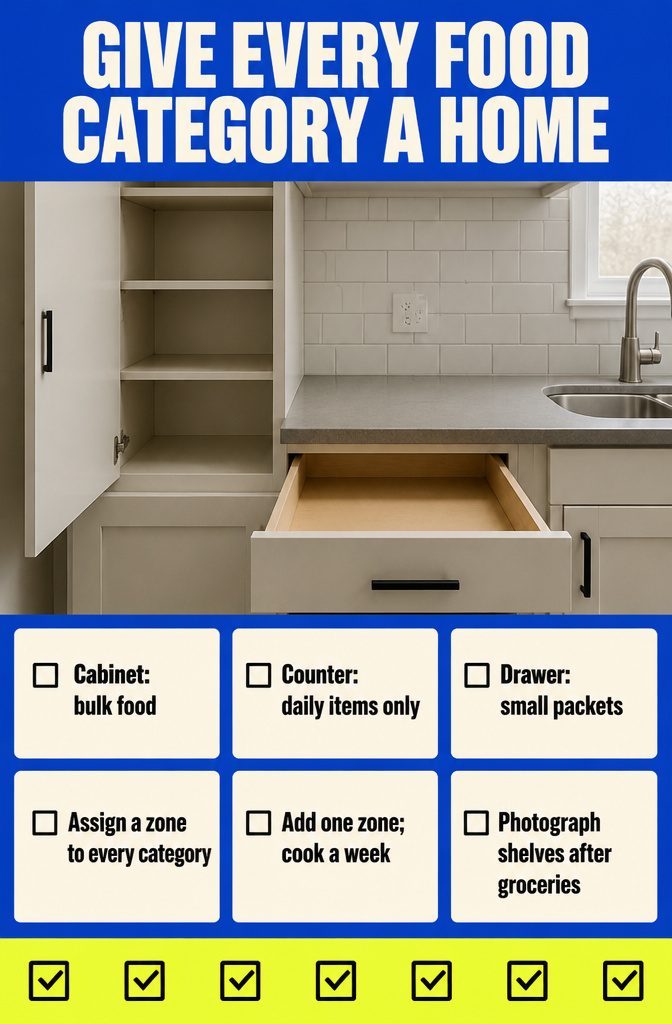
Give every grocery category one fixed address, and food stops drifting across counters, shelves and the floor.
- Split storage into 3 tiers: cabinet, counter and drawer. Bulk goes in the cabinet, only daily items stay on the counter, and small packets go in the drawer.
- Make one cabinet the mini pantry, one cart the overflow, and one shelf the home for backup paper goods or bulk items.
- Name each zone out loud: snack, breakfast, canned goods, coffee backup, paper goods, baking. The category with no zone is the one that keeps taking over.
- Build zones one at a time. Add one, cook for a week, then add the next.
- Take one photo after grocery day. Anything sitting outside its zone shows up in the picture faster than it does in person.
Mistakes That Waste Space
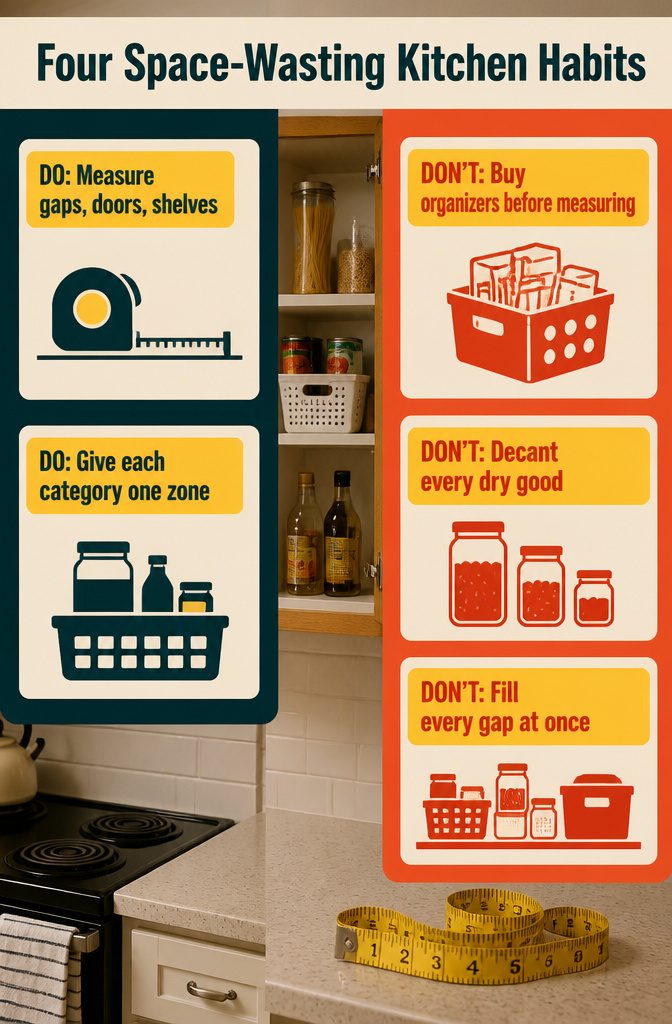
Four habits cost a no-pantry kitchen the most room, and each has a simple fix.
- Buying organizers first. Gaps, door openings and shelf heights differ in every rental, so measure all three before you buy anything. Then buy once.
- Storing food in five rooms with no system. Give each category one zone, and keep a back-stock list so the spare cans in the hall closet stay findable.
- Decanting everything. Bins suit the dry goods you use weekly. The exotic packet you open twice a year can stay in its bag, inside a crate.
- Filling every gap at once. Add one zone, cook for a week, then add the next. You’ll see what you reach for before you commit more space.
How Many Ideas You Need
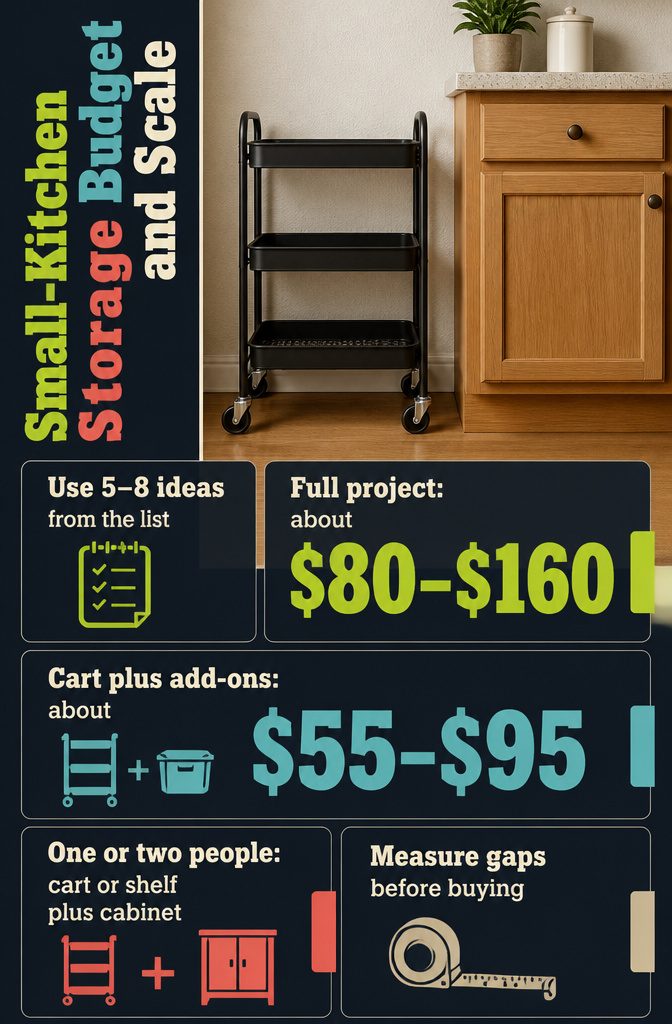
Most renters need 5 to 8 of the ideas above, and the whole project runs about $80 to $160 total. Treat the list as a menu, not a checklist of 22.
The cheapest strong start is a cart plus a few add-ons, about $55 to $95, and it holds a full weekly shop. If that’s all you can spend this month, spend it there and stop.
For one or two people, a single cart or shelf unit plus one organized cabinet can cover everything.
Add more only when that pairing fills up. I’d measure every gap before buying anything, because a piece that doesn’t fit its spot is the quickest way to blow through the low end of that budget.
Frequently Asked Questions
Where should I put food if my kitchen has no pantry?
Make one cabinet your mini pantry and one cart or shelf unit the overflow, so food has a main zone and a backup zone instead of spreading across the kitchen.
Clear bins and a lazy Susan ($12–20 for a basic one) keep the cabinet easy to use. Extra bulk can go on a closet shelf, or in a garage or basement if it is safe for food.
What can I use instead of a pantry?
A rolling cart, a slim freestanding pantry cabinet, a sideboard, a bookcase or an over-door rack all work as stand-ins.
A three-tier cart is the usual first buy at roughly $25–40, and closed cabinets hide packaging better than open shelves. Choose based on which gap or wall you can spare, and measure it before you shop.
What is the cheapest way to add pantry storage in a rental?
Shelf risers plus under-shelf baskets, at about $20 to $35 for the pair.
They add a second level inside cabinets you already have, and nothing gets screwed in. A cart with a few add-ons costs about $55 to $95 and holds a full weekly shop.
How do renters create pantry storage?
Stick to pieces that roll, stand alone or lift off: a cart, a freestanding cabinet, an over-door rack, magnetic tins on the side of the fridge, and risers inside cabinets.
None of them need drilling, and all of them go with you when the lease ends. Clear bins help sort whatever you put in them.
Where do I store bulk buys with no pantry or closet space?
Stackable crates (under a bed works) or a storage bench, which costs about $30–60, can hold oil bottles, potatoes and onions.
If you do have a closet shelf, two sealed bins at $12–25 keep food away from towels. Keep one of each item in the kitchen and refill from the overflow, and pick a single overflow spot so nothing gets bought twice.
Will an over-door rack damage the door?
No, as long as you use felt-padded hooks and keep the total load near 22 lb across the tiers.
Check that your door is about 1.5 inches thick first, because most hooks are sized for that. The rack lifts off without a mark when you move out.
How much food storage does a tiny kitchen actually need?
For one or two people, a single cart or shelf unit plus one organized cabinet holds a weekly shop. Add more only after that pairing fills up.
How do I stop groceries from taking over my small kitchen?
Give every grocery category one fixed zone, such as snacks, breakfast, canned goods, coffee backup and baking.
The category with no zone is the one that keeps spreading. Build zones one at a time, and take a photo after grocery day so anything sitting outside its zone stands out.