
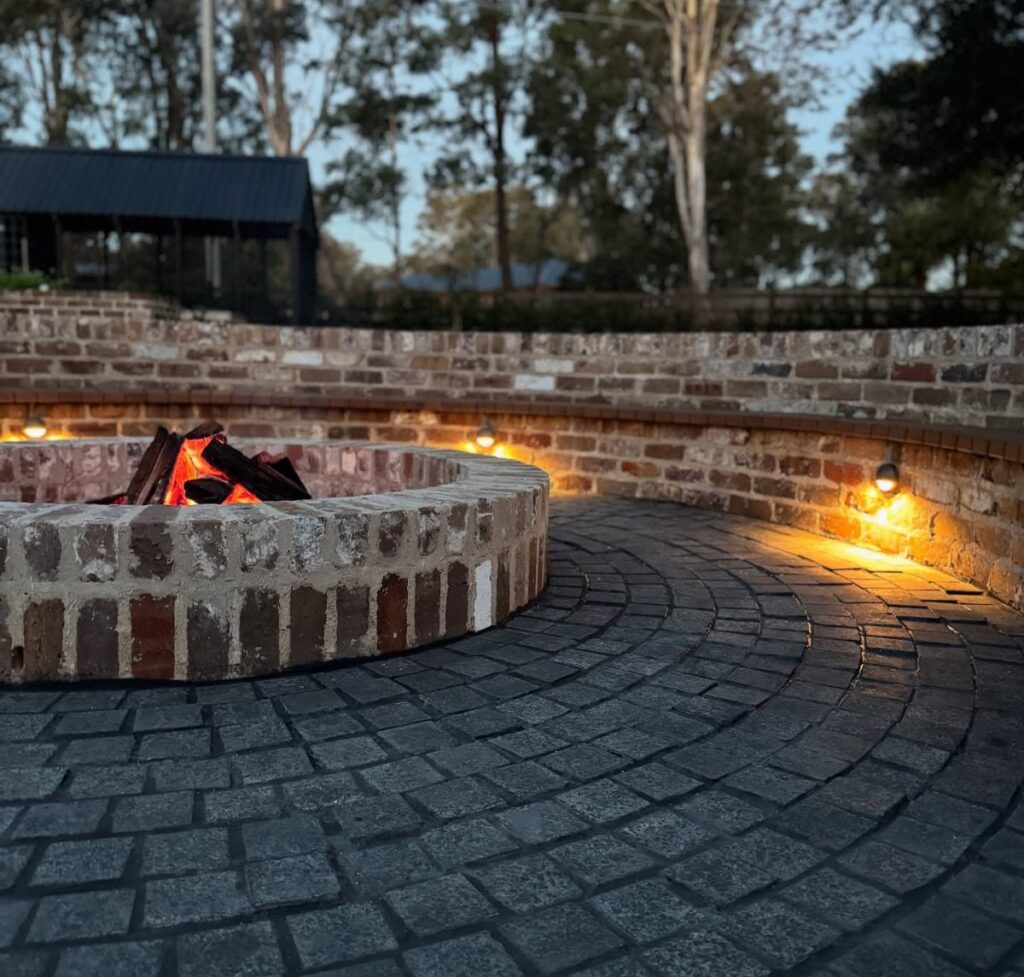

The ideas below run from a quick Saturday afternoon stack to a full kit with metal liner, and the right pick depends on whether you own the yard or answer to a landlord.
Fire brick on the inside, regular brick or salvaged stone on the outside: that split is the one detail that shows up in almost every build, and getting it backward is how pits crack by the second season.
1. Use Fire Bricks for Inner Layer
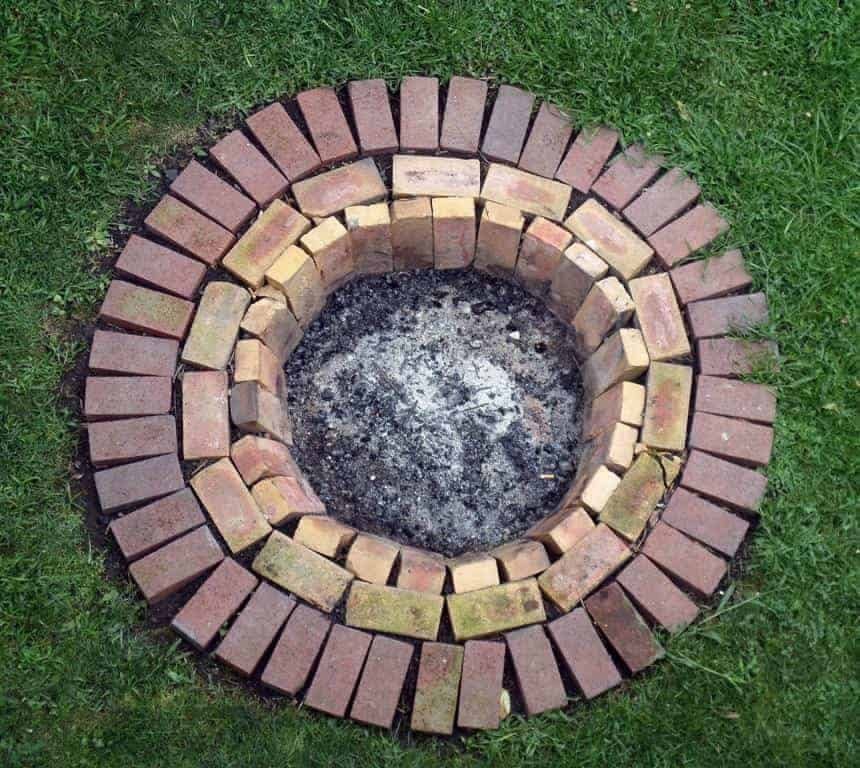
Fire bricks line the inner circle where temperatures peak, and their density matters more than their looks. Standard bricks crack and spall when heat concentrates; these hold up season after season.
I set them with refractory cement, the premixed kind that comes thick as peanut butter in a bucket.
A margin trowel scoops it clean, and I butter each brick thin, tight joints side-to-side, checking level as I butt the next one in. Four bricks at a time keeps the work honest.
Someone building their first pit and hoping to use it monthly should spend here; the outer ring can be whatever matches the yard.
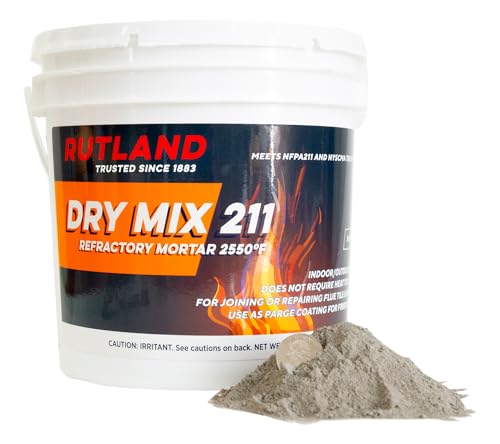
Refractory mortar that is ideal for joining or repairing masonry flue tile in any gas or wood fireplace and wood, coal, or pellet stove chimney

ULTIMATE 3,000°F HEAT RESISTANCE: Engineered to withstand extreme thermal environments, this professional-grade refractory cement won't crack, crumble, or shrink. It is fireproof, acid-proof, and gas-tight, making it the ideal choice for high-heat applications in furnaces, kilns, and stoves.

Refractory mortar that is ideal for joining or repairing fire brick and masonry flue tile in any gas or wood fireplace and wood, coal, or pellet stove chimney
2. Use Regular Bricks for Outer Layer
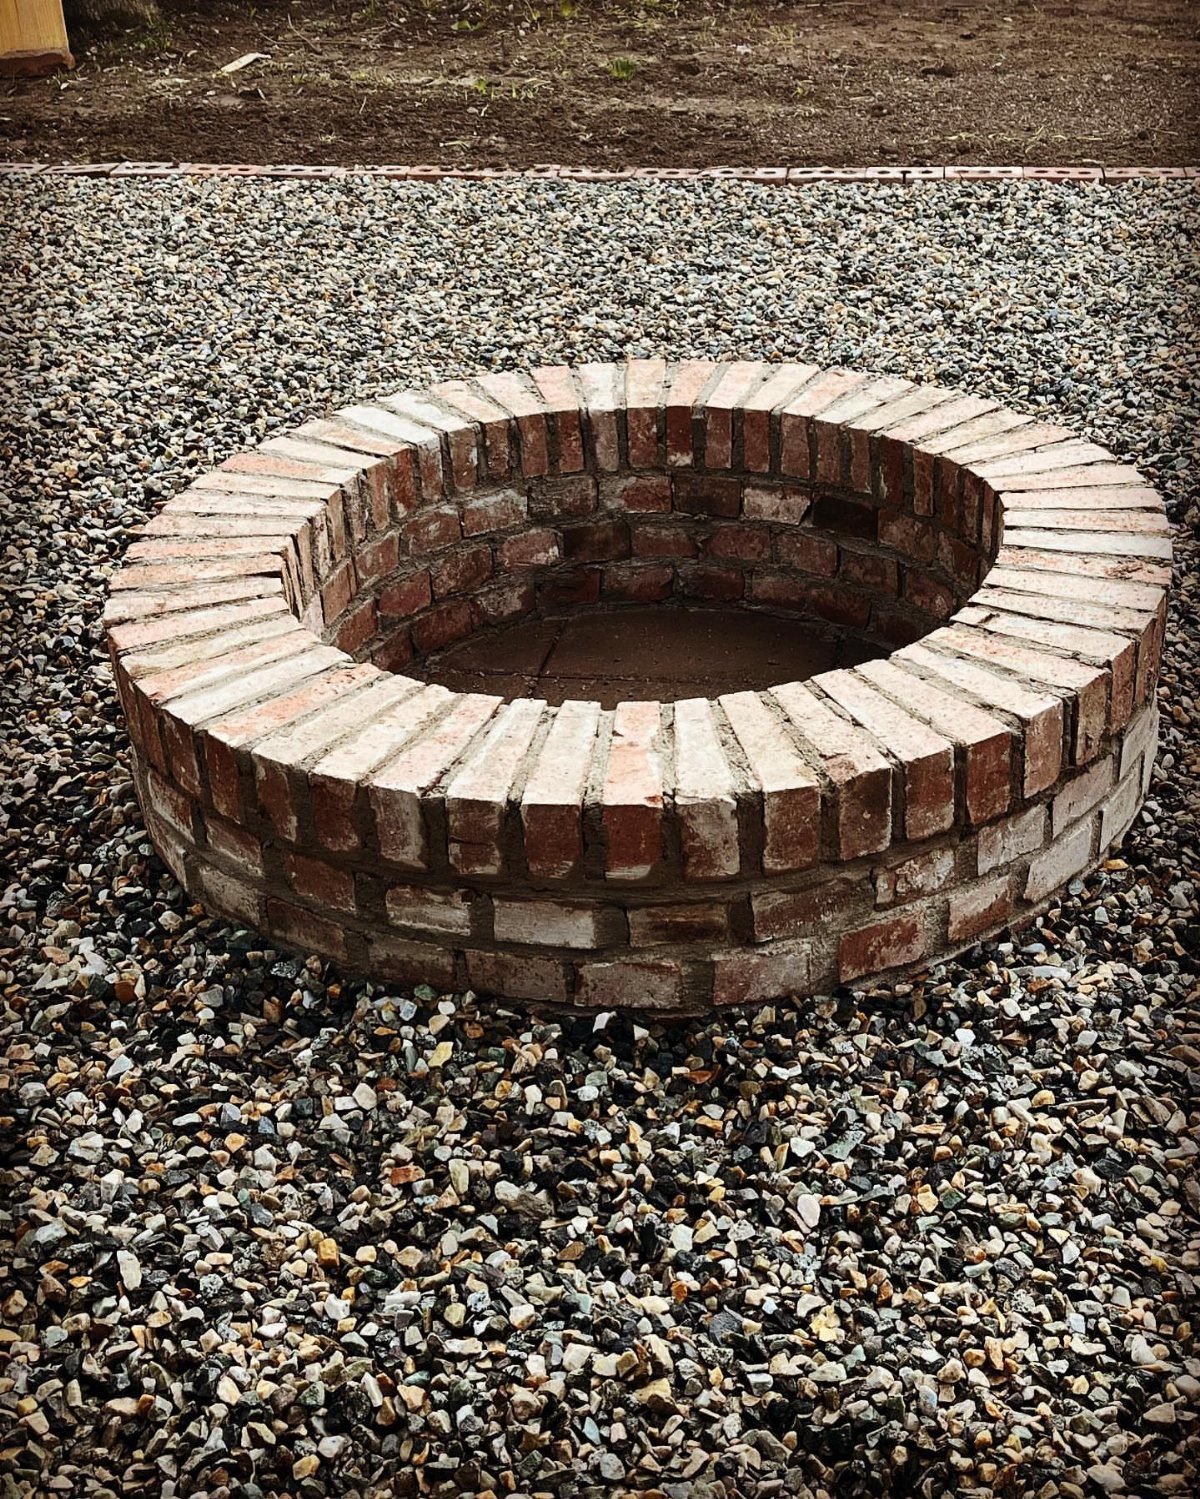
Red brick on the outside carries the look without carrying the heat load. Regular clay brick handles weather fine, just not direct flame, so the outer wall is where it belongs.
I have used salvaged brick here to keep costs down, and mismatched shades read as character once the pit is lit.
Mortar joints on the exterior can be wider and more forgiving; no refractory cement needed, standard Type S does the job. This is the place to save money and match the house or the patio.
Anyone who found their fire bricks already should build the shell from what is cheap and local.

Easy Installation: The 7-piece fire pit ring insertion kit is easy to assemble and can be assembled in just a few minutes.Seamless design allows for easy installation and integration into your DIY fire pit project.Fixed with screws, it will not easily fall off during use. Let you have more time to enjoy the joy brought by flames.

Durable Construction: The Silver Round Galvanized Fire Pit Ring is made from 0.8MM thick high-quality galvanized steel, ensuring long-lasting durability and resistance to rust or corrosion,water proof/weather proof

Durable Construction: The Silver Round Galvanized Fire Pit Ring is made from 0.8MM thick high-quality galvanized steel, ensuring long-lasting durability and resistance to rust or corrosion
3. Use a Metal Fire Ring
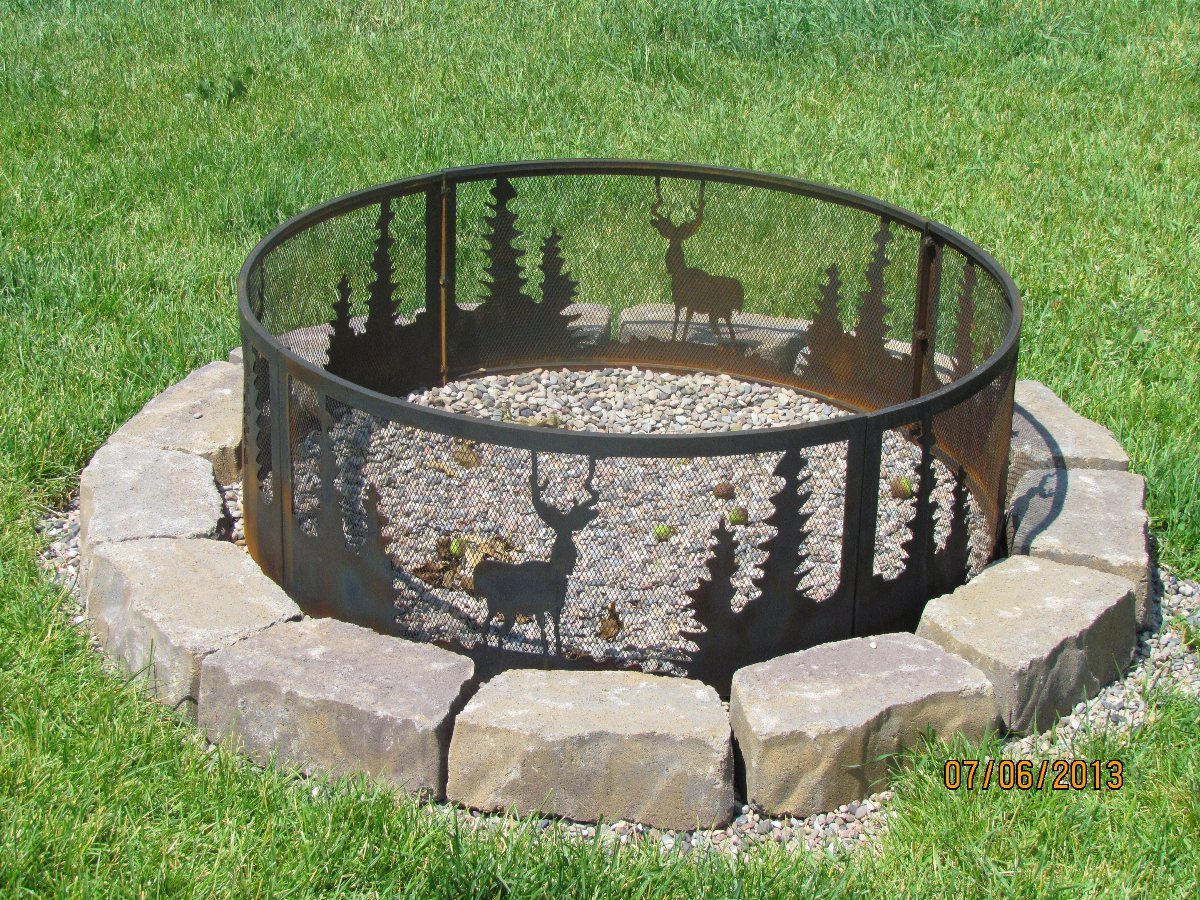
A steel ring dropped inside the first course holds the circle true while you stack and shields the surrounding brick from the worst of the radiant heat.
I have built pits that went oval by the third layer without one; the ring is cheap insurance against that drift. It also corrals logs and embers so nothing shifts outward mid-evening.
The cutout patterns some rings carry are visible between courses and cast shapes when the fire is low. A weekend builder working solo benefits most: the ring carries the geometry so your attention stays on level and joint width.

READY TO USE: Preblended, just add water and go!

Premium Refractory Mortar: Ideal for fireplace repair and chimney repair, this durable fire brick mortar bonds firebrick and masonry, cures hard, and withstands temperatures up to 2,000°F for long-lasting repairs
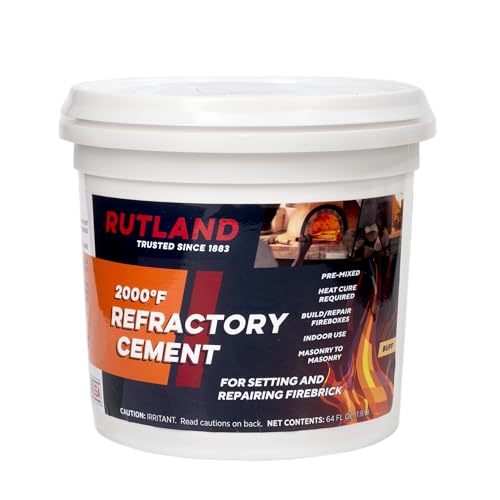
Ready-to-use pre-mixed cement sticks easily to masonry in your firebox to fill in small gaps
4. Maintenance Routine
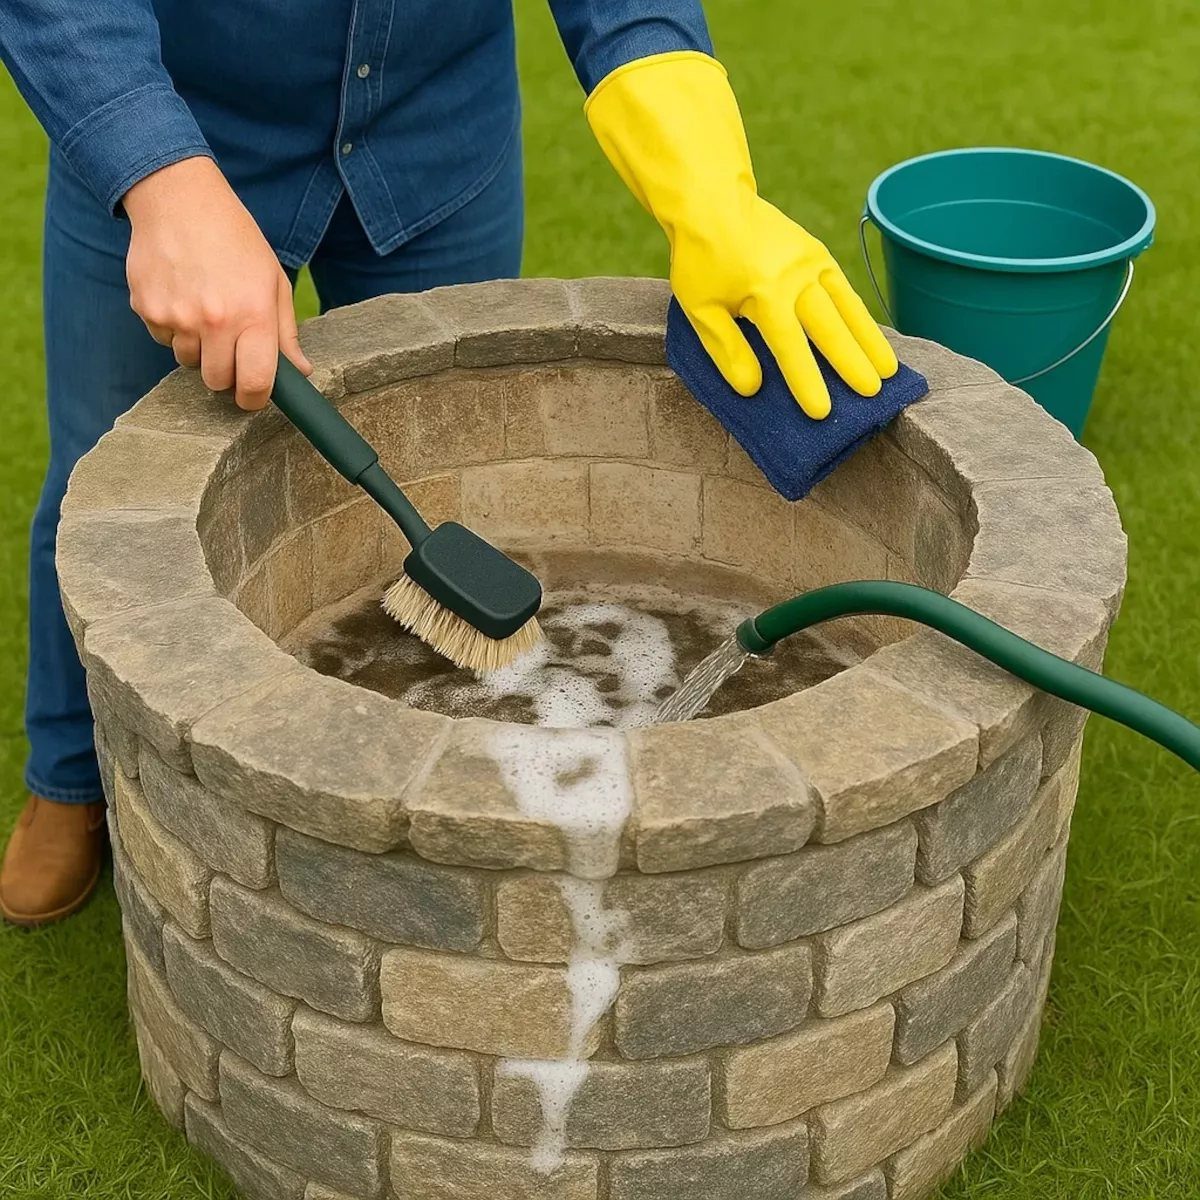
Ash draws moisture and holds it against the brick, so I shovel the bowl clean once the coals are fully out.
A quick sweep with a stiff brush follows, and I look for hairline cracks in the fire brick while I am down there. Catching them early means a single replacement, not a rebuild.
A fitted cover between uses keeps rain out of the joints and off the metal ring; a tarp thrown over works in a pinch but traps humidity.
A quick sweep after each fire and a once-over in spring is the whole schedule. Skip it and the courses will start shifting sooner than you’d think.

RUTLAND Firebox Bricks are a distinct tan color, unlike the competition's pink, which indicate a poor and improper curing process

Food Safe: Made of clay, it can be in direct contact with food and can be used in pizza ovens and smokers; it has strong thermal insulation properties, helping you save wood and save money.

Food Safe: Made of clay, it can be in direct contact with food and can be used in pizza ovens and smokers; it has strong thermal insulation properties, helping you save wood and save money.
5. Use Decorative Stones
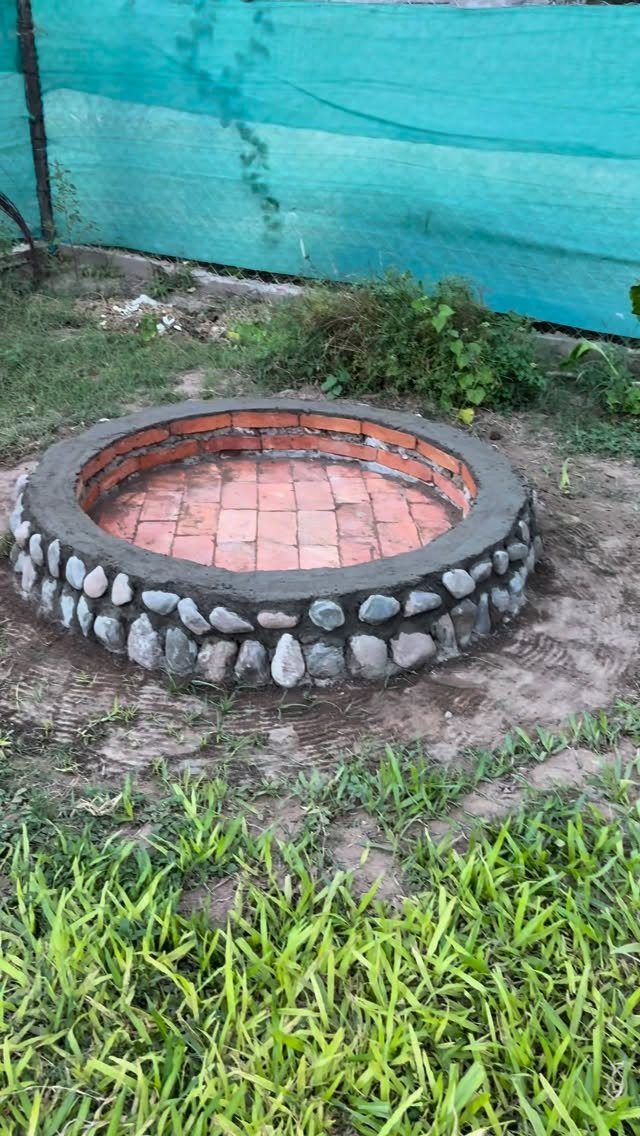
Lava rock or reflective fire glass set on the floor of the pit catches light and throws it back upward, which changes how the fire reads after dark.
I prefer lava rock for wood-burning pits; it stays put under shifting logs and costs less by the bag. Fire glass suits gas rings and reads more modern, though it needs a burner pan beneath it.
Either one protects the base layer from direct flame and ash buildup. The stones sit in the mortar rim as accent, but the functional layer goes inside.
Someone wanting the fire itself to look designed rather than accidental should plan on spending something here.

💪【1000D Heavy Duty Tear Resistant Fabric】This fire pit cover round is made from industrial-grade 1000D Oxford cloth, twice as thick as standard covers. Stronger and more tear-resistant than 420D, 600D, or 900D. Perfect for long-term outdoor use—resists wind, sun, rain, snow, and daily wear without cracking or tearing.

Firepit Cover for for In Ground Firepit: Fire pit cover fits round fire pits up to 51" in diameter, cover is 8" high. It also fits for 46-51 inch fire pit cover round. Please confirm your fire pit table is the right size before purchasing

【𝟑𝟐 𝐈𝐧𝐜𝐡 𝐒𝐪𝐮𝐚𝐫𝐞 𝐅𝐢𝐫𝐞 𝐏𝐢𝐭 𝐂𝐨𝐯𝐞𝐫𝐬】Measures 32" L x 32" W x 24" H, fits most 29-32 inch outdoor fire pits. Works with fire pits by Ciays, Bali Outdoors, HOTEAGLE, OutVue, Verdeluxe, Florise, Yaheetech, TACKLIFE, Endless Summer, Mistmo and other brands. Please double-check your fire pit dimensions before purchase.
6. Finish with a Top Edge
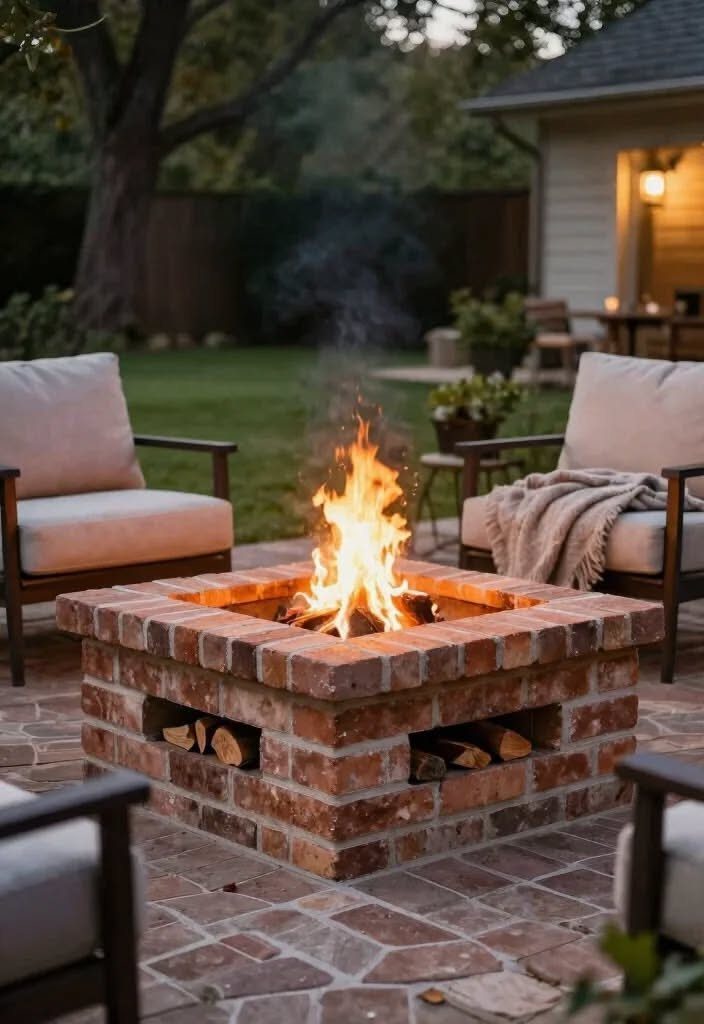
A cap course laid flat across the top covers every joint below and gives you a clean edge to set a drink or a poker on.
I use stone caps when the pit is square, brick on edge when it stays round; either way, mortar anchors them and the trowel finish shows.
The row-lock course doubles as spark containment, which matters on dry nights when embers lift. Building in wood storage underneath, as that square pit does, asks for more foundation but repays the space.
Anyone who plans to sit around the rim rather than back in chairs should go wider than standard brick here; a cap you can actually rest on makes a difference.

Easily fix large masonry holes or cracks in your indoor or outdoor fireplace, stove, or other heating appliance
Premium Refractory Mortar: Ideal for fireplace repair and chimney repair, this durable fire brick mortar bonds firebrick and masonry, cures hard, and withstands temperatures up to 2,000°F for long-lasting repairs

7. Use a Straight Board for Leveling

A straight 2×3 board stretched across the pit opening does what a level alone cannot: it lets you check height across from one side to the other while you build.
I lay the board across the top of the course I’m working on, sight along its edge, and tap the high bricks down with a rubber mallet until the whole ring sits flat.
String lines help too, but the board catches the wobbles a string won’t. Check every third or fourth brick, not just the ones at the stakes.
The soil underneath matters as much as the brick on top; scrape high spots rather than digging deeper, so you don’t loosen what lies below.
A hand tamper or the blunt end of a 4×4 post packs the base hard enough for a backyard pit.
This step adds time per course, but it saves you from a lopsided rim you’ll notice every time you sit around it.
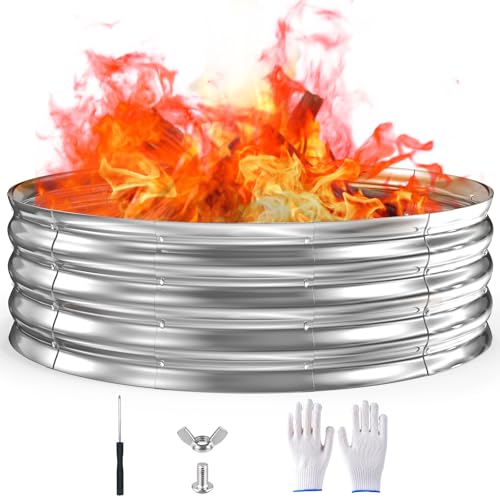
Exceptional Durability & High Heat Resistance for Large Wood Burning Fires:Experience the ultimate bonfire with our extra-large 60-inch fire pit ring, holding more wood for longer, hotter burns. Constructed from heavy-duty commercial-grade galvanized steel, this 5FT 60-inch fire pit ring is built to last. Its extra-thick material ensures superior heat resistance, allowing it to withstand extreme temperatures from wood burning without warping, cracking, or peeling like painted steel fire rings.

Large Firepit for Backyard Enjoyment: This XXL firepit offers a generous 36in/48in/60in size range, perfect for gathering around with friends and family during outdoor activities and creating lasting memories

Durable Construction: The Silver Round Galvanized Fire Pit Ring is made from 0.8MM thick high-quality galvanized steel, ensuring long-lasting durability and resistance to rust or corrosion
8. Mark Out the Fire Pit
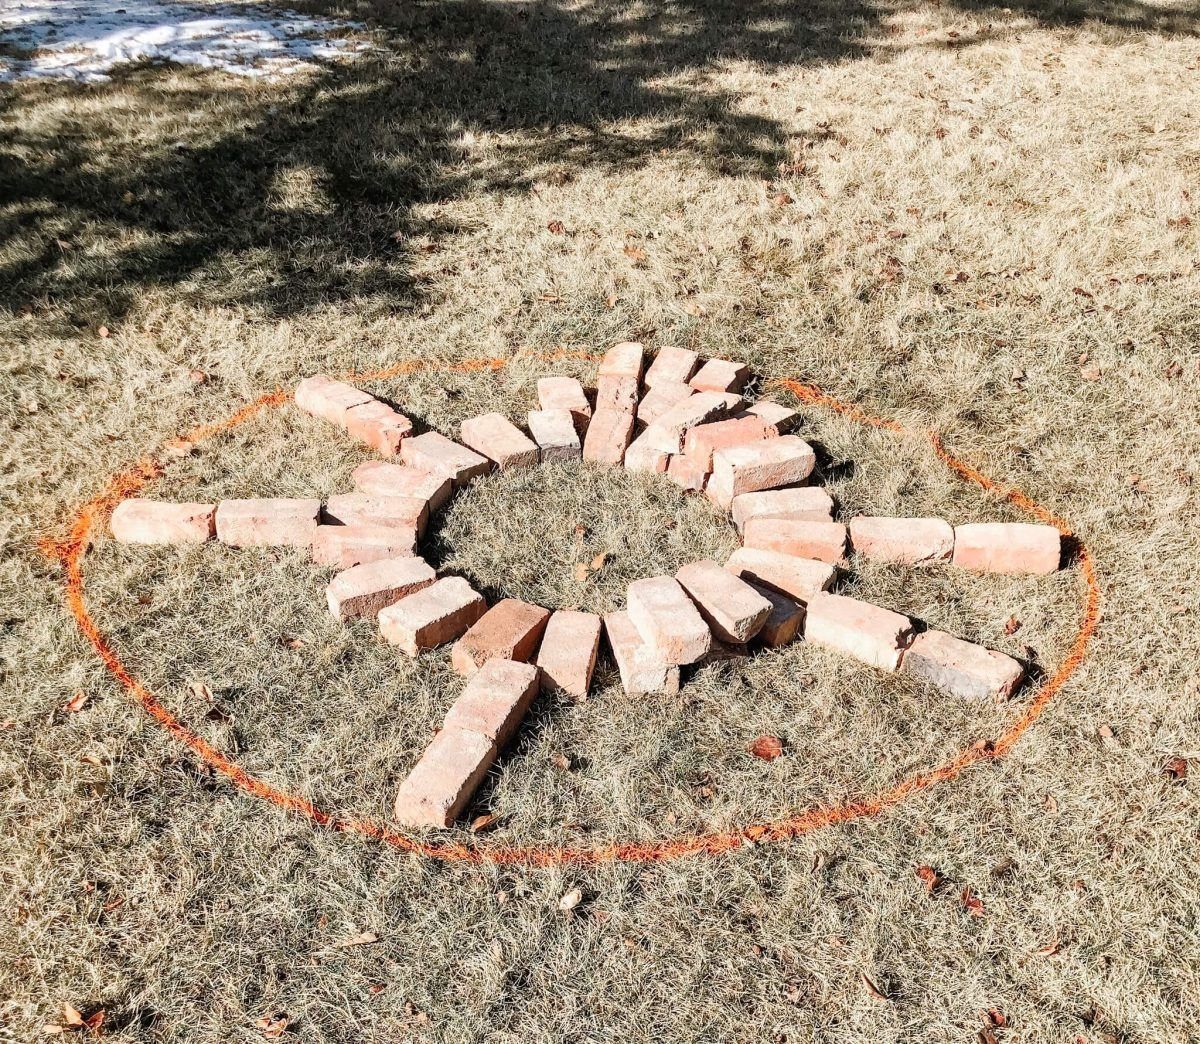
Mark the circle before a single brick touches the grass; that order matters. Marking first lets you walk the space, check sight lines from the house, and shift the whole thing before you’re committed.
A stake at center, string measured to half your diameter, and spray paint or chalk at the end of the string draws a true circle.
A mid-size span works for most yards; smaller and you’re crowding the fire, larger and people drift out of conversation range.
Cardboard concrete form tubes make handy guides if you want a physical ring to test against, or rip hardboard strips and screw them into the size you need.
Dig down inside that mark based on your frost line and how much base you want to build up. Strip out every root now; they don’t stop growing just because you paved over them.

🔥【Universal Refractory Mortar】 Powerful Bond, Defies Extreme Heat: Specifically engineered for temperatures up to 1420°C (2600°F),Masonry mortar for joining and repairing flue tiles in any fireplace (gas/wood) or stove (wood/coal/pellet).

🔥 HIGH-TEMPERATURE RESISTANT REFRACTORY MIX: GIRtech CONTACT DRYMIX is a professional-grade refractory mortar designed for masonry and lining of fireplaces, stoves, fireboxes, ovens, and heating units. Withstands extreme temperatures up to 3000°F (1648°C), providing long-lasting performance and structural integrity in high-heat environments.

Draft, smoke, fireblock sealant for applications in wood-frame construction where an ASTM E136 non-combustible sealant is required
9. Stagger Brick Layers
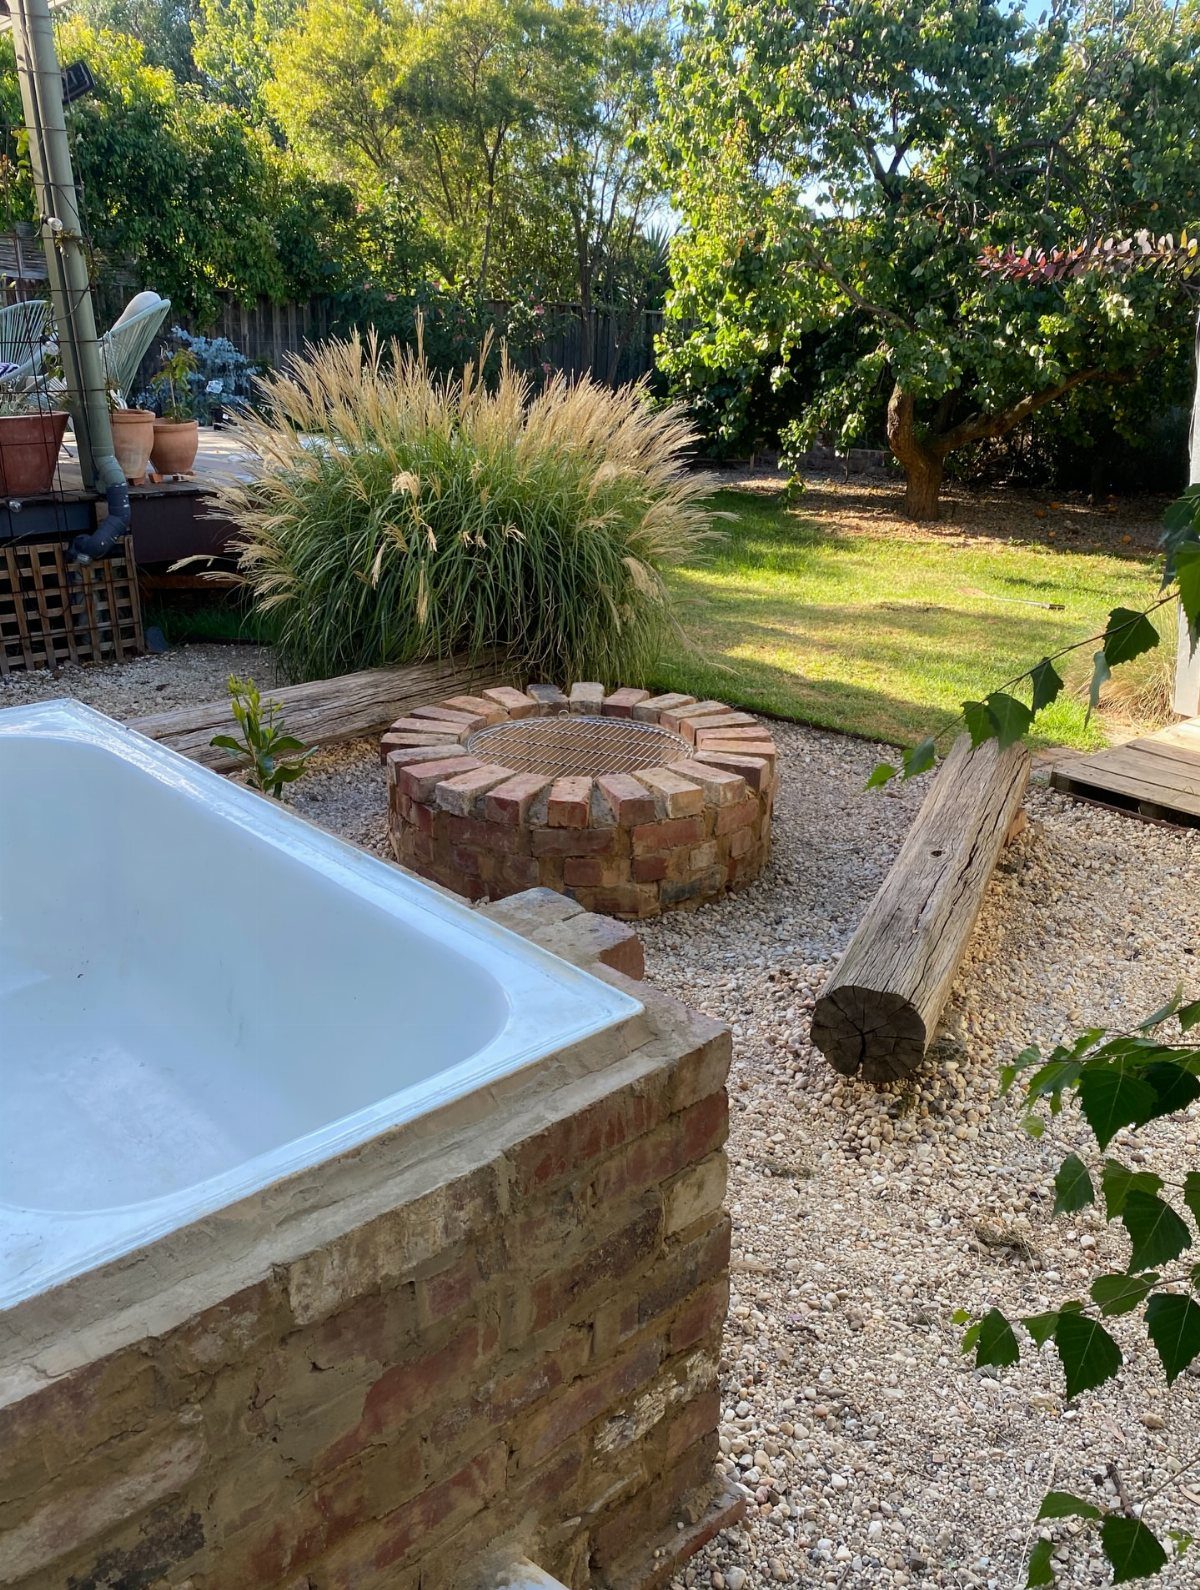
Brick joints stacked one atop another make a weak line, a place where heat and frost can work the wall apart.
Offsetting each layer, what masons call a running bond, turns those seams into a zigzag that locks the ring together.
The same rule holds for the pit itself. Set the second course so each brick bridges two below it, third course back to matching the first, and keep alternating.
Several courses of wall, enough to contain logs without blocking knees, is what you’re after.
A rubber mallet taps each brick to level without cracking it. Leave the occasional small gap for airflow; the fire draws better and the wall breathes.
Construction adhesive between courses adds insurance if your bricks aren’t perfect, though dry-stacking works for a pit that won’t move once it’s placed.

PERFECT FOR WOOD STOVES AND FIREPLACES: Our fire bricks are made from high-quality mullite and are designed to withstand high temperatures, making them ideal for use in wood stoves, fireplaces, and other heating applications.
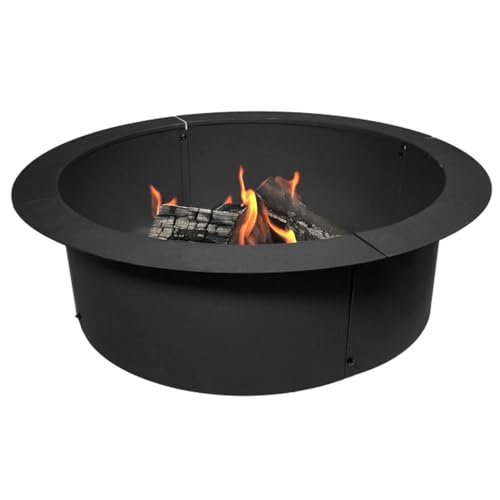
BUILD YOUR OWN FIRE PIT: This thick steel fireproof ring provides you a great starting point to build your own fire pit in your backyard, either above the ground or in it.
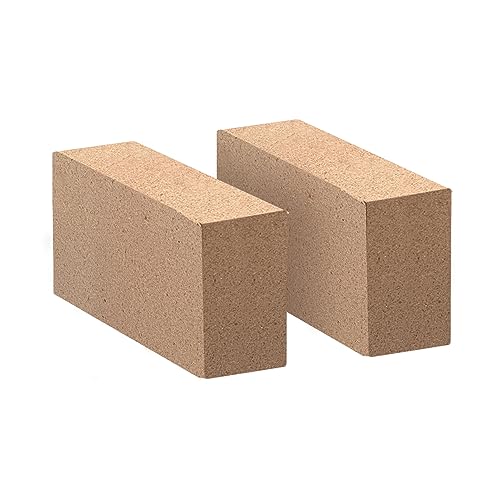
High Strength and Density: Can be used anywhere you want, no need to worry about it breaking.
10. Add a Gravel Surround
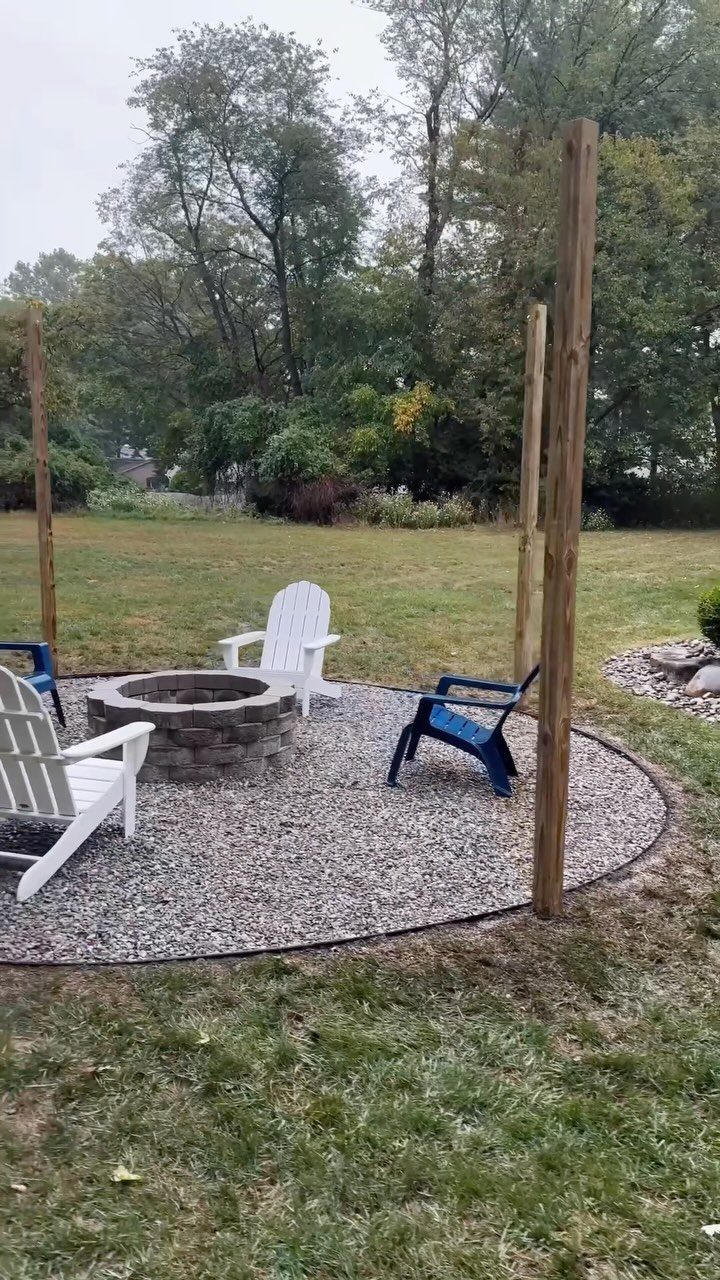
Gravel does three jobs at once: it kills weeds, drains water away from your base, and won’t catch fire if a spark hops the wall.
A gravel ring around the brick does most of the work, even if you don’t go for a full patio.
Landscaping fabric underneath keeps the gravel clean for years; without it, soil works up and grass works in, and you’re raking and resupplying every spring.
A raised border, timber or stone, holds the gravel in place and gives the whole area a finished edge.
A layer of gravel at the bottom improves drainage and steadies the first course of brick.
Some builders pour a concrete footing or add lava rock for extra mass, but for a backyard pit that sees weekend use, leveled gravel has always been enough for me.

DESIGNED FOR LARGE BUILT-IN FIRE PITS – Measures 51" diameter x 7.8" high and is designed for large round in-ground, built-in stone, brick and concrete fire pits. Measure the widest outside diameter and height of your fire pit before ordering.

Fire Pit Cover Round : Round In-ground fire pit cover diameter - 45 inch, Total Height - 9.8 inch, suitable for 40-44 inch built-In stone fire pits. Please measure the size of your built-in fire pit carefully before purchasing.

CUSTOM FIT - Designed to fit for 28 - 32 inch fire pit/table, make fire pit/table cover-ups like a glove
11. Create a Cozy Gathering Spot
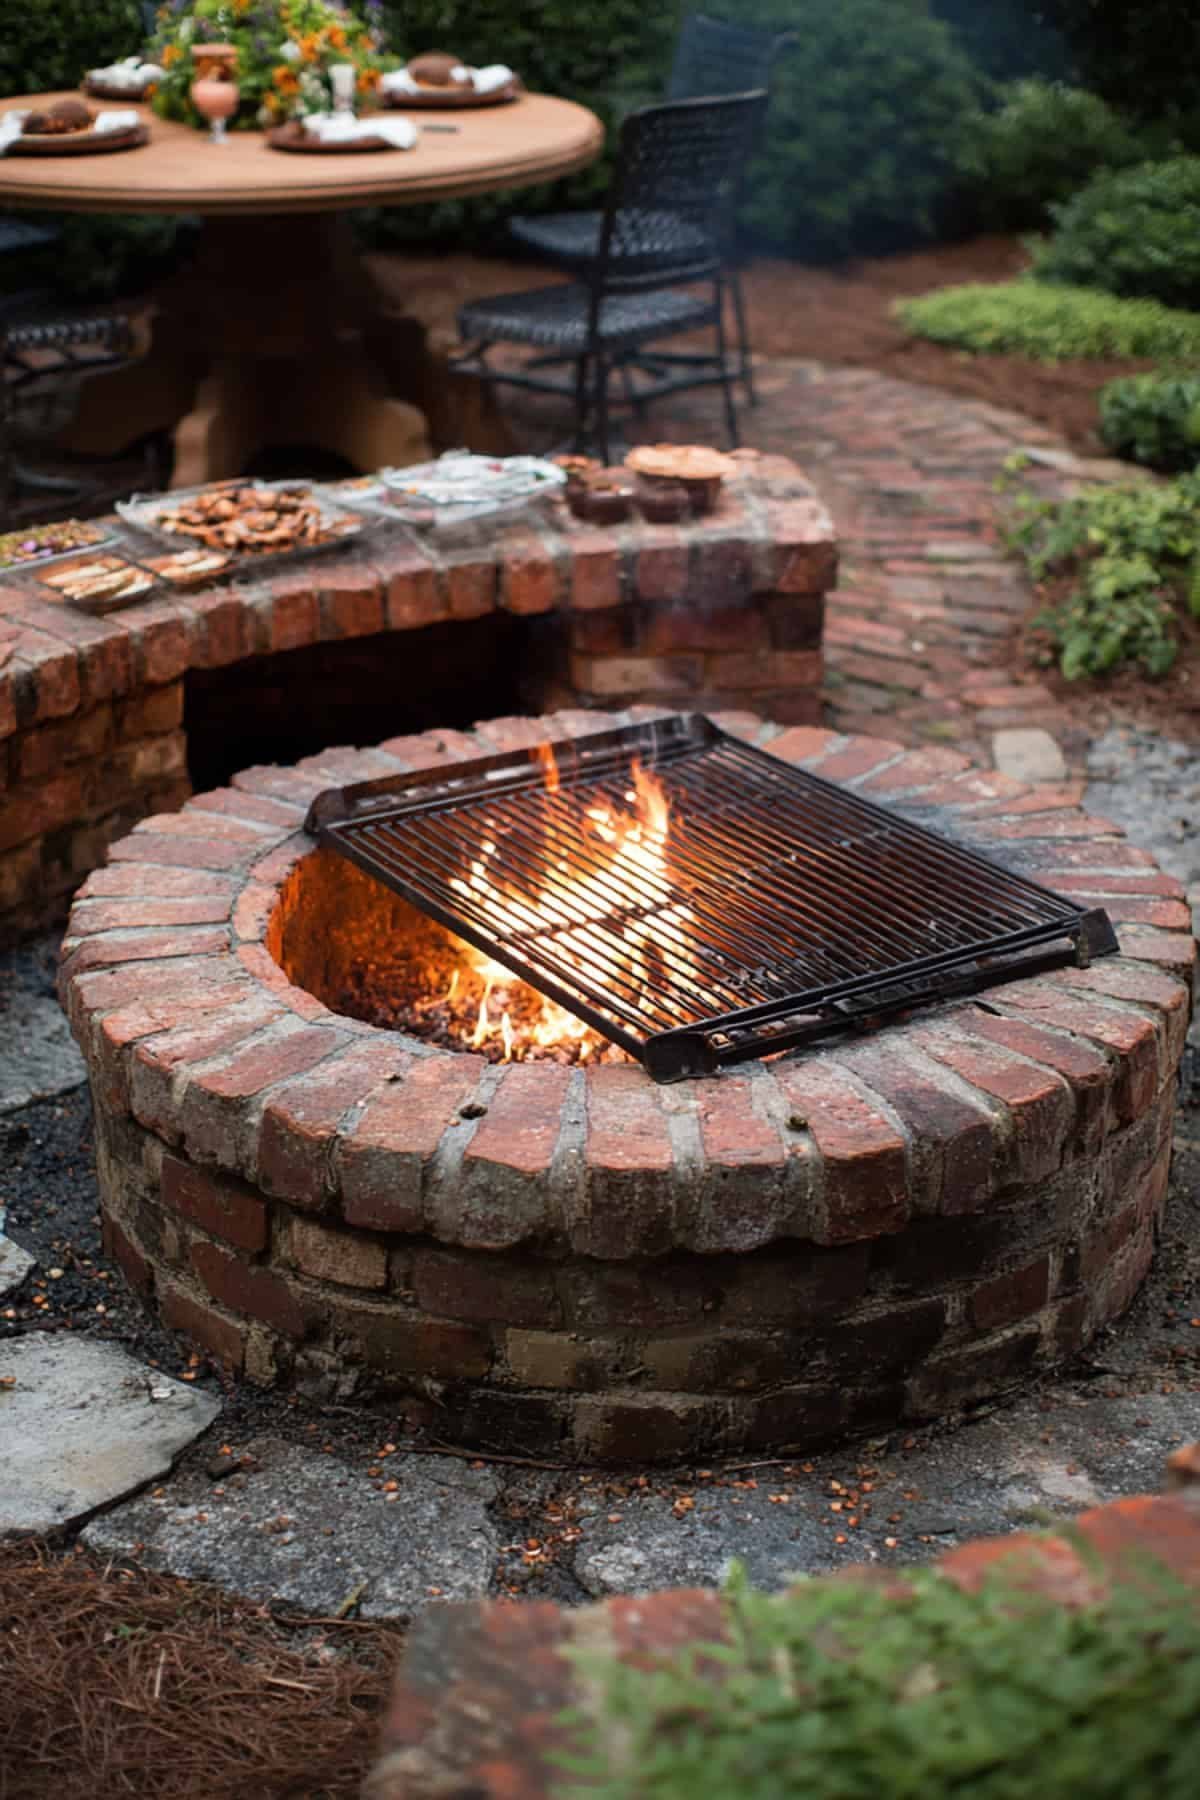
The curved brick ledge ringing this pit is doing more than looking good; it’s a backrest, a place for a plate, a spot to set a drink when the grass is damp.
Building in that ledge costs maybe another course of brick and an afternoon, and it changes how people use the space.
Round pits pull people into a circle better than square ones do. Arrange chairs in a half-moon, not a full ring, and everyone faces the fire without craning necks.
Keep the meal separate from the smoke, which matters more than you’d think until you’ve eaten a burger that tastes like hickory.
A metal cooking grate turns the pit into a grill without extra gear. A grate that sits flush with the rim works for searing, though I’d want an adjustable arm for slower cooking.
Fire plus seating plus a flat surface nearby is the whole formula. Everything else is padding.
A 3-ft.-diameter in-ground fire pit creates enough room for a good fire, yet keeps everyone close enough to chat (and complies with most codes).
12. Create a Fire Pit Kit
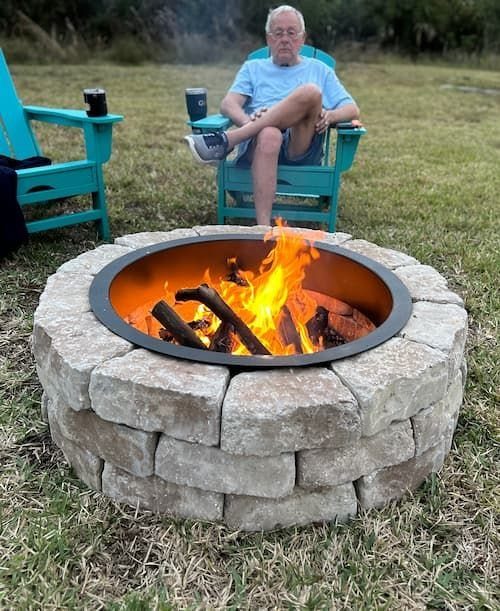
A fire pit kit hands you the ring, the blocks, and the math already done.
A kit with a metal liner takes out the guesswork: no wondering whether your bricks will handle the heat, no hunting for a ring that fits.
Kits run to propane or natural gas as often as wood, which suits renters or anyone who can’t keep a wood pile.
The metal liner in a wood-burning kit is the piece I’d pay for even if I sourced my own stone; it contains the heat that degrades regular brick and gives the wall a longer life.
Gravel base, level first course, stack and glue: the kit instructions won’t surprise you if you’ve read this far. What you’re buying is time saved on sourcing and doubt saved on whether it will work.
For a Saturday build with a Sunday fire, that’s often worth the markup.
Safety Considerations
Call 811 before you dig. Utility lines run where you don’t expect them, and the locate service is free.
Most areas want the pit 25 feet from the house and any overhanging branches, though I’ve seen codes at ten feet in tighter yards.
Check yours; the fire marshal’s office or city website has the actual rule for your address, not a general guideline.
Wind matters as much as distance. Stand where you’re planning to build and note which way the breeze usually moves.
Smoke carrying toward the back door means you’ll move the pit later, so figure that out while it’s still spray paint on grass.
Flat ground saves leveling work; even a gentle slope turns into a tilted rim once you stack brick.
Cost Considerations
A simple DIY pit lands between $200 and $500 depending on what you source locally.
The $450 build I keep in mind used a 15-foot span, decorative gravel, and landscape adhesive rather than full mortar; that price stuck in 2018 and materials have shifted since, but the ratio holds. Kits and cut stone push past $1,000 fast.
Salvage yards and construction overruns cut the brick bill in half.
Gravel for base and surround, mortar or adhesive, a trowel you may not own, and the cover you’ll want by fall are the hidden line items that don’t show in the finished look.
Recycled patio brick works for the outer ring if you can match sizes; mismatched is fine, uneven thickness is not.
Tools Needed
A shovel or spade moves the grass and topsoil; a hand tamper packs what’s left hard enough to build on. The level lives on the rim as you work, not in the toolbox.
For a mid-size pit, plan on fifty to sixty bags of gravel, a wheelbarrow to move them, and landscape adhesive in the 28-ounce tubes if you’re stacking block rather than mortaring.
Gloves and goggles are non-negotiable when you’re splitting brick or working below grade.
Design Options
Round pulls people shoulder-to-shoulder; square lines up with patio edges and house walls. The choice is space first, mood second.
A round pit in a narrow yard wastes walking room on the curves; a square one in open lawn reads rigid where you wanted relaxed.
I default to round when the seating is the point, square when the pit needs to anchor a larger patio layout. Built-in ledges and wood storage tuck easier into square corners.
Curved backrests ask for radius brick or cut stone, which adds labor or kit cost. Gas lines run straighter to a square footprint if you’re planning propane later.
Match the pit to the yard you have, not the photo that caught your eye.
Frequently Asked Questions
Can I use regular brick for a fire pit?
Regular brick belongs on the outside only. Standard clay brick handles weather fine but cracks and spalls when heat concentrates directly on it.
The combination keeps the pit safe without blowing the budget on specialty brick for every course.
How to make a simple brick fire pit?
Mark the circle first with a center stake, string, and spray paint or chalk, then dig down based on your frost line and base needs. Strip every root now; they keep growing under your work.
Stagger each layer in a running bond so joints never line up, check level with a straight 2×3 board stretched across the opening, and cap the top with stone or brick laid flat.
What can I use instead of firebricks?
Refractory cement, soapstone blocks, or certain heat-resistant natural stones can line the interior if fire bricks are hard to find.
A metal insert inside a kit buys you the same protection; the steel takes the thermal beating so the brick or stone you pick for the face stays intact season after season.