
Are you tired of your bathroom looking dull and outdated? A well-placed mirror can instantly elevate the space, making it look larger and more inviting. Hanging a bathroom mirror may seem like a daunting task, but with the right guidance, it can become a rewarding DIY project. By following this guide, you will learn how to hang a mirror securely and stylishly, transforming your bathroom into a visually appealing oasis.
In this step-by-step guide, you’ll accomplish the task of hanging your bathroom mirror with confidence. You will learn about the tools and materials needed, how to measure and mark the wall accurately, and the best techniques for securing the mirror in place. Even if you’re a beginner, this project can be completed in 30 minutes, making it a quick and satisfying update for your home.
Don’t settle for a lackluster bathroom any longer. Let’s get started on this beginner-friendly project that will not only enhance your décor but also provide practical benefits. Follow along, and soon you’ll be admiring your stunning new mirror!
TL;DR Summary
- Gather the necessary materials and tools for hanging your bathroom mirror.
- Measure and mark the wall to ensure the mirror is level and centered.
- Secure the mirror using appropriate wall anchors and screws.
- Enjoy your beautifully upgraded bathroom in just 30 minutes.
Prerequisites/Materials Needed
- Tools:
- Drill
- Level
- Measuring tape
- Pencil
- Stud finder (optional)
- Materials:
- Mirror
- Wall anchors (if needed)
- Screws
- Mounting brackets (if required)
- Safety Gear:
- Safety glasses
- Gloves
Skill Level & Time Estimate
Skill Level: Beginner
Total Time Estimate: 30 minutes
Breakdown of time by major steps:
– Gathering materials: 5 minutes
– Measuring and marking: 10 minutes
– Drilling and securing: 10 minutes
– Final adjustments: 5 minutes

3 SIZES FOR EVERY ROOM & EVERY PROJECT Small (1 3/16") anchors keep picture frames, wall art, family photos, and decorative hooks hanging straight — not tilting every time a door closes. Medium (1 3/8") sizes hold bathroom shelves, mirrors, towel racks, and curtain rods securely in place, even through daily use in steamy bathrooms. Large (1 9/16") anchors stop floating shelves, wall organizers, entryway hooks, TV wall mounts, and everyday storage projects from sagging or pulling away from the wall. One dry wall anchors and screws kit for the jobs homeowners actually tackle every day — no guesswork, no extra trips to the hardware store
Step 1: Gather Your Tools and Materials
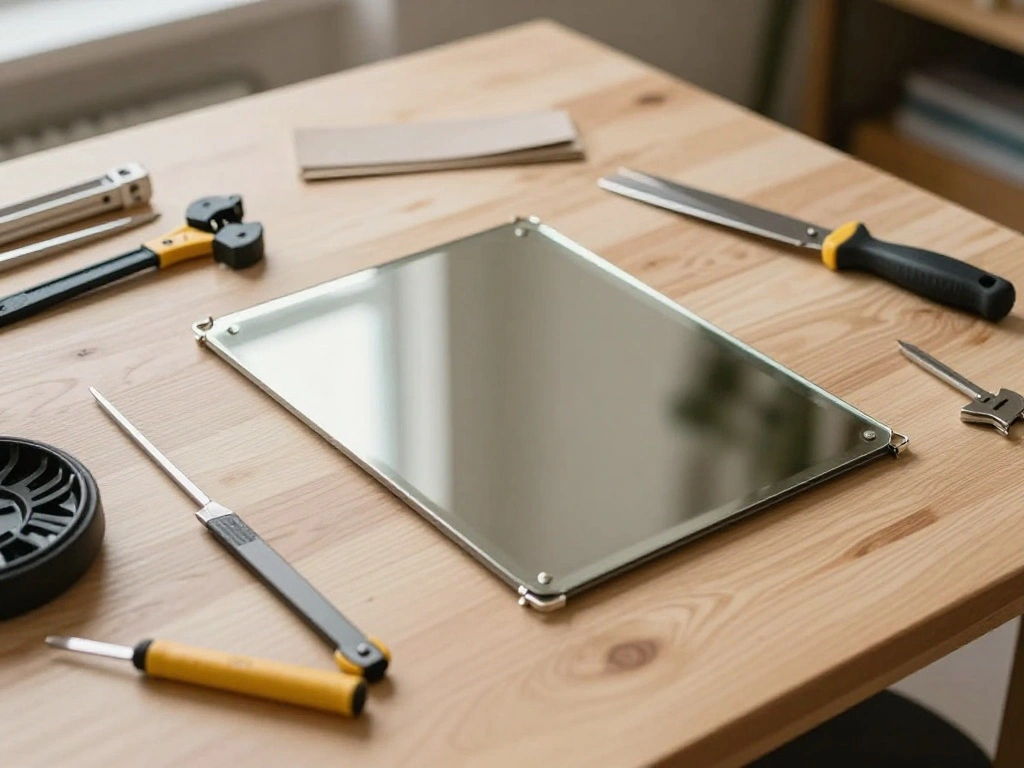
Before starting, gather all the necessary tools and materials. This ensures you can complete the project without interruptions. Follow these sub-steps:
- Collect your tools: drill, level, measuring tape, and pencil.
- Gather the mirror and any mounting hardware that comes with it.
- Ensure you have safety gear like glasses and gloves for protection.
Pro Tip: Double-check that you have all materials before starting to avoid delays.
Why this matters: Having everything ready allows for a smooth workflow, making the installation process efficient and less frustrating.
Time estimate for this step: 5 minutes.
Step 2: Measure and Mark the Wall
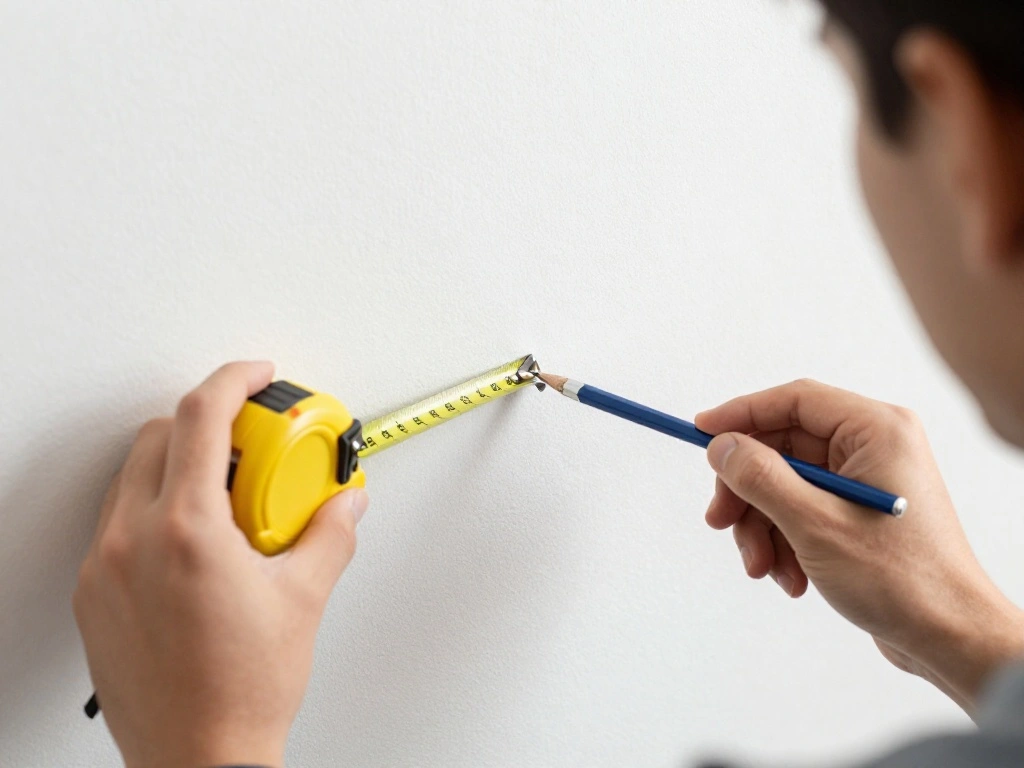
Measuring and marking the wall correctly is crucial for a well-aligned mirror. Follow these sub-steps:
- Use the measuring tape to determine the desired height for the mirror.
- Mark the center point on the wall where the mirror will hang.
- Use a level to draw a straight line across the wall where the top of the mirror will sit.
Warning: Ensure you measure from the floor to avoid hanging the mirror too high or low.
Why this matters: Accurate measurements prevent misalignment, ensuring the mirror looks visually appealing and functions correctly.
Time estimate for this step: 10 minutes.
Step 3: Locate Wall Studs (if needed)
If your mirror is heavy, it’s essential to secure it to wall studs for safety. Follow these sub-steps:
- Use a stud finder to locate the studs in the wall.
- Mark the locations of the studs with a pencil.
- If no studs are available, prepare to use wall anchors for support.
Pro Tip: Always secure heavy mirrors to studs to prevent them from falling.
Why this matters: Properly anchoring the mirror ensures it stays in place and reduces the risk of damage or injury.
Time estimate for this step: 5 minutes.
Step 4: Prepare the Mirror for Hanging
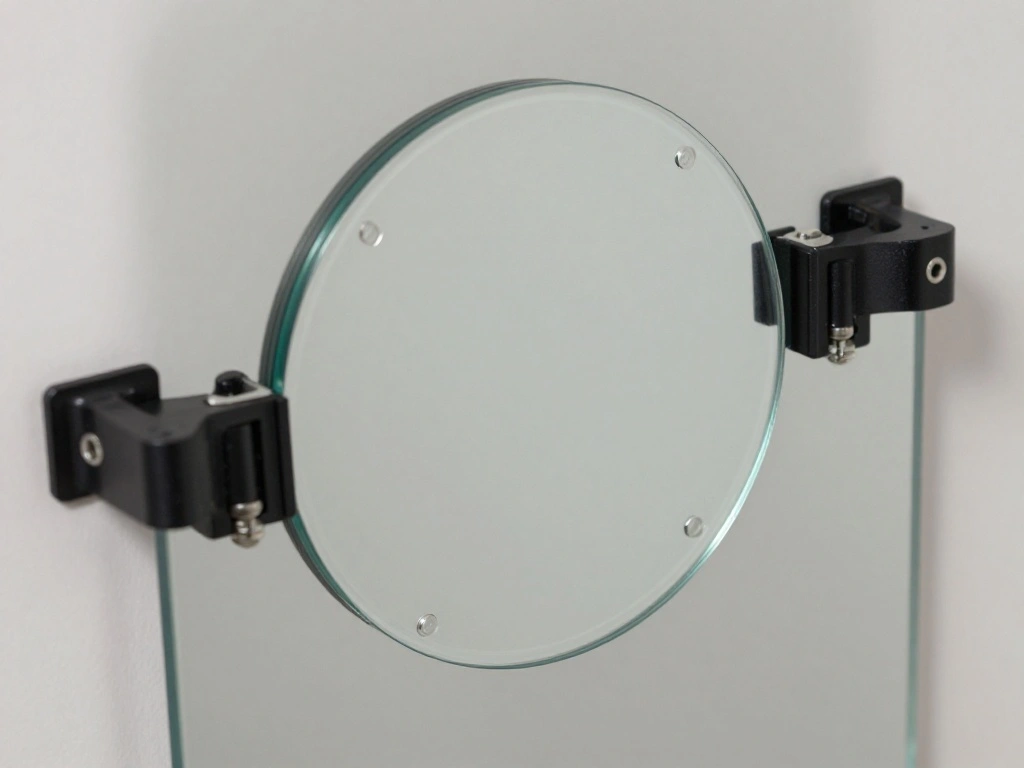
Before hanging the mirror, prepare it by attaching any necessary hardware. Follow these sub-steps:
- If the mirror requires mounting brackets, attach them according to the manufacturer’s instructions.
- Ensure the brackets are secured tightly and properly aligned.
- Check that any hanging wire is securely fastened if applicable.
Warning: Double-check that the hardware is installed correctly to avoid accidents.
Why this matters: Proper preparation ensures the mirror hangs securely and reduces the risk of it falling.
Time estimate for this step: 5 minutes.
Step 5: Drill Holes for Anchors or Screws
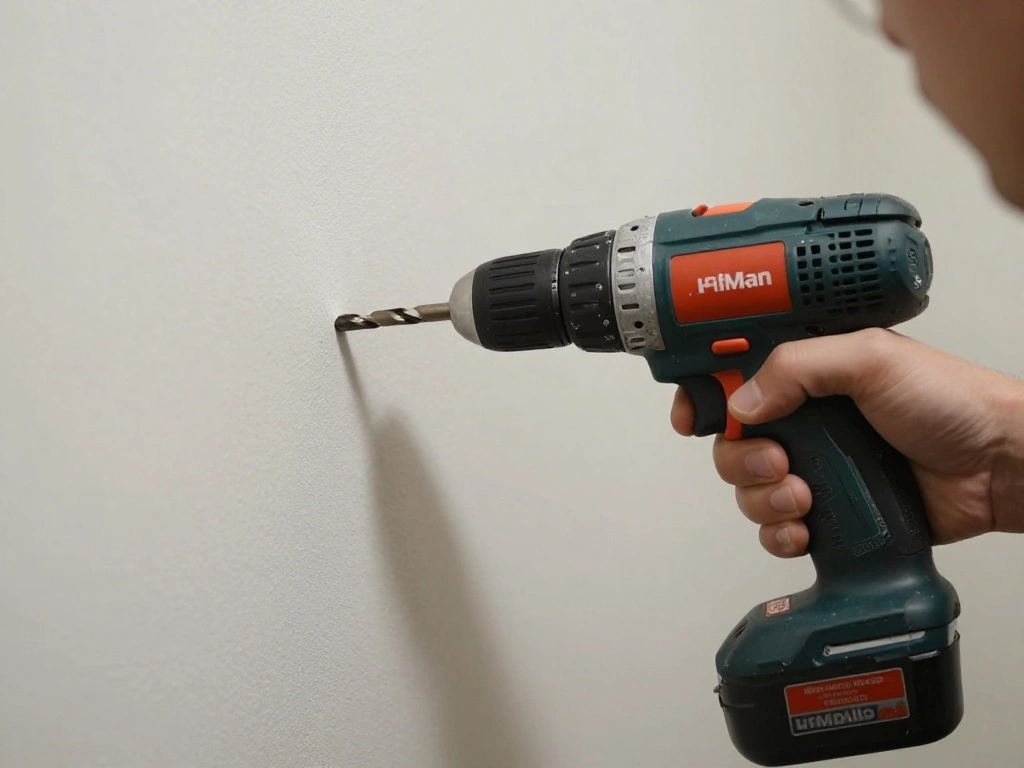
Now it’s time to drill holes for the anchors or screws based on your markings. Follow these sub-steps:
- Using the drill, carefully create holes at the marked locations.
- If using wall anchors, insert them into the holes until they are flush with the wall.
- If securing directly to studs, drill screws into the stud locations.
Warning: Be cautious when drilling to avoid damaging plumbing or electrical wiring inside the walls.
Why this matters: Properly drilled holes ensure a secure fit for the mirror, preventing it from falling.
Time estimate for this step: 10 minutes.
Step 6: Hang the Mirror on the Wall
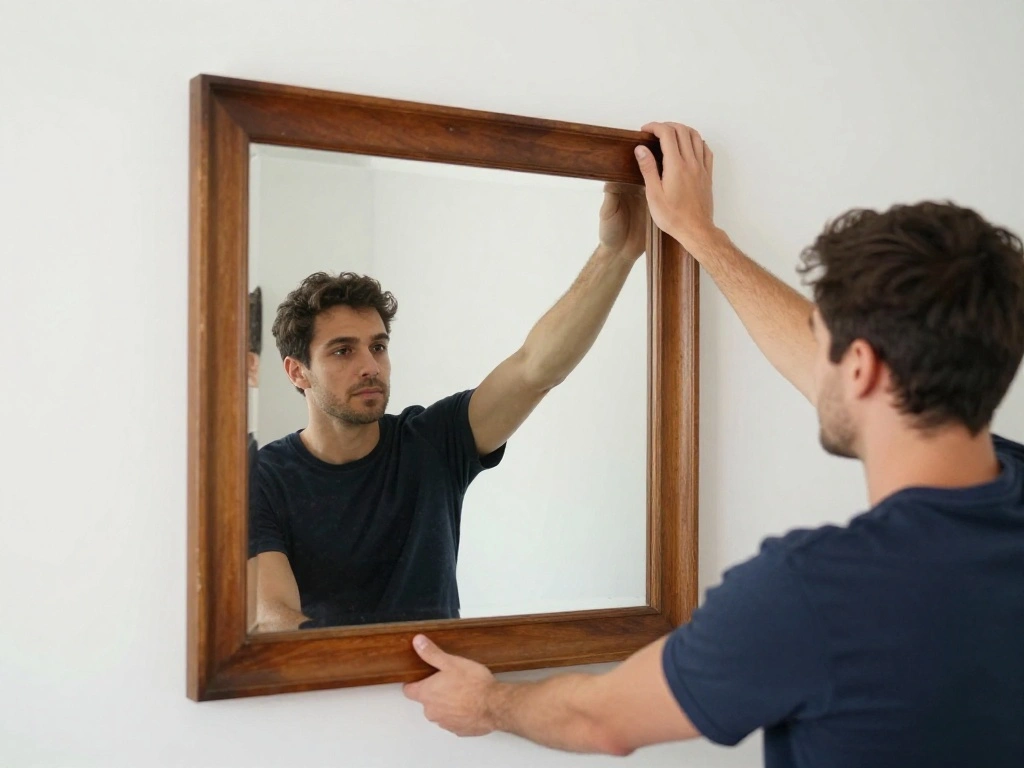
It’s time to hang the mirror! Follow these sub-steps:
- Lift the mirror and align it with the installed hardware.
- Carefully place the mirror onto the anchors or screws.
- Ensure the mirror is resting securely and is level.
Pro Tip: It’s helpful to have a partner assist with holding the mirror while you secure it.
Why this matters: Proper hanging ensures the mirror is secure and visually aligned, enhancing the overall look of your bathroom.
Time estimate for this step: 5 minutes.
Step 7: Level the Mirror
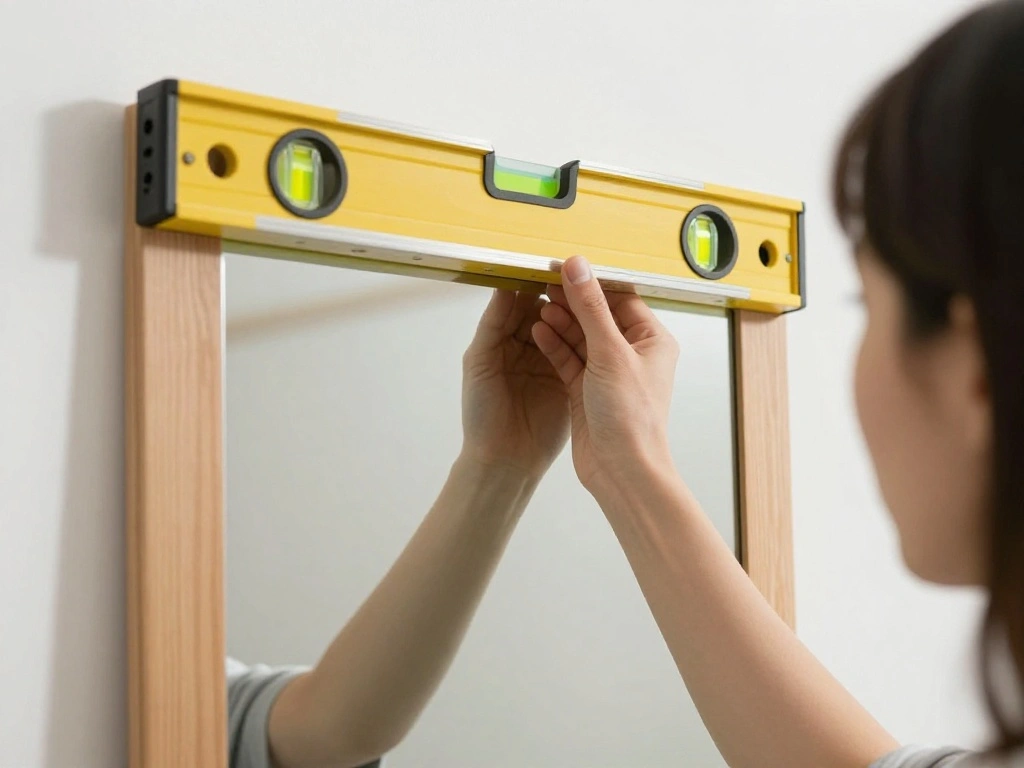
Once the mirror is hung, level it to ensure it looks straight. Follow these sub-steps:
- Use a level tool to check that the mirror is even.
- If it’s not level, adjust it by slightly lifting and repositioning.
- Once level, press it firmly against the wall for stability.
Warning: An unlevel mirror can look unprofessional and may not function correctly.
Why this matters: A level mirror enhances the aesthetics of your bathroom and ensures functionality.
Time estimate for this step: 5 minutes.
Step 8: Make Final Adjustments
Check everything before considering the project complete. Follow these sub-steps:
- Inspect the mirror for any loose hardware or instability.
- Make adjustments to the brackets or screws if necessary.
- Clean the mirror surface to remove any fingerprints or dust.
Pro Tip: It’s best to clean the mirror after installation to avoid smudging during the hanging process.
Why this matters: Ensuring everything is secure and clean will leave you with a polished and professional-looking installation.
Time estimate for this step: 5 minutes.
Step 9: Enjoy Your New Bathroom Decor
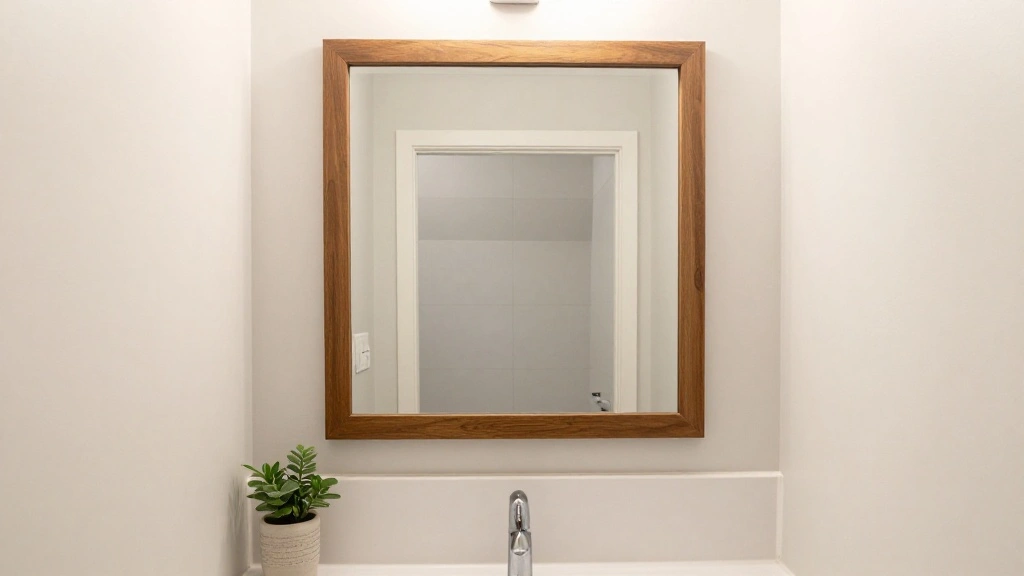
Congratulations! Your bathroom mirror is now hung, and it’s time to enjoy your hard work. Follow these sub-steps:
- Step back and admire the finished look of your bathroom.
- Consider adding decorative elements around the mirror to enhance the space.
- Share your success with friends and family!
Pro Tip: Take a before-and-after photo to appreciate the transformation!
Why this matters: Celebrating your success motivates you to tackle more DIY projects in the future.
Time estimate for this step: 5 minutes.
Pro Tips
- Mirror Size: Choose a mirror size that complements your bathroom’s dimensions.
- Lighting: Consider adding lighting around the mirror for enhanced functionality and aesthetics.
- Framed vs. Frameless: Decide on a framed or frameless mirror based on your decor style.
- Regular Maintenance: Clean the mirror regularly to keep it looking new.
- Style Coordination: Coordinate the mirror style with other bathroom fixtures for a cohesive look.
Common Mistakes to Avoid
Warning: Avoid these pitfalls to ensure a successful project:
- Not measuring correctly: Always double-check your measurements to prevent misalignment.
- Ignoring weight limits: Ensure your wall can support the mirror’s weight.
- Forgetting safety gear: Always use safety glasses and gloves when handling glass mirrors.
Troubleshooting Section
Problem: The mirror is crooked.
Solution: Adjust the mirror by lifting it off the wall and re-aligning it using a level.
Problem: The mirror feels loose.
Solution: Tighten the screws or anchors to secure the mirror better.
Problem: Wall anchors are not holding.
Solution: Remove the anchors and use larger ones suitable for the wall type.
Variations/Alternative Methods
Consider these alternatives for hanging your mirror:
- Adhesive Strips: Use heavy-duty adhesive strips for lightweight mirrors on smooth walls.
- Lean Against the Wall: For a casual look, lean the mirror against the wall without securing it.
Choose the method that best suits your bathroom design and mirror type.
FAQs
- What if I don’t have a stud finder? You can use a magnet to locate screws or nails in the wall.
- How long should I wait before using the mirror? Allow a few hours for the adhesive to set if you used it.
- Is it safe to hang mirrors in a humid environment? Yes, just ensure they are properly sealed to prevent damage.
Conclusion
Congratulations on successfully hanging your bathroom mirror! You’ve transformed your space and gained valuable skills along the way. Now that your mirror is in place, consider exploring additional decor ideas to further enhance your bathroom’s aesthetic.
Don’t stop here! Your next step could be adding stylish lighting, fresh paint, or new accessories to complete the look. Remember, every improvement you make adds value and joy to your home. Enjoy your beautiful new bathroom!