
Are you tired of your bathroom looking dull and outdated? A well-placed mirror can instantly elevate the space, making it look larger and more inviting. Hanging a bathroom mirror may seem like a daunting task, but with the right guidance, it can become a rewarding DIY project. By following this guide, you will learn how to hang a mirror securely and stylishly, transforming your bathroom into a visually appealing oasis.
In this step-by-step guide, you’ll accomplish the task of hanging your bathroom mirror with confidence. You will learn about the tools and materials needed, how to measure and mark the wall accurately, and the best techniques for securing the mirror in place. Even if you’re a beginner, this project can be completed in 30 minutes, making it a quick and satisfying update for your home.
Don’t settle for a lackluster bathroom any longer. Let’s get started on this beginner-friendly project that will not only enhance your décor but also provide practical benefits. Follow along, and soon you’ll be admiring your stunning new mirror!
TL;DR Summary
- Gather the necessary materials and tools for hanging your bathroom mirror.
- Measure and mark the wall to ensure the mirror is level and centered.
- Secure the mirror using appropriate wall anchors and screws.
- Enjoy your beautifully upgraded bathroom in just 30 minutes.

Complete Set for Secure Mounting: This kit includes 12 durable metal mirror holder clips and corresponding screws, each clip measuring 1.42x0.98x0.27 inches, designed to mount mirrors securely to any wall

[ What You Get ] : 2 pairs 2 Inch french cleat picture hanger X 4 pieces self-tapping screws X 4 pieces self drilling screw X 4 pieces expansion rubber plugs X 4 pieces clear bumpers

Quality Material: This black "J" mirror hanging bracket is made of japanese alloy steel materials, high hardness, corrosion-resistant,powder coated,rust-resistant, one-piece molding, strong load bearing capacity, durable, perfect for hanging large, heavy mirrors
Prerequisites/Materials Needed
- Tools:
- Drill
- Level
- Measuring tape
- Pencil
- Stud finder (optional)
- Materials:
- Mirror
- Wall anchors (if needed)
- Screws
- Mounting brackets (if required)
- Safety Gear:
- Safety glasses
- Gloves

🌟【Sculpted Aluminum Frame with Layered Detail】This black bathroom mirror features a thoughtfully crafted aluminum frame with a raised edge profile that creates subtle dimension and refined visual depth. The rustproof and moisture-resistant aluminum alloy ensures lasting durability in humid bathroom environments while adding a stylish finishing touch to your vanity wall décor.

🌟【Sculpted Aluminum Frame with Layered Detail】This gold bathroom mirror features a thoughtfully crafted aluminum frame with a raised edge profile that creates subtle dimension and refined visual depth. The rustproof and moisture-resistant aluminum alloy ensures lasting durability in humid bathroom environments while adding a stylish finishing touch to your vanity wall décor.

Upgraded Iterative Multifunctional Integrated Design: This upgraded TAOMEELOR magnetic stud finder laser is an all-in-one leveler tool that integrates a stud finder and laser level for accurate wall positioning. Different from ordinary models, this exclusive magnetic stud finder features 2 detachable independent magnetic positioning modules to realize multi-point precise positioning and flexible operation. Equipped with 4 customized replacement pins for wooden surfaces, it adapts to various wall types. Adopting high-performance NdFeB magnet core, this magnet stud finder with laser delivers ultra-sensitive induction to quickly locate hidden wall metal fasteners.
Skill Level & Time Estimate
Skill Level: Beginner
Total Time Estimate: 30 minutes
Breakdown of time by major steps:
– Gathering materials: 5 minutes
– Measuring and marking: 10 minutes
– Drilling and securing: 10 minutes
– Final adjustments: 5 minutes

Complete Value Pack: each kit includes 20 durable mirror clips, 20 heavy duty screws, and 20 sturdy wall anchors; With enough hardware for multiple projects, it's the nice all in one solution for your home renovation needs

COMPLETE SET FOR VARIOUS MOUNTING NEEDS: This Heavy Duty Toggle Bolts Assortment Kit includes 164 pieces of drywall anchors, toggle bolts, and screws in multiple sizes to fit different installation requirements. The set contains 40pcs #6×1", 40pcs #5×1", 40pcs #7×1", 20pcs #6×1-1/5", 12pcs #8×1-3/5", and 20pcs black #8×1-1/4" wall anchors, along with toggle bolts in 1/4" (4pcs), 3/16" (12pcs), and 1/8" (16pcs). Ideal for mounting shelves, mirrors, or curtain rods.

STRONG LOAD-BEARING CAPACITY:The wall anchor is crafted from high-quality hard nylon plastic with durable high-strength fiberglass. Its zinc-plated screws feature deep threads for maximum durability, capable of supporting up to 75 pounds. This sturdy anchor is perfect for hanging heavy duty items.
Step 1: Gather Your Tools and Materials
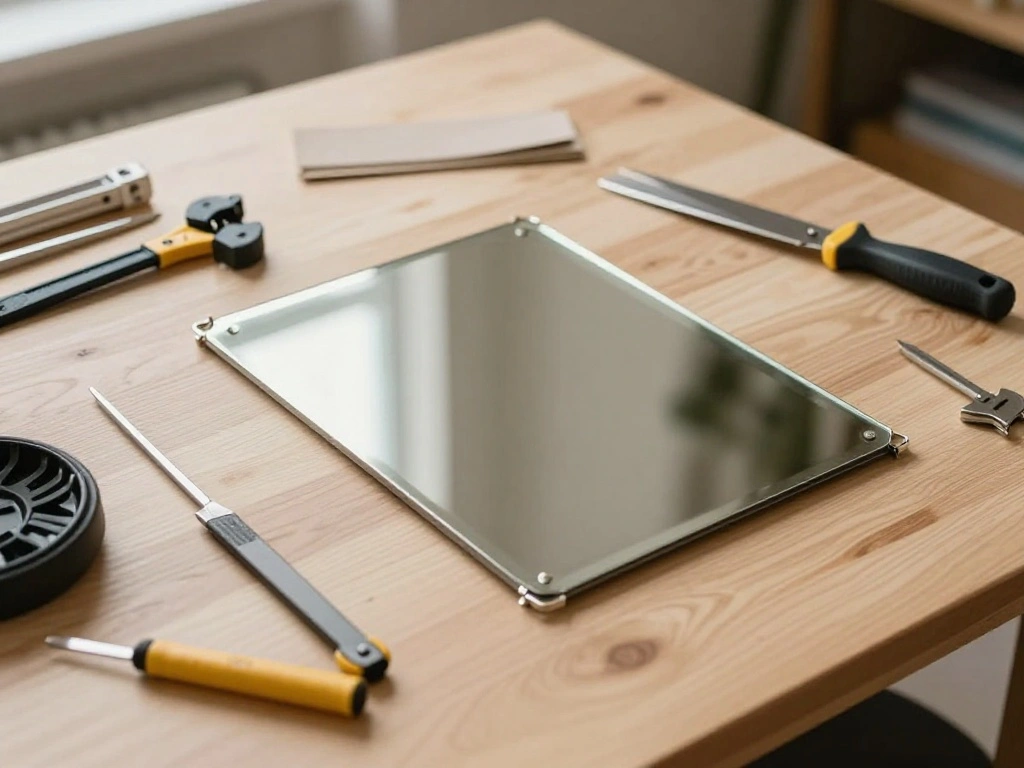
Before starting, gather all the necessary tools and materials. This ensures you can complete the project without interruptions. Follow these sub-steps:
- Collect your tools: drill, level, measuring tape, and pencil.
- Gather the mirror and any mounting hardware that comes with it.
- Ensure you have safety gear like glasses and gloves for protection.
Pro Tip: Double-check that you have all materials before starting to avoid delays.
Why this matters: Having everything ready allows for a smooth workflow, making the installation process efficient and less frustrating.
Time estimate for this step: 5 minutes.

Complete Installation Kit - This full length mirror hanging kit includes 2 heavy-duty over the door brackets, 2 mirror mounting plates, 8 screws, 1 screwdriver, and strong double-sided tape. Specifically designed for mirrors with back holes OR wooden frames, providing both screw and no-drill installation options.
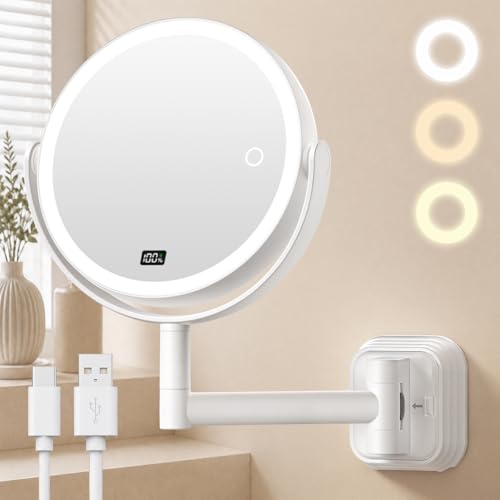
𝗡𝗼 𝗗𝗿𝗶𝗹𝗹𝗶𝗻𝗴 & 𝗗𝗿𝗶𝗹𝗹𝗶𝗻𝗴 𝗢𝗽𝘁𝗶𝗼𝗻𝘀: This wall mirror features two installation options: 2 strong 3M adhesive bases for drill-free, wall-friendly use ideal for renters, tile walls, small bathrooms, apartments, dorms, RVs, and vanity corners. 𝗢𝗿 screw mounting with included wall anchors, screws, and ABS base panel for extra stability. Compatible with smooth, clean, dry surfaces for versatile placement
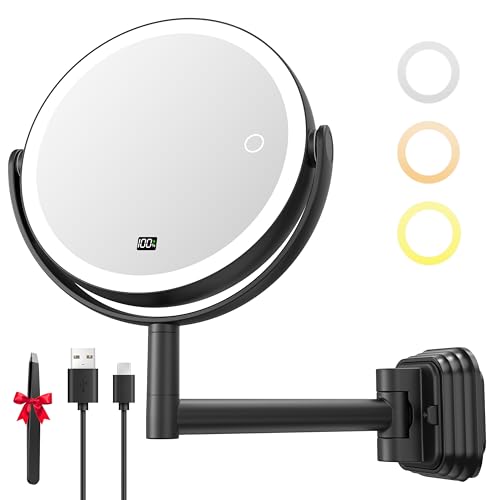
𝗡𝗼 𝗗𝗿𝗶𝗹𝗹𝗶𝗻𝗴 & 𝗗𝗿𝗶𝗹𝗹𝗶𝗻𝗴 𝗢𝗽𝘁𝗶𝗼𝗻𝘀: This wall mirror features two installation options: 2 strong 3M adhesive bases for drill-free, wall-friendly use ideal for renters, tile walls, small bathrooms, apartments, dorms, RVs, and vanity corners. 𝗢𝗿 screw mounting with included wall anchors, screws, and ABS base panel for extra stability. Compatible with smooth, clean, dry surfaces for versatile placement
Step 2: Measure and Mark the Wall
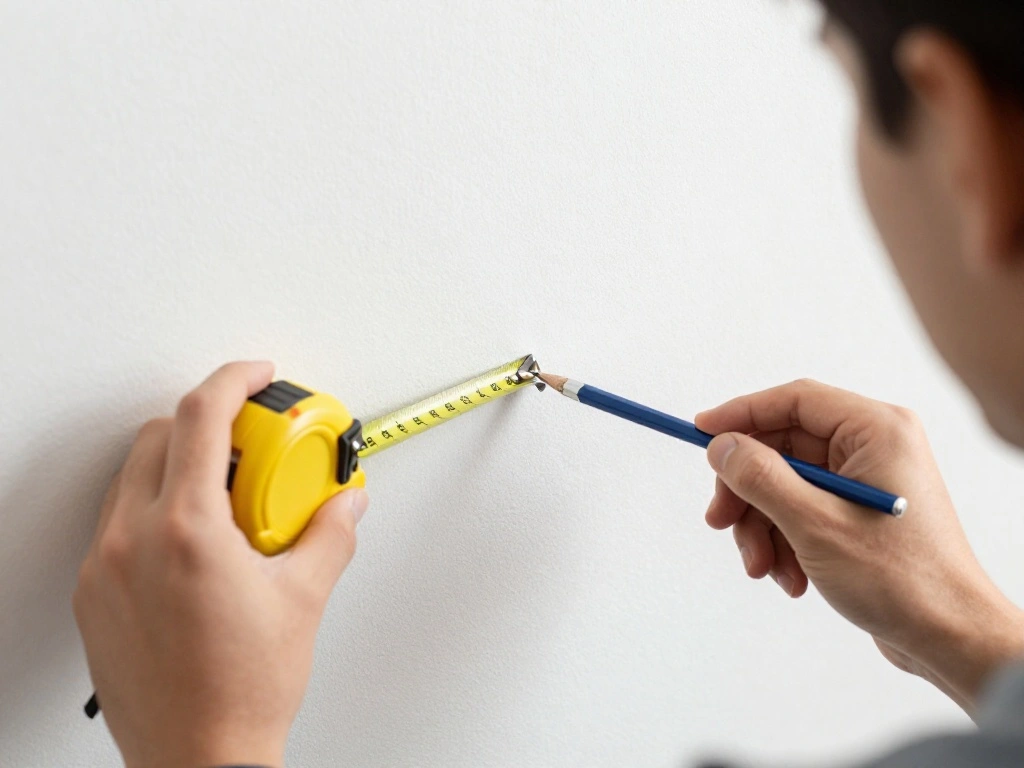
Measuring and marking the wall correctly is crucial for a well-aligned mirror. Follow these sub-steps:
- Use the measuring tape to determine the desired height for the mirror.
- Mark the center point on the wall where the mirror will hang.
- Use a level to draw a straight line across the wall where the top of the mirror will sit.
Warning: Ensure you measure from the floor to avoid hanging the mirror too high or low.
Why this matters: Accurate measurements prevent misalignment, ensuring the mirror looks visually appealing and functions correctly.
Time estimate for this step: 10 minutes.

Available to Fit Three Thicknesses of Mirror

Practical kit: You will get 22 frame fixing clips with 22 screws and 22 fixing screws, which are enough to meet your daily needs; the mirror clip measures approx. 21 mm/ 0.83 inches in length, can be applied for installing glass that about 3/16 inches , please check the size of your mirror carefully before ordering

Complete Mounting Kit: You will receive 16 pieces J type mirror holder clips, 16 matching screws and 16 plastic expansion anchors. Each clip measures 1.46" (37mm) x 0.98" (25mm) x 0.35" (9mm), suitable for 1/4" thick mirrors. Sufficient quantity meets daily installation and replacement needs.
Step 3: Locate Wall Studs (if needed)
If your mirror is heavy, it’s essential to secure it to wall studs for safety. Follow these sub-steps:
- Use a stud finder to locate the studs in the wall.
- Mark the locations of the studs with a pencil.
- If no studs are available, prepare to use wall anchors for support.
Pro Tip: Always secure heavy mirrors to studs to prevent them from falling.
Why this matters: Properly anchoring the mirror ensures it stays in place and reduces the risk of damage or injury.
Time estimate for this step: 5 minutes.

Package include: 4 pack mirror hanging hardware kit (4 mirror mounting brackets + 4 screws + 4 screw anchors). Fits for 3-5mm thick glass and mirror.

【High Quality Materials】The mirror clips are made of high-quality durable plastic,which is not easy to break,lightweight and safe to use,ensuring a long service life.The screws of the mirror holder clips are made of metal,sturdy and durable with strong rust resistance.The fixers of the mirror mounting clips are made of plastic,strong and durable,suitable for long-term use

Dual Screws Mounted Hardware: The old designs are only can be fixed by one screw, but each of this new upgraded mounting hardware can be fixed by 2 screws. So the mirror will be more firmly fixed on the wall.
Step 4: Prepare the Mirror for Hanging
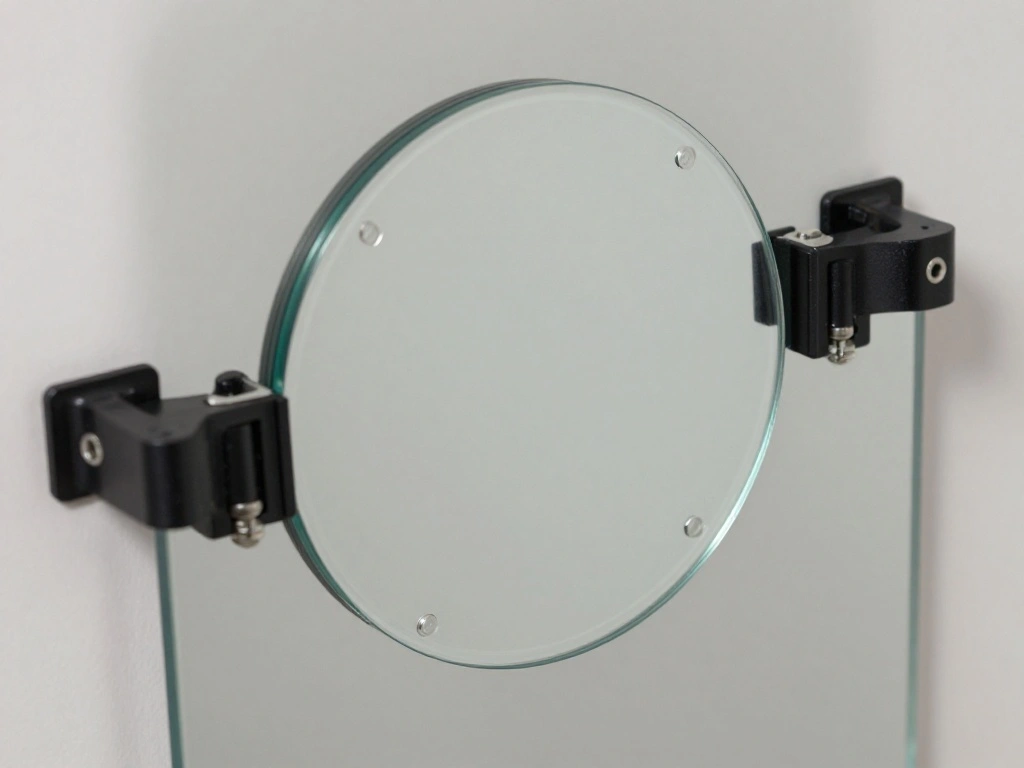
Before hanging the mirror, prepare it by attaching any necessary hardware. Follow these sub-steps:
- If the mirror requires mounting brackets, attach them according to the manufacturer’s instructions.
- Ensure the brackets are secured tightly and properly aligned.
- Check that any hanging wire is securely fastened if applicable.
Warning: Double-check that the hardware is installed correctly to avoid accidents.
Why this matters: Proper preparation ensures the mirror hangs securely and reduces the risk of it falling.
Time estimate for this step: 5 minutes.

🌟【Sculpted Aluminum Frame with Layered Detail】This gold bathroom mirror features a thoughtfully crafted aluminum frame with a raised edge profile that creates subtle dimension and refined visual depth. The rustproof and moisture-resistant aluminum alloy ensures lasting durability in humid bathroom environments while adding a stylish finishing touch to your vanity wall décor.

🌟【Sculpted Aluminum Frame with Layered Detail】This black bathroom mirror features a thoughtfully crafted aluminum frame with a raised edge profile that creates subtle dimension and refined visual depth. The rustproof and moisture-resistant aluminum alloy ensures lasting durability in humid bathroom environments while adding a stylish finishing touch to your vanity wall décor.

🌟【Sculpted Aluminum Frame with Layered Detail】This gold bathroom mirror features a thoughtfully crafted aluminum frame with a raised edge profile that creates subtle dimension and refined visual depth. The rustproof and moisture-resistant aluminum alloy ensures lasting durability in humid bathroom environments while adding a stylish finishing touch to your vanity wall décor.
Step 5: Drill Holes for Anchors or Screws
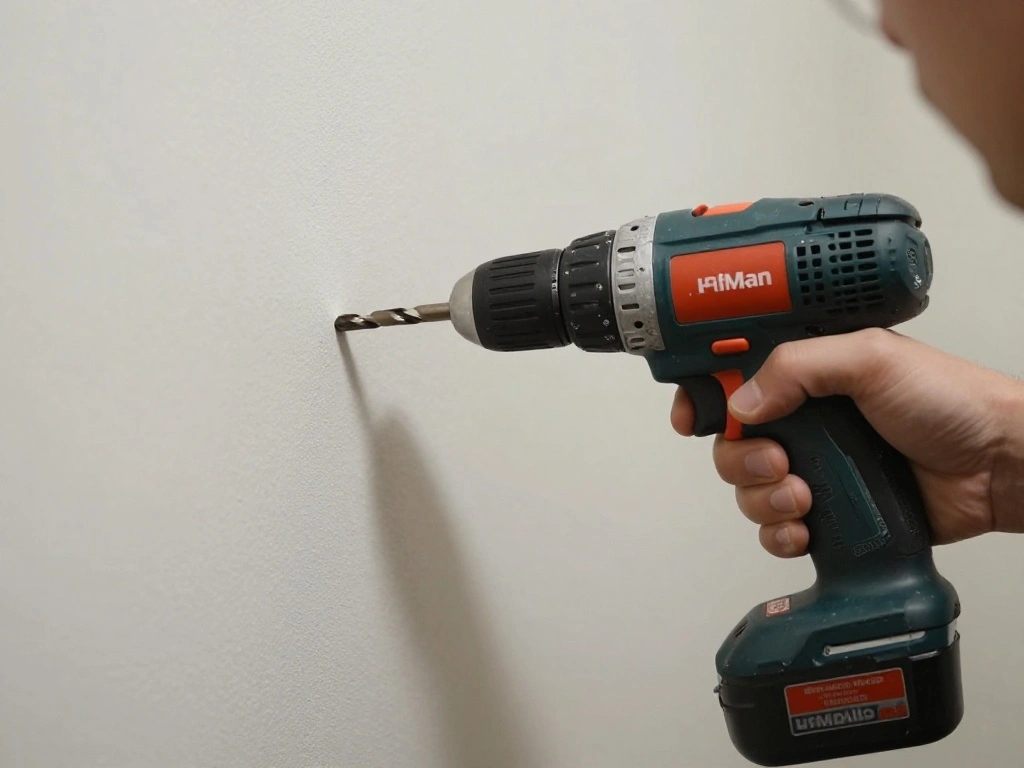
Now it’s time to drill holes for the anchors or screws based on your markings. Follow these sub-steps:
- Using the drill, carefully create holes at the marked locations.
- If using wall anchors, insert them into the holes until they are flush with the wall.
- If securing directly to studs, drill screws into the stud locations.
Warning: Be cautious when drilling to avoid damaging plumbing or electrical wiring inside the walls.
Why this matters: Properly drilled holes ensure a secure fit for the mirror, preventing it from falling.
Time estimate for this step: 10 minutes.

SUPERIOR STRENGTH: Our Wall Dog Wire Hanger supports up to 100 lbs with a strong, stable hold. Its extruded lip keeps picture hanging wire from slipping, providing reliable performance for heavy picture hanging hardware on various wall surfaces.

Complete Package Contents: You will receive a comprehensive mirror hanging kit that includes 50 clear plastic mirror holder clips and 50 matching metal screws. This ample quantity ensures you have sufficient hardware for multiple projects, such as securing mirrors in bathrooms, installing glass on cabinet doors, or mounting picture frames on various walls

Package Contents: 2 of 3.3ft long, 2mm diameter wire rope with hooks. 4 of anchors. Bolts, Nuts, Screws and plugs pack, Installation Instruction.
Step 6: Hang the Mirror on the Wall
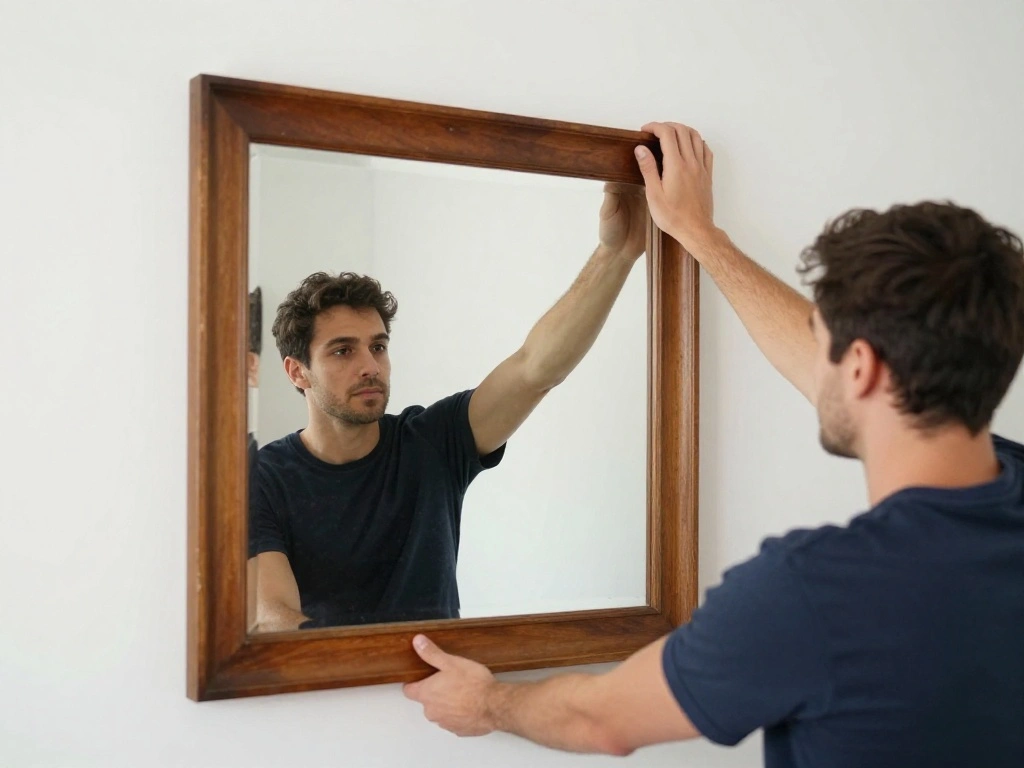
It’s time to hang the mirror! Follow these sub-steps:
- Lift the mirror and align it with the installed hardware.
- Carefully place the mirror onto the anchors or screws.
- Ensure the mirror is resting securely and is level.
Pro Tip: It’s helpful to have a partner assist with holding the mirror while you secure it.
Why this matters: Proper hanging ensures the mirror is secure and visually aligned, enhancing the overall look of your bathroom.
Time estimate for this step: 5 minutes.

STRONG MATERIAL – All the blue concrete anchors and screws are made of selected materials with premium quality just to ensure the best performance. The Philips screws are made of high-strength carbon steel and finished with galvanizing technology, which is highly resistant to rust and corrosion. The concrete anchors are made of new PE material for higher strength and better resistance to rub and aging.

HANG YOUR ITEMS WITH CONFIDENCE Stop dealing with anchors that slip, spin, or fail. These drywall anchors expand inside the wall to help create a secure hold for your picture frames, shelves, and wall décor.

📦 Each Plaster Bite Kit includes 100 premium Nylon Anchors & 100 #8 x 1-1/4" High Strength Carbon Steel Screws in a durable hard plastic case for organized storage - Installation instructions included
Step 7: Level the Mirror
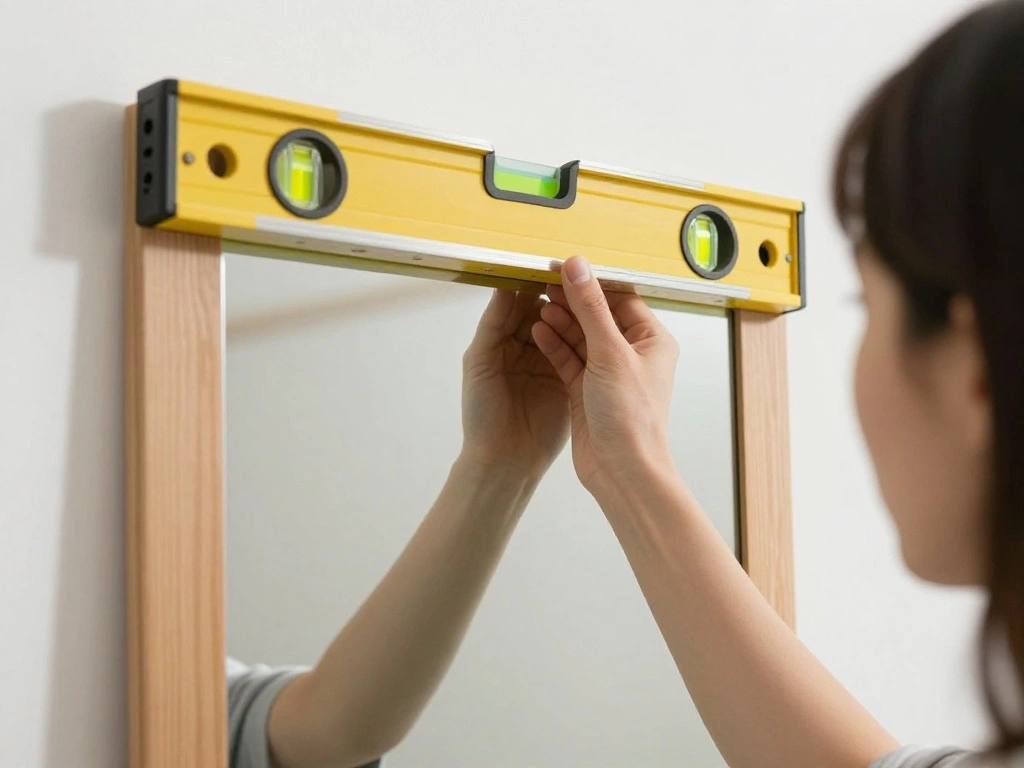
Once the mirror is hung, level it to ensure it looks straight. Follow these sub-steps:
- Use a level tool to check that the mirror is even.
- If it’s not level, adjust it by slightly lifting and repositioning.
- Once level, press it firmly against the wall for stability.
Warning: An unlevel mirror can look unprofessional and may not function correctly.
Why this matters: A level mirror enhances the aesthetics of your bathroom and ensures functionality.
Time estimate for this step: 5 minutes.

Spacious & Smart Organization: Tired of tangled jewelry, the DUMOS wall or door-mounted jewelry organizer is your ultimate solution. Effortlessly organize earrings, necklaces, rings, bracelets, and makeup tools. Features include 33 necklace hooks, 40 earring holes, 75 earring slots, 1 large ring pad, 1 bracelet bar, 4 shelves, and 2 bottom drawers. Finally, find what you need in seconds – no more morning chaos

【Package Include】You will receive set of 4 mirror hanging hardware kit (4 mirror mounting brackets + 8 screws + 8 screw anchors). Mirror mounting hardware fits for 3-5mm thick glass and mirror.The round glass clip holder has three colors for you to choose, enrich your life and refresh your home, add elegance and class, not only beautiful but also practical, easy to match with various styles.
Step 8: Make Final Adjustments
Check everything before considering the project complete. Follow these sub-steps:
- Inspect the mirror for any loose hardware or instability.
- Make adjustments to the brackets or screws if necessary.
- Clean the mirror surface to remove any fingerprints or dust.
Pro Tip: It’s best to clean the mirror after installation to avoid smudging during the hanging process.
Why this matters: Ensuring everything is secure and clean will leave you with a polished and professional-looking installation.
Time estimate for this step: 5 minutes.
Step 9: Enjoy Your New Bathroom Decor
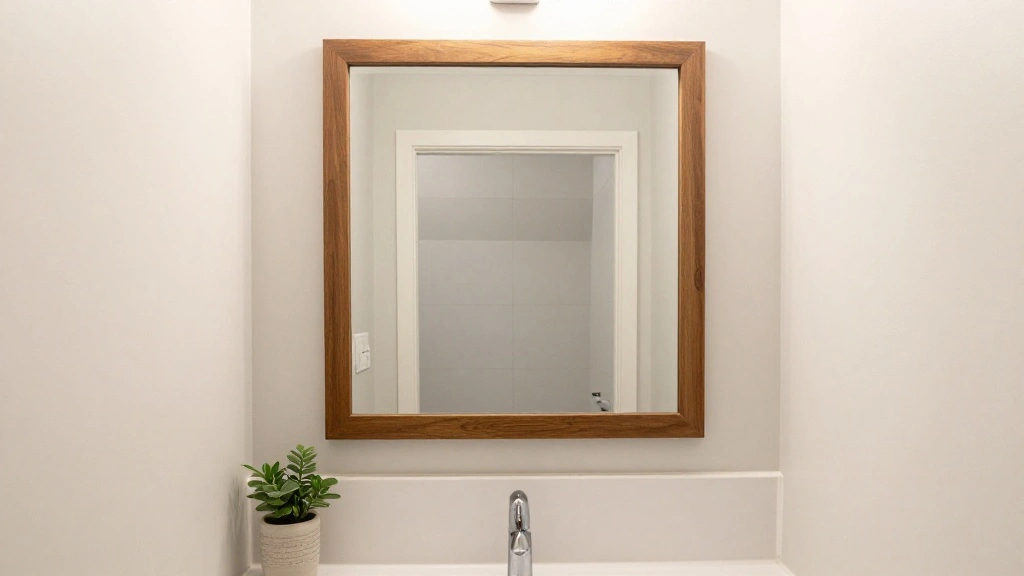
Congratulations! Your bathroom mirror is now hung, and it’s time to enjoy your hard work. Follow these sub-steps:
- Step back and admire the finished look of your bathroom.
- Consider adding decorative elements around the mirror to enhance the space.
- Share your success with friends and family!
Pro Tip: Take a before-and-after photo to appreciate the transformation!
Why this matters: Celebrating your success motivates you to tackle more DIY projects in the future.
Time estimate for this step: 5 minutes.
Pro Tips
- Mirror Size: Choose a mirror size that complements your bathroom’s dimensions.
- Lighting: Consider adding lighting around the mirror for enhanced functionality and aesthetics.
- Framed vs. Frameless: Decide on a framed or frameless mirror based on your decor style.
- Regular Maintenance: Clean the mirror regularly to keep it looking new.
- Style Coordination: Coordinate the mirror style with other bathroom fixtures for a cohesive look.
Common Mistakes to Avoid
Warning: Avoid these pitfalls to ensure a successful project:
- Not measuring correctly: Always double-check your measurements to prevent misalignment.
- Ignoring weight limits: Ensure your wall can support the mirror’s weight.
- Forgetting safety gear: Always use safety glasses and gloves when handling glass mirrors.
Troubleshooting Section
Problem: The mirror is crooked.
Solution: Adjust the mirror by lifting it off the wall and re-aligning it using a level.
Problem: The mirror feels loose.
Solution: Tighten the screws or anchors to secure the mirror better.
Problem: Wall anchors are not holding.
Solution: Remove the anchors and use larger ones suitable for the wall type.
Variations/Alternative Methods
Consider these alternatives for hanging your mirror:
- Adhesive Strips: Use heavy-duty adhesive strips for lightweight mirrors on smooth walls.
- Lean Against the Wall: For a casual look, lean the mirror against the wall without securing it.
Choose the method that best suits your bathroom design and mirror type.
FAQs
- What if I don’t have a stud finder? You can use a magnet to locate screws or nails in the wall.
- How long should I wait before using the mirror? Allow a few hours for the adhesive to set if you used it.
- Is it safe to hang mirrors in a humid environment? Yes, just ensure they are properly sealed to prevent damage.
Conclusion
Congratulations on successfully hanging your bathroom mirror! You’ve transformed your space and gained valuable skills along the way. Now that your mirror is in place, consider exploring additional decor ideas to further enhance your bathroom’s aesthetic.
Don’t stop here! Your next step could be adding stylish lighting, fresh paint, or new accessories to complete the look. Remember, every improvement you make adds value and joy to your home. Enjoy your beautiful new bathroom!