
Building a shed base on grass takes five key steps. First, inspect your yard and plan drainage so water won’t pool underneath. Next, choose your base type: gravel, pavers, or concrete blocks work well on grass. Then mark your shed’s footprint with stakes and string, remove the sod and topsoil, and level everything. After that, lay geotextile fabric and spread 3–6 inches of compacted gravel for stability. Finally, install your foundation and verify it’s level and square. Each step builds on the last to prevent settling and moisture damage.
Step 1: Assess Your Site and Plan Drainage
Before you bring home that shed, assess where it will actually sit. Start by examining your yard carefully. Remove grass, debris, and any uneven spots. Level ground is essential for a stable foundation.
Plan drainage as part of your base layout. Water pooling beneath the shed creates serious moisture problems. Check your soil drainage characteristics, as heavy clay soils retain water and cause damage. If you find poor drainage, add a gravel base layer to improve it.
Verify the ground level and make adjustments before installing your base type, whether that’s gravel, pavers, or plastic grid. This level adjustment ensures your foundation stability. Proper site assessment prevents costly problems later.
Intended Use: Mortar mix, paver joints, leveling base, traction
EASY TO USE: Our lightweight permeable pavers are easy for any level of DIYer to install; Feel proud of your own outdoor home improvements!

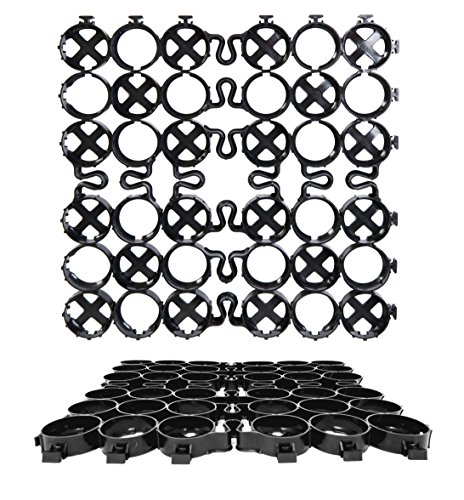
Package Contents: relish the simplicity of our value pack with 12 pieces of black permeable pavers; Our pavers are complete with snaps to seamlessly fit in with each other, ideal for usage in lawn patios, driveways, sidewalks and shed foundations; It's a value-for-money offering tailored for your exterior spaces
Step 2: Choose the Best Base Type for Your Grass Conditions
Now that you’ve leveled your site and figured out your drainage plan, it’s time to pick the right base for your shed. Your choice depends on your grass conditions and budget.
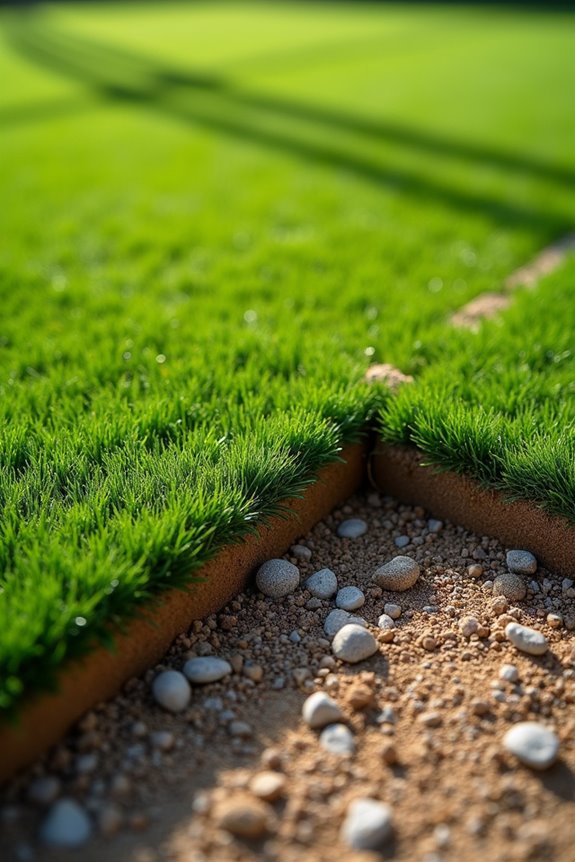
For uneven or wet grass, add a gravel sub-base first to create stability. A floating foundation works well on level ground. Use timber frames or concrete blocks for quick setup. Concrete slabs offer the strongest option but need professional installation and drainage sloping away from your shed.
Plastic grid systems provide fast, modular setup with good drainage, though they work best for smaller sheds. Pavers create a polished look with solid drainage when properly leveled.
Match your base type to your grass conditions to build a foundation that lasts.

【High-quality Landscape Fabric】: Our weed barrier fabric heavy duty is woven from high-quality polypropylene material, featuring strong tensile strength and durability for long-term ground coverage.

Efficient Weed Barrier & Light Blockout: Stop weed growth before it starts. Our high-density non-woven landscaping fabric blocks sunlight, providing a weed fabric that starves weeds of light and nutrients, reduces routine maintenance, and keeps garden beds, planting areas, and landscaped spaces cleaner and more organized.

【Premium Weed Barrier Fabric】 Weed barrier landscape fabric is a type of geotextile fabric that is commonly used in landscaping and construction. With excellent weed control properties, providing a clean and tidy landscape. Very strong and durable, Pro landscape weed barrier will provide you with premium weed protection for a very long time.
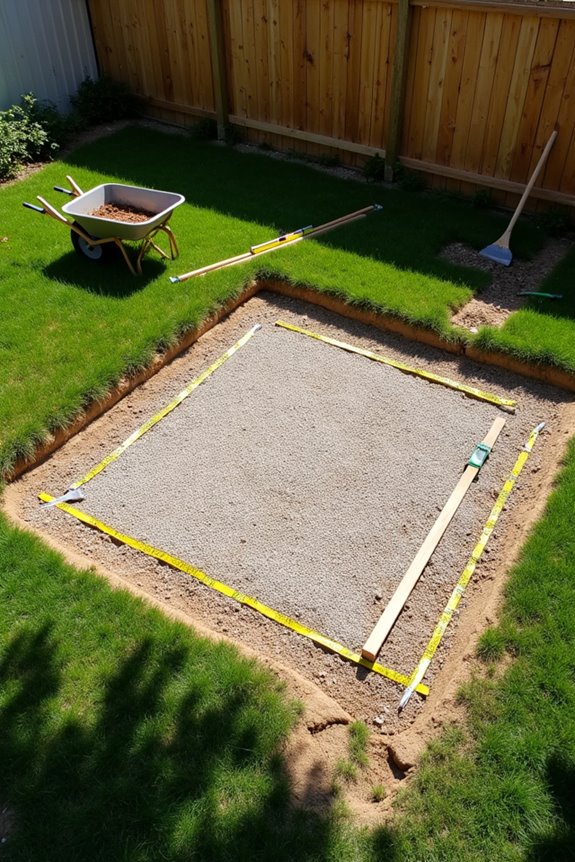
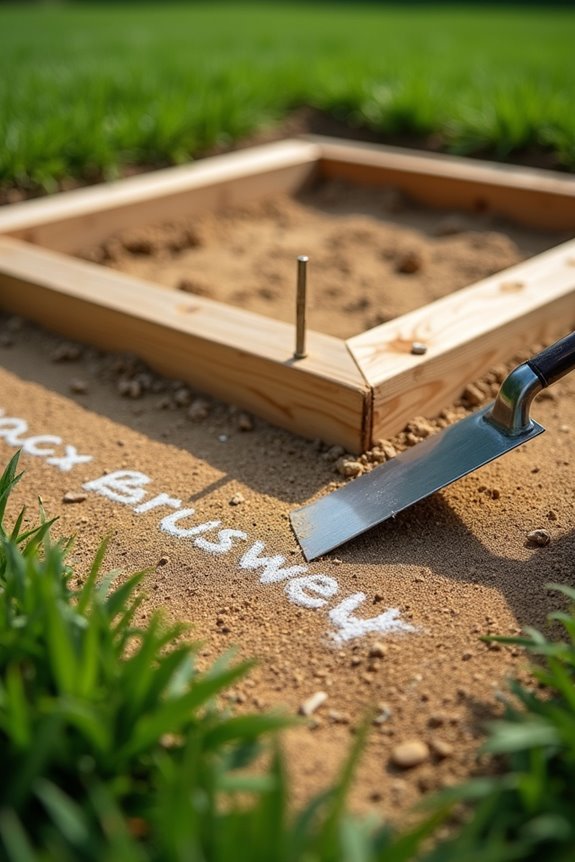
Step 3: Mark and Clear the Grass and Topsoil
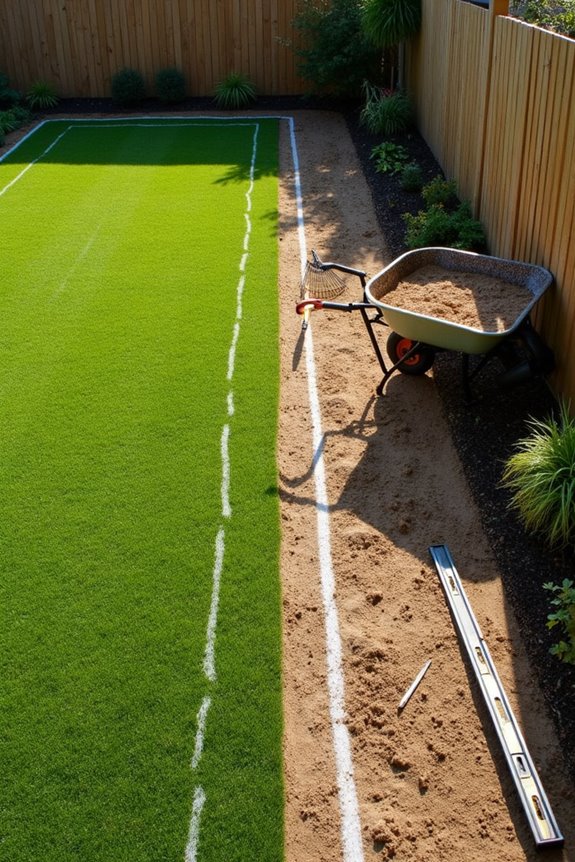
Getting your shed area properly marked and cleared is essential for a solid foundation. I start by using stakes and string to outline my exact footprint, making sure corners are square. Next comes the real work: sod removal and topsoil removal down to bare soil. I remove all vegetation, rocks, and debris to create a solid surface. Site marking with string keeps me organized and prevents mistakes during excavation prep. After clearing, I use a straightedge and spirit level to confirm levelness across the entire area. I check multiple spots and adjust the ground as needed. This levelness check ensures my shed base sits properly and drains well. Proper preparation at this stage prevents settling and shifting later.
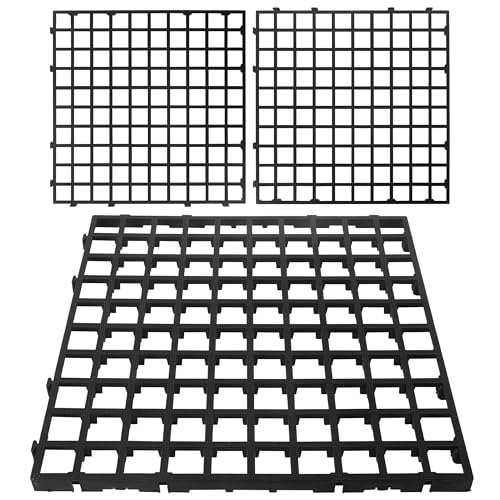
【Superior Material and Detail】Our permeable paver system, made entirely from 100% recycled plastic, offers superior durability and strength. The set comprises 12 units, each 1 inches deep, and covers 32 square feet. This gravel paver solution provides an efficiently and long-lasting option for various applications.

HEAVY-DUTY, DURABLE CONSTRUCTION : Our permeable pavers each piece measures 41 x 41 x 2.5 centimeters (16x16x1inch) and is made of thick, high-strength plastic mesh that can withstand vehicular traffic without deformation, ensuring the long-term durability of your permeable paving system

【Upgraded for improved stability】: Our deck supports have an additional green locking ring for enhanced stability, providing extra security for your adjustments. It can be firmly fixed in any environment, whether facing severe vibrations or long-term loads, the locking ring can effectively reduce the risk of loosening, keep the deck level, and minimize the risk of movement or settlement.
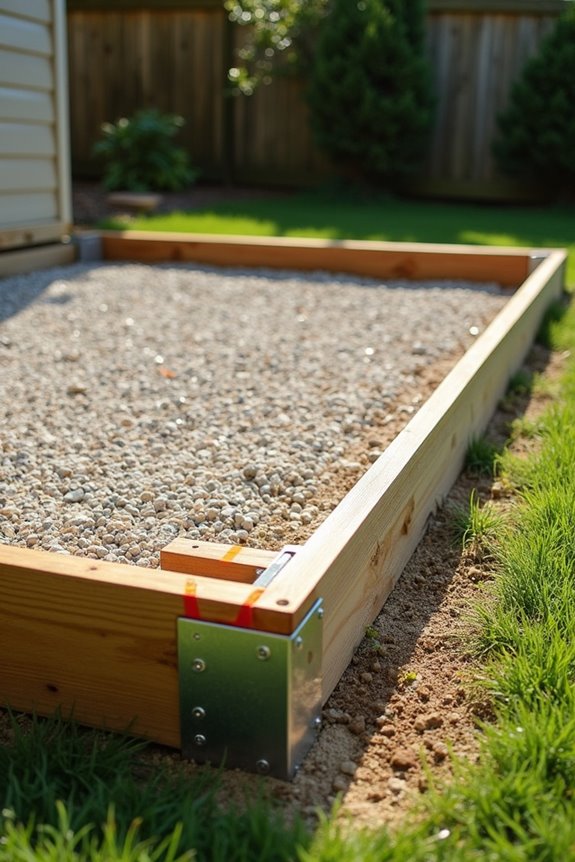
Step 4: Prepare Your Foundation Subbase
With your grass cleared and soil leveled, you’re ready to build up your subbase. This layer prevents your shed from settling and sinking over time by providing stable drainage and support.
Here’s what to do:
- Lay geotextile fabric across the compacted soil to prevent gravel from mixing downward
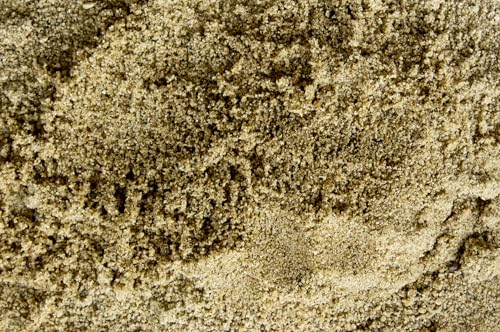
- Spread 3–6 inches of compact gravel evenly over the entire area for drainage and stability
- Add fine gravel or sand on top to create a level surface for your shed base
- Tamp down each layer firmly, checking for low spots and re-tamping as needed
This subbase approach provides the foundation stability your shed requires. Proper grading and tamping prevent future settling issues and extend the lifespan of your structure.

Versatile Applications: These foundation blocks are ideal for various projects, including decks, sheds, pathways, raised walkways, and other outdoor structures. Designed for easy installation, these pier pads offer solid footing for different building projects, providing robust deck support without the need for digging. This makes them a reliable solution for any home improvement or construction project requiring stable foundation blocks.


【Stable Deck Support】 Made of UV-resistant polypropylene for long-term outdoor durability Ideal for patios, rooftops, and low-level decks. Provides stable, evenly distributed support for joists and framing systems.holds up to 1000 lbs — not for 4x4 posts.
Step 5: Install and Verify Your Foundation
Your subbase is now in place and ready to support your shed, so it’s time to put down the actual foundation materials and make sure everything is perfectly level.
| Foundation Type | Best For | Installation Time | Cost Level |
|---|---|---|---|
| Concrete blocks | Small to medium sheds | 2-3 hours | Low |
| Timber frame base | Traditional look | 3-4 hours | Medium |
| Plastic grid | Quick setup | 1-2 hours | Medium |
| Gravel base | Budget option | 1 hour | Very low |
Install your chosen on-grade foundation materials directly onto your compacted gravel base. Secure everything firmly, then compact gravel around the edges for added stability. Check level and square at all corners using a level tool. Verify drainage flows away from your shed. A properly leveled and drained foundation prevents settling and water damage to your structure.

Package Contents: relish the simplicity of our value pack with 12 pieces of green permeable pavers; Our pavers are complete with snaps to seamlessly fit in with each other, ideal for usage in lawn patios, driveways, sidewalks and shed foundations; It's a value-for-money offering tailored for your exterior spaces

【Product Details】Our 4x33 FT geo gravel grid consists of three 4x11 FT sections, covering 132 square feet. Each cell measures 8.66”x8.66” and stands 2 inch high. This modular design provides enhanced flexibility, allowing you to tailor it to various areas and terrains

【Superior Material and Detail】Our permeable paver system, made entirely from 100% recycled plastic, offers superior durability and strength. The set comprises 12 units, each 1.6 inches deep, and covers 32 square feet. This gravel paver solution provides an efficiently and long-lasting option for various applications.