
Building your own dog fence takes planning and the right materials. Start by measuring your yard and marking post locations 6-8 feet apart using a string line. Dig holes about 2 feet deep, set posts in concrete, and let it cure 24 hours. Attach fencing mesh every 12 inches with ties pulled tight. For dogs that dig, bury the fence 12 inches deep and add an L-shaped footer with gravel or concrete. Install gates between sturdy posts, then inspect regularly for damage. A properly constructed fence prevents escapes through solid construction and appropriate depth barriers.
Measure Your Yard and Plan the Layout
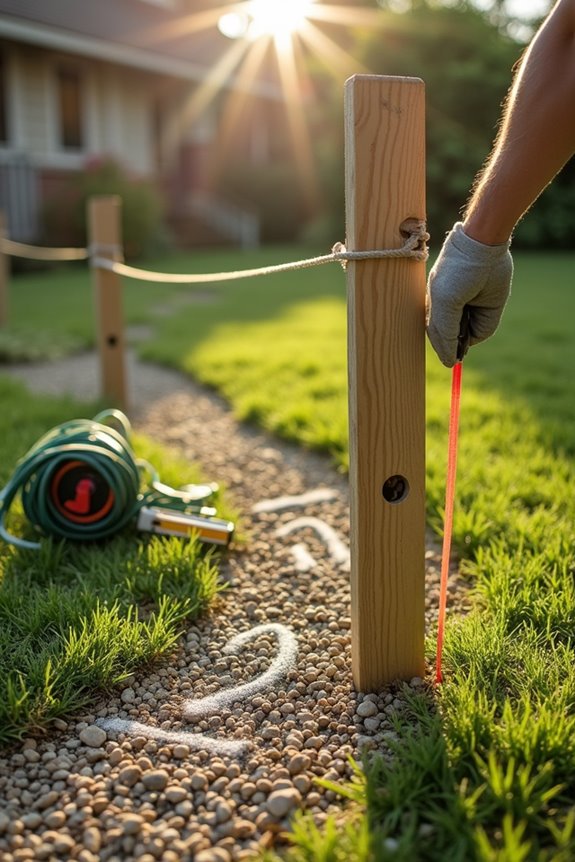
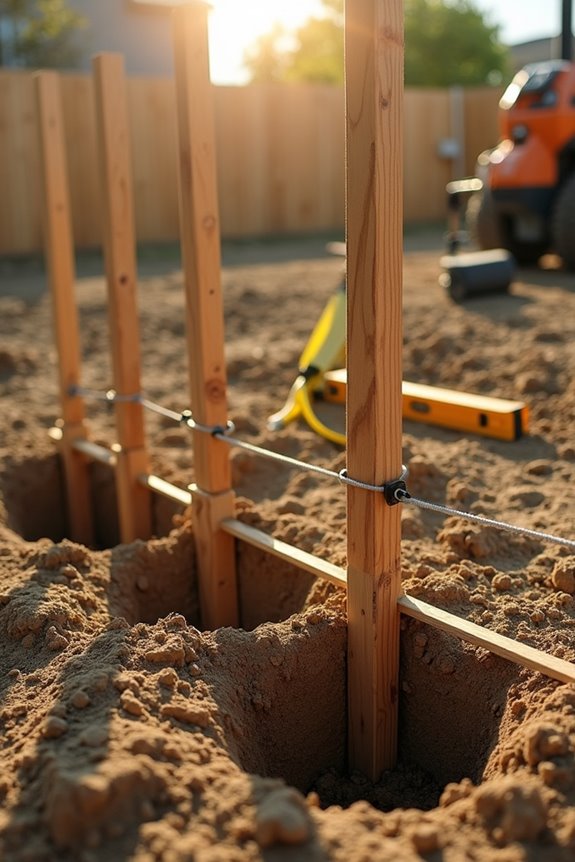
How do you know where to actually start building your fence? Grab a tape measure and map out your entire yard first. Decide on post spacing; usually 6 to 8 feet apart works well for dog fences. Use a string line to mark straight lines and corners across your property. This helps you see exactly where each post will go.
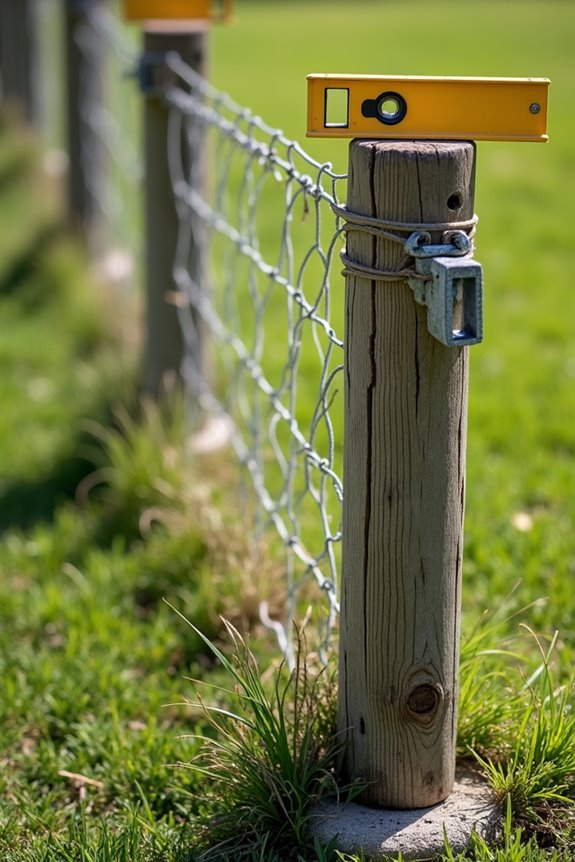
Mark elevation points with a magnetic level to ensure everything stays even. Before digging, identify which sections need ground work first. This prevents you from redoing measurements later. Planning your layout carefully upfront ensures accurate installation. Taking time now reduces frustration during the actual building process.

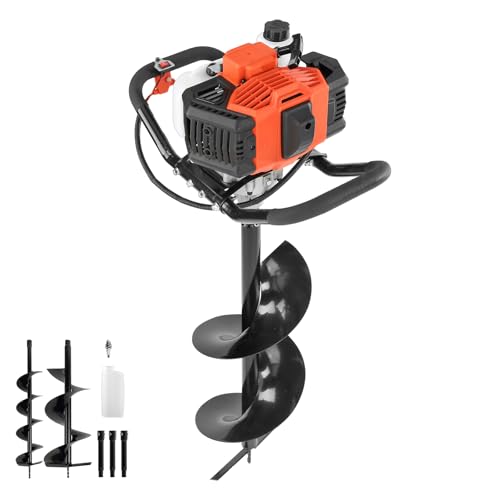
Hole Digger Machine - Perfect for installing fence post, deck, planting tree and many other lawn applications and even ice fishing with specialized electric ice augers. It's the ideal digging tool for any homeowner or professional landscaper

ULTRA-SHARP CARBON STEEL BLADES FOR HARD SOIL: Crafted from high-strength carbon steel, our heavy-duty post hole digger manual features pre-sharpened, curved blades. It effortlessly slices through tough clay, rocky ground, and rooted soil. You can complete your digging tasks faster and more efficiently without worrying about blade deformation. The rust-resistant coating ensures long-lasting performance in any weather

Powerful Engine: VEVOR Fuel-powered Auger features a 43CC powerful engine with a maximum rotational power of 9350RPM. The gearbox is constructed with ball-bearing shafts and alloy gears, allowing it to handle various soil conditions. Whether it's sandy soil, forested areas, or farmland, this auger can perform deep drilling. The fuel mixture ratio of gasoline to oil is 40:1, and it can be easily mixed using an oil can. The engine has large cooling holes to ensure long-lasting operation.
Choose Your Fencing Material Based on Your Dog
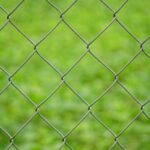
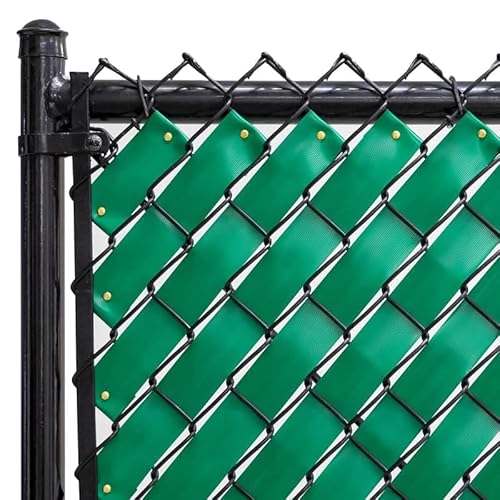
Now that you’ve got your yard mapped out and your post locations marked, it’s time to pick the right fencing material for your dog. Your choice depends on your dog’s behavior and your budget. Vinyl fences work great for most dogs since they’re durable and low-maintenance, though they cost more upfront. Wood offers privacy and style but needs regular sealing. Chain-link is affordable and sturdy, making it suitable if budget is your primary concern. For digging-prone dogs, add an anti-dig barrier beneath any dog fence material you choose. Dig-proof features like buried bases are essential for high-energy dogs. Consider your specific dog’s size, jumping ability, and digging habits before fence installation begins. This step ensures you’ll build a fence that actually keeps your dog safe and secure.

Sturdy Construction: Built to endure harsh weather conditions and minimize sharp edges or burrs. Made from 11.5-gauge heavy-duty galvanized wire for maximum rust resistance and long-lasting durability.

Versatile Size Options: Available in three height options—4ft, 5ft, and 6ft—each with a 50ft length. Designed for hassle-free installation, it easily rolls out without requiring special skills. It can also be cut or combined to achieve any custom length you need.
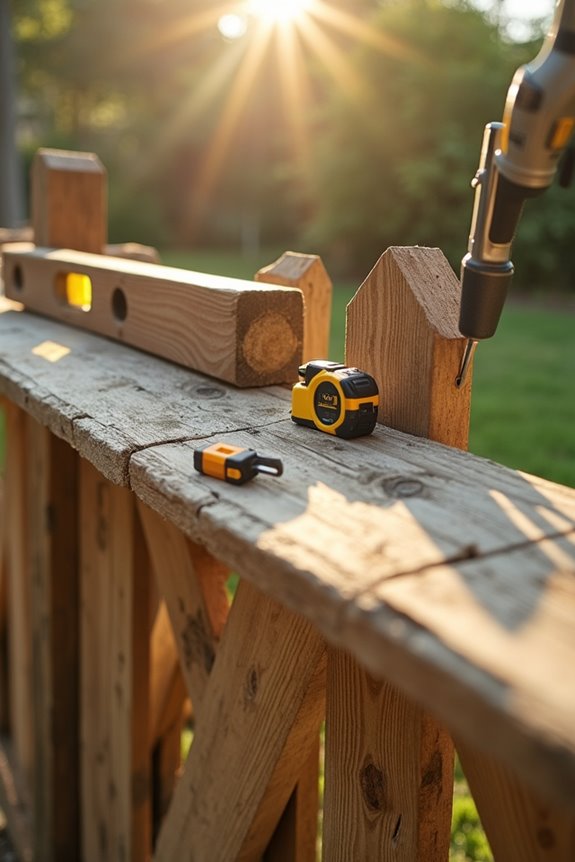
Gather the Right Tools for Your Material Choice
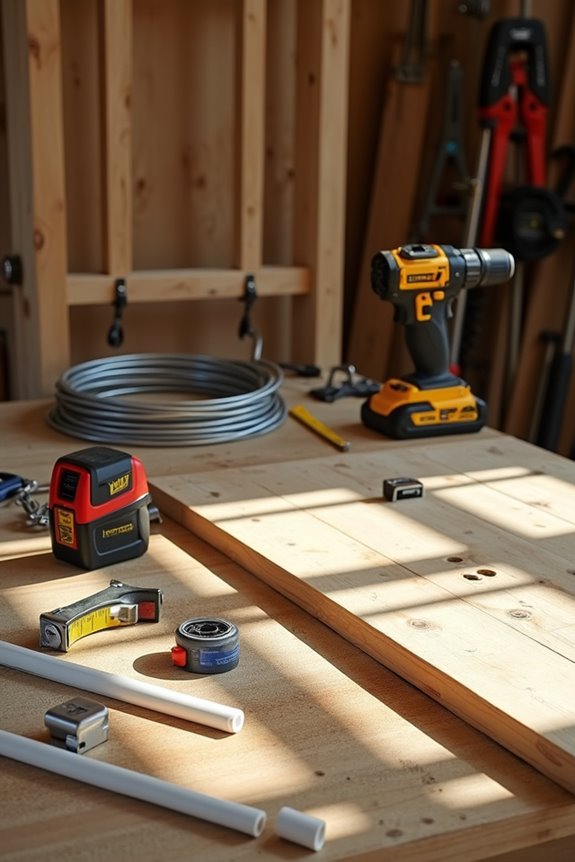
Before you start digging holes and installing posts, you’ll need the right tools to make the job easier and ensure your fence turns out straight and sturdy. Gather a tape measure, string line, and magnetic level to keep everything aligned properly. For digging, grab a digging bar and earth auger, especially helpful if you hit hard ground. You’ll also need a sledgehammer to drive ground sleeves into place and a power drill with wrenches for fastening components together. A fence stretcher and heavy-duty zip ties keep mesh tight between posts spaced 6–8 feet apart. Include safety gear like gloves and eye protection. Preparing all materials before you begin saves time and eliminates unnecessary trips back to the shed.

MULTIPURPOSE GARDEN FENCE: This is the perfect garden fence border to enhance the beauty of your landscape. It's a great animal barrier to keep unwanted guests from your lawn, garden beds, and flowers. It’s also a great decorative garden or edging fence.

PET & CHILD SAFE: Create a safe outdoor play area for fur babies and children. Rest assured that this fence will create a sturdy barrier to protect your family.

This fence is designed for semi-permanent residential applications that are not subject to intense wear and tear; not recommended to contain large dogs.
Mark Posts and Dig Holes for Proper Spacing
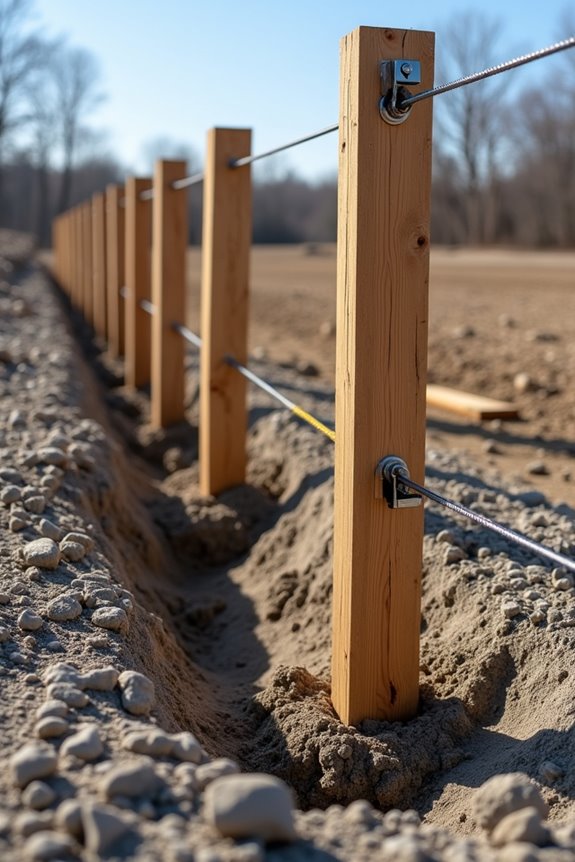
Getting your post spacing right is what separates a fence that’ll last from one that’ll sag and lean. I start by using a tape measure and string line to mark exact post locations before digging anything. For most fences, I space posts 6–8 feet apart, which keeps things sturdy without wasting materials.
Next, I dig holes below the frost line to about 2 feet deep. This ground depth prevents frost heave from shifting your posts around. When ground is hard, I use an earth auger to make the job easier and keep all holes uniform.
Before installing posts, I verify fence alignment with my string line one more time. Then I set posts in sequence, checking each one with a level to keep everything plumb and straight.

TOTAL 30 PANELS, 42.5FT LONGER SIZE - Included 30 panels of fences, total length: 42.5 feet, more fences, and longer lengths can meet more of your needs, including filling the gaps under the bottom of the existing fence, building garden edging border, surrounding the garden bed to avoid plant damage, etc

WIDE APPLICATION - You can use these fences as dig defense barrier fences to prevent your dog from digging under fences and escaping the garden, keeping small animals from breaking into your yard. You can also use these fences as garden edging borders to keep your dogs or small animals away from your flower beds, vegetable gardens, etc. You can also use these fences as garden decorations to add a classic and stylish design to your garden, patio, and yard

Longer Size for Extended Garden Coverage:This garden fence animal barrier provides wider coverage to protect your outdoor space. Each panel measures 17" long x 13" high, and the set includes 14 pack durable metal panels, creating a total fence length of 20 feet. The longer design helps form a reliable dig barrier fence that can reduce the chances of rabbits, dogs, squirrels, and other small animals digging under your fence and entering your garden
Set Posts in Concrete Below the Frost Line
Why is concrete so important for fence posts? It anchors everything and keeps your fence standing strong through winter and summer alike.
I dig my post holes about 2 feet deep, right below the frost line. This prevents the ground from heaving when it freezes and thaws. I space my posts 6-8 feet apart for stable support.
| Step | Action | Time |
|---|---|---|
| 1 | Set 4×4 posts in holes | Immediate |
| 2 | Pour concrete around posts | Same day |
| 3 | Check vertical alignment with level | During pour |
| 4 | Let concrete cure | 24 hours |
I fill each hole with concrete, making sure posts stay perfectly vertical. I check with my level during and after pouring. Then I wait a full 24 hours before attaching rails. This approach ensures your fence stays straight and secure for years.

AUTOMATIC GATE LATCH: Self latching gate latch mechanism provides hands-free convenience for outswing gate latches, doors and animal pens with fingertip release that engages automatically upon closing for secure operation.

This gate latch is made of Galvanized steel, It is durable and Anti-Rust.

HEAVY DUTY CONSTRUCTION: Engineered with hot-rolled steel construction for maximum durability, this heavy duty gate latch delivers reliable performance for wooden fence gates, farm gates, and demanding outdoor applications requiring secure closure.
Keep Posts Vertical With a Level
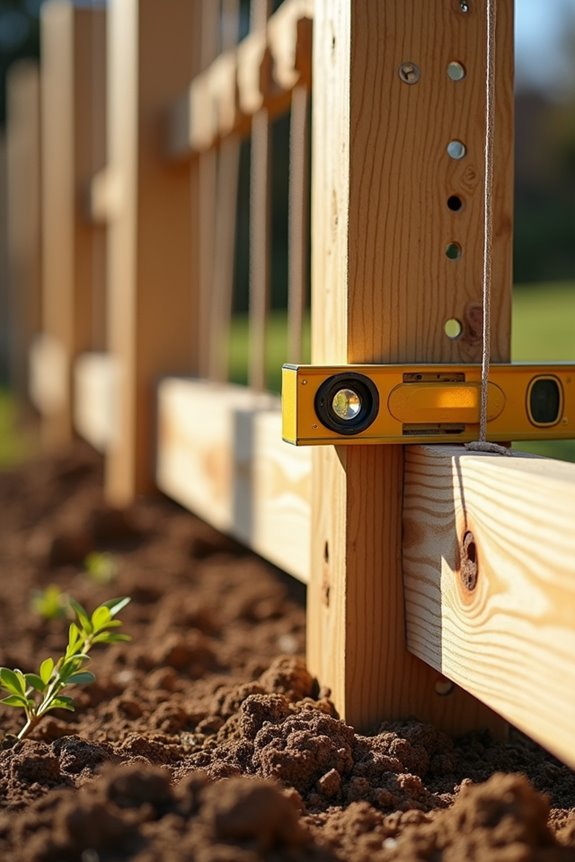
How do you keep a fence post standing perfectly straight? Use a magnetic level on each post’s surface, checking from top to bottom for true plumb.
Place the level while the post sits in ground sleeves, before driving the sleeve down. Adjust the post position before fastening self-tapping screws or caps to lock it upright. Re-check verticality after concrete sets or backfill is complete.
Mark a string line at post points along the entire fence run. This helps you compare each post against it, maintaining consistent alignment throughout. This step prevents gradual leaning as everything cures and settles into place.
High-Performance Power: This post hole digger uses a 52 cc engine with speeds up to 9350 rpm. A gearbox with ball-bearing shafts and alloy gears adapts to sandy soil, wooded ground, and farmland. Use a 1:40 oil-to-gasoline mixing ratio, measure it with oil can

Premium Auger Drill Bits (Drill Not Included): This value pack features versatile auger bit size 4 Inch x 12 Inch that fit any standard 3/8 Inch hex bit drill. Standard drill attachment that digs precise holes for your planting and landscaping projects with minimal effort
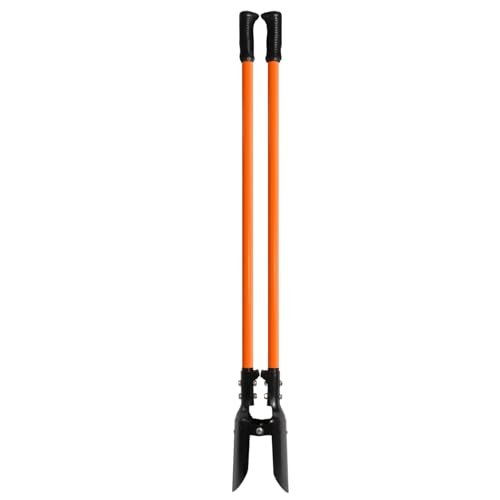
Sturdy & Sharp Blades: The manual post hole digger blades are made of high quality carbon steel, which are sturdy and durable and not easy to deform. The blades of the post hole digger are very sharp and have curved edges to help you dig quickly in hard soil.
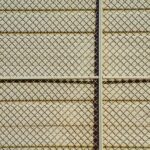
Attach Fencing Mesh Securely to Posts
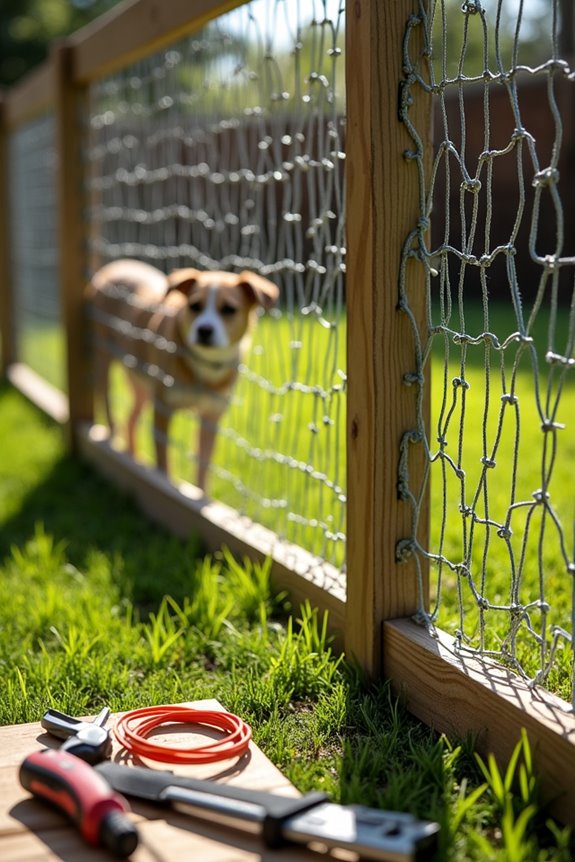
Now that your posts are standing perfectly straight and aligned, attach the fencing mesh to secure them in place. Start at a corner and pull the mesh taut using a fence stretcher, working toward the opposite end. Attach the fencing mesh to each post with heavy-duty UV-stabilized zip ties spaced every 12 inches apart. Even spacing keeps everything secure and prevents sagging over time.
After attaching each section, check the mesh with a magnetic level to verify it stays straight. At corners and gates, add extra ties for reinforcement where the mesh changes direction. Trim excess mesh at the post tops and cinch all zip ties tightly to prevent loosening as weather changes occur.

Sturdy Construction: Built to withstand harsh weather conditions, this chain link fence wire netting is crafted from 9-gauge black vinyl-coated galvanized steel, providing exceptional rust resistance and long-lasting durability. The design minimizes sharp edges or burrs, ensuring a sturdy and weather-resistant construction ideal for extended use.

Perfectly Protect Your Yard Privacy: 90% visibility blocking, prevent peeping outside the yard, block nose neighbors see through, protect safety and enjoy freedom. It can also prevent animals from entering your yard, block surrounding noise and street views, block dogs' sight and prevent bark.

🛠️Made from 14-gauge galvanized steel, these chain link fence parts are far stronger than common aluminum versions, ensuring maximum durability. The rust-resistant coating protects against corrosion, making them perfect for outdoor use in gardens, farms, and dog kennels.
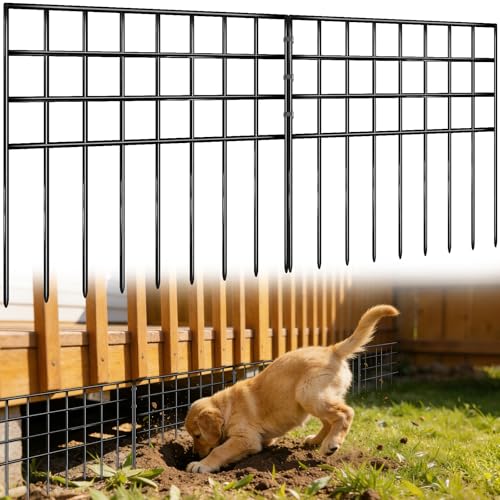
Install a Dig-Proof Base to Block Escapes
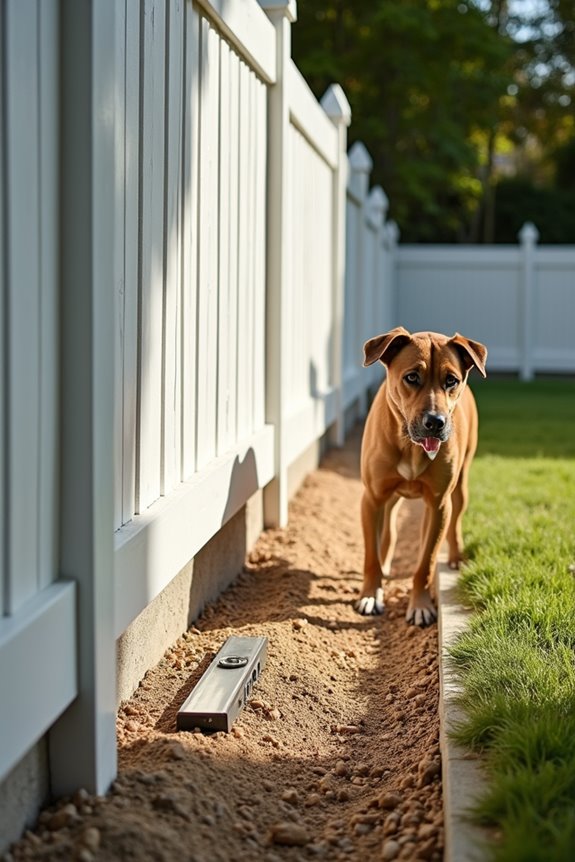
I’ve found that the most determined diggers need more than just a fence above ground. They need a barrier below it too. Bury your fence at least 12 inches deep and create an L-shaped footer by bending the bottom 90 degrees outward underground. This stops dogs from tunneling under the edge. Adding gravel, concrete, or landscape fabric along this buried base provides extra protection against escape attempts.

DIMENSIONS: Each unit is 41" H x 44" W and includes 2 complete fence panels with posts for a total of 88in of fence.

【Upgraded Dig Defense Gap】Upgraded yard fence gap is reduced to 1.26 inches, which can more effectively prevent pets from breaking free from the gap to escape or other small animals from entering and damaging your garden and yard. You will receive 10 pcs garden fencing, snaps and zip ties, total length about 10.83 ft

DOG FENCE: This no dig fence is great for creating an outdoor dog playpen to keep your pet contained. Have peace of mind knowing that your puppy is safe to run within the boundaries of your backyard. Ideal for small to medium sized dogs.
Buried Fence Line Depth
One of the best ways to stop your dog from escaping under the fence is to bury the bottom portion underground. A proper buried fence creates a dig-proof base that prevents your pup from tunneling out.
To establish the right fence line depth for your below-ground barrier:
- Extend the fence at least 12 inches below ground level
- Create an L-shaped footer by bending the fence horizontally into the trench
- Add gravel along the base for texture and drainage
- Pour concrete as an alternative for maximum protection
This below-ground barrier stops determined diggers in their tracks. The fence line depth must reach far enough down that your dog cannot bypass it. When combined with landscaping fabric or dense shrubs, you create a solid dig-proof base that keeps your dog safely contained.
Underground Barrier Materials
What’s the best way to stop a determined digger? Combining multiple underground barrier materials creates the strongest dig-proof base for your fence.
Start with a gravel footer along your fence line. The rough texture naturally discourages digging, and it improves drainage too. For maximum protection, add landscape fabric underneath the gravel to block rooting attempts.
For the strongest barrier, pour a concrete footer along the base. This creates a solid, impenetrable wall against digging.
You can also use the L-Footer method: bend your fence bottom into an L shape and bury it horizontally at least 12 inches deep. Secure it with stakes for stability.
Combining these materials, gravel, fabric, concrete, and proper depth, gives you an effective dig-proof foundation that prevents escape attempts.
Preventing Tunneling Escape Attempts
Your dog’s digging instinct doesn’t stop at the surface. Some determined pups will tunnel right under your fence if you let them. A strong fencing base is your best defense against escape artists.
- Extend your fence at least 12 inches below ground to block tunneling attempts
- Use an L-Footer design by bending the fence bottom into an L shape and burying it horizontally
- Install gravel or concrete along the fence line for a solid, dig-proof barrier
- Plant dense bushes nearby as natural digging deterrents
These anti-dig measures work together to create an effective dig-proof barrier. You can also add landscape fabric under the base and secure it with heavy-duty zip ties. Your fencing base becomes practically escape-proof when you combine these strategies.
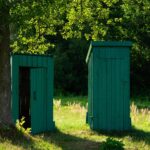
Add Gates for Easy Access
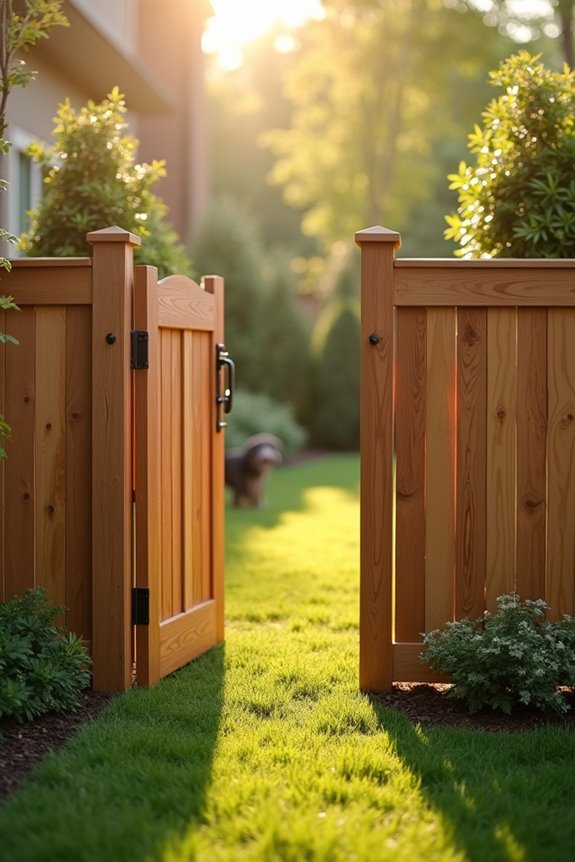
How’ll you and your dog get in and out of your new yard? Installing dual gates gives you convenient access while keeping your pup secure. Position fence gates between sturdy posts for stability. Use quality gate hardware like self-tapping screws and ground sleeves to prevent sagging over time.
Choose gates with appropriate height to stop escape attempts. Match your gate style to your fencing for a polished look. Weather-resistant materials ensure your dual gates stay functional through seasons.
During your post-layout phase, plan gate placement carefully. This prevents awkward alignment with neighboring fence sections. Install gates with sturdy hardware rated for regular use. Proper gate installation reduces maintenance time and maximizes your enjoyment of a secure yard with your dog.
TOTAL 30 PANELS, 42.5FT LONGER SIZE - Includes 30 panels of fences, with a longer length (42.5 feet), and has a good cost performance. More fences and longer lengths can meet more of your needs, such as filling the gaps at the bottom of existing fences, creating garden edging border, and surrounding garden beds to prevent plant damage, etc

UPGRADED 1.25IN GAP SPACING GARDEN FENCE ANIMAL BARRIER - Upgraded 1.25-inch gap spacing design can fill gap in the bottom of the origin fence more efficiently, extend the protection range of the original fence, prevent the dogs from digging out of the fence, keep small animals out of your yard, protect your garden, yard and patio

ATTETION: These FENCE PANELS are not suitable for blocking medium to large breed dogs
Inspect and Repair Your Fence Regularly
Regular inspections keep your dog safely contained. Look for visual signs of damage like rust spots, sagging sections between posts, gaps where boards have shifted, and peeling paint that exposes the wood underneath. When you spot these issues, tighten loose boards right away and seal or repaint damaged areas. If you’re facing major wood replacement or complex repairs, call in a professional who can handle the bigger jobs.

Never reach over the gate again, the GH Gate Latch provides dual sided operation for wood, metal and vinyl fences, with a complete solution, using a traditional style gravity latch and integrated latch pull feature for a clean professional installation.

KEYED SECURITY: Advanced gate latch for wooden fence provides superior protection with key-operated mechanism, ensuring secure access control for pools, yards, and property boundaries while keeping children and pets safely contained

Package Include: 1pcs chain link fence parts, 1-3/8 inches for gate frames and 1-3/8 inches for gate post.
Visual Signs Of Damage
When’s the last time you walked the entire perimeter of your fence? Spotting fence damage early saves you money and keeps your dog safe. Watch for these visual signs of wear:
- Gaps and cracks in the wood boards that could let your dog squeeze through
- Rotted or splintered wood that weakens the structure and causes injury risks
- Peeling paint and rust spots on metal sections indicating moisture damage
- Sagging sections between posts showing the fence needs reinforcement
These signs indicate maintenance is needed. Cracked boards, moisture-related deterioration, and loose hardware all compromise your fence’s containment ability. When you notice fence damage, tighten bolts, replace damaged sections, and reseal surfaces promptly. Regular inspections catch problems before they become expensive repairs, keeping your dog secure and your fence strong.
Maintenance Actions To Take
Because your fence works hard to keep your dog safe, it needs regular care to stay strong. Taking action on small problems prevents big headaches later.
| Issue | Action |
|---|---|
| Loose boards | Tighten or replace them |
| Rust spots | Sand and repaint metal parts |
| Sagging sections | Reinforce with bracing |
When I spot wear and tear during my inspections, I address it immediately. Tightening loose boards takes minutes. Repainting or sealing wood protects against weather damage. For structural sag, I add support braces underneath.
Some fence maintenance issues go beyond what I can handle alone. That’s when I call a professional assessment. Hiring an expert for extensive repair work restores my fence’s safety and integrity. Regular upkeep keeps our neighborhood looking good and your dog secure.
When To Seek Help
How do you know when your fence needs professional help? Some issues go beyond what you can handle yourself. Call in the experts for:
- Structural damage that affects multiple sections or posts
- Complex layouts with angles or slopes you’re unsure about
- Severe rusting that’s eaten through metal components
- Deep sagging between posts suggesting foundation problems
While you can handle basic maintenance like tightening loose components and repainting wood, recognize your limits. When replacement parts won’t fix the problem or when you’re uncertain about safety, professional help protects your investment. A contractor ensures your fence maintains proper containment for your dog and stands strong for years. Getting help is smart ownership.