
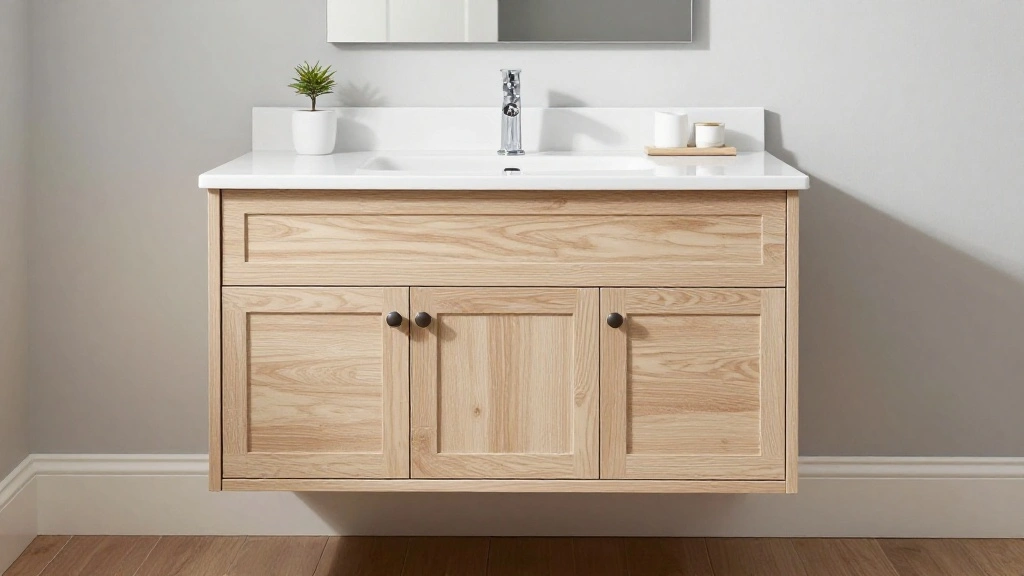
Is your bathroom vanity looking tired and outdated? A worn-out vanity can make even the most beautiful bathrooms feel drab and uninviting. The good news is that you don’t have to spend a fortune to give your vanity a fresh look. In this guide, you will learn how to upgrade your bathroom vanity on a budget without sacrificing style or functionality.
By the end of this article, you will have the tools and knowledge to transform your bathroom vanity into a stunning centerpiece. You’ll discover how simple updates like painting, hardware replacement, and clever storage solutions can breathe new life into your space. Plus, we’ll walk you through each step of the process, ensuring you feel confident and empowered to tackle this project.
This guide is designed for beginners and can be completed in 2-3 hours, depending on your chosen updates. So roll up your sleeves, and let’s dive into the world of DIY bathroom upgrades!
TL;DR Summary
- Upgrade your bathroom vanity without breaking the bank.
- Learn budget-friendly techniques like painting and hardware replacement.
- Complete the project in 2-3 hours, perfect for beginners.
- Transform your space into a stylish oasis with simple changes.
Prerequisites/Materials Needed
- Paint: 1 quart of high-quality cabinet paint
- Brushes: 2-3 good-quality paintbrushes
- Sandpaper: 220-grit sandpaper
- New Hardware: 2-4 cabinet knobs or pulls
- Sealant: Clear polycrylic sealant (optional)
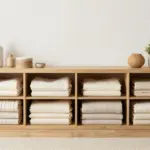
- Storage Solutions: Baskets or organizers (as needed)
- Drop Cloth: To protect the floor
- Screwdriver: For removing hardware
Skill Level & Time Estimate
Skill Level: beginner
Total Time Estimate: 2-3 hours
Breakdown:
- Preparation: 30 minutes
- Painting: 1-1.5 hours
- Hardware Replacement: 30 minutes
- Final Touches: 30 minutes
Step 1: Gather Your Materials
Before you start upgrading your bathroom vanity, gather all the necessary materials listed in the prerequisites. This step ensures that you have everything at your fingertips, making the process smoother and more efficient.
- Check your paint supply and ensure you have enough for the project.
- Collect brushes and sandpaper to prepare the surface.
- Get your new hardware and any storage solutions ready.
Pro Tip: Organize your materials in one area to avoid interruptions during your project.
Why this matters: Having everything you need at hand will save you time and frustration later on.
Time Estimate: 15-20 minutes
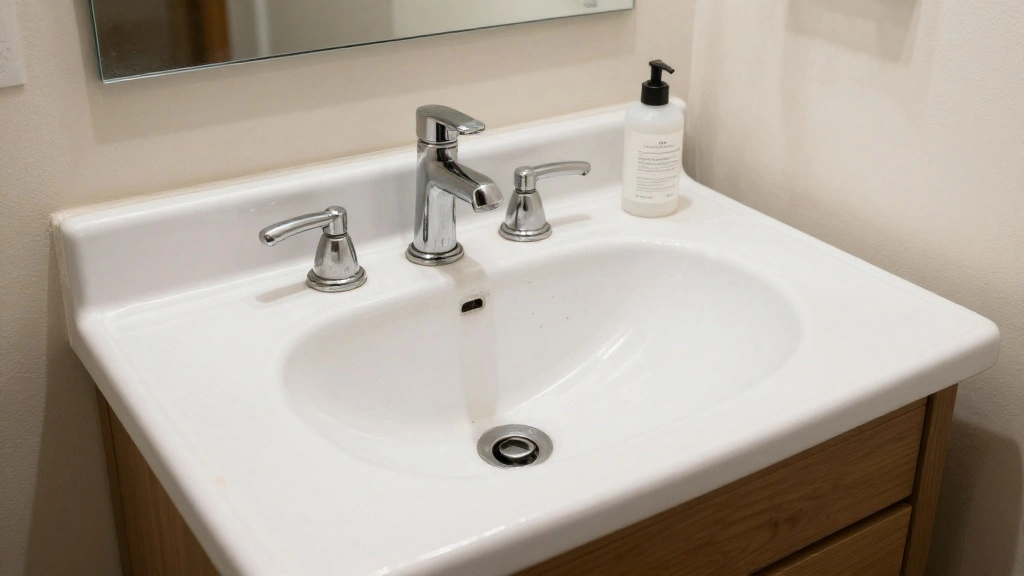
Step 2: Remove Old Hardware
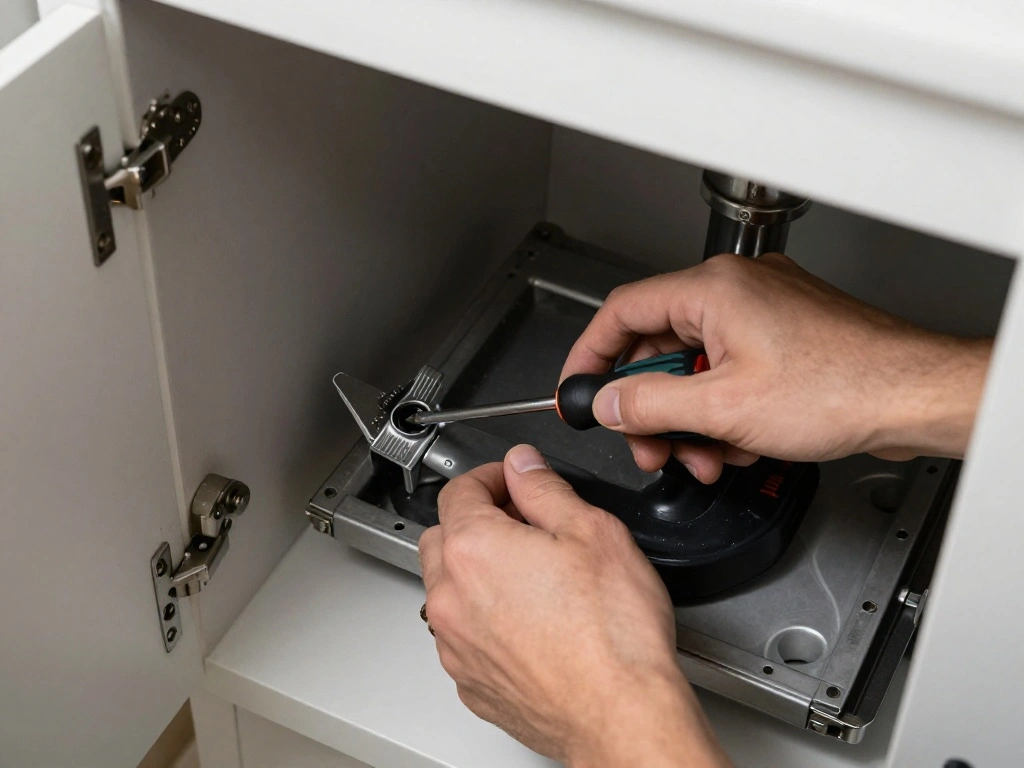
Begin by removing any old cabinet knobs or pulls from your vanity. This step is crucial as it allows for a fresh look with your new hardware.
- Use a screwdriver to unscrew existing knobs or pulls.
- Keep the screws in a safe place for reinstallation, if necessary.
Warning: Be careful not to damage the surface of the vanity while removing the hardware.
Why this matters: Removing old hardware creates a clean slate for your upgrades.
Time Estimate: 15 minutes
Step 3: Sand the Vanity Surface
Sanding your vanity is an essential step that ensures better paint adhesion and a smoother finish. It helps to remove any old finishes and prepares the surface for painting.
- Use 220-grit sandpaper to sand the entire surface of the vanity.
- Focus on areas with peeling paint or rough spots.
- Wipe down the surface with a damp cloth to remove dust.
Pro Tip: For best results, sand in the direction of the wood grain.
Why this matters: Sanding helps the new paint adhere better, resulting in a long-lasting finish.
Time Estimate: 20-30 minutes
Step 4: Clean the Surface
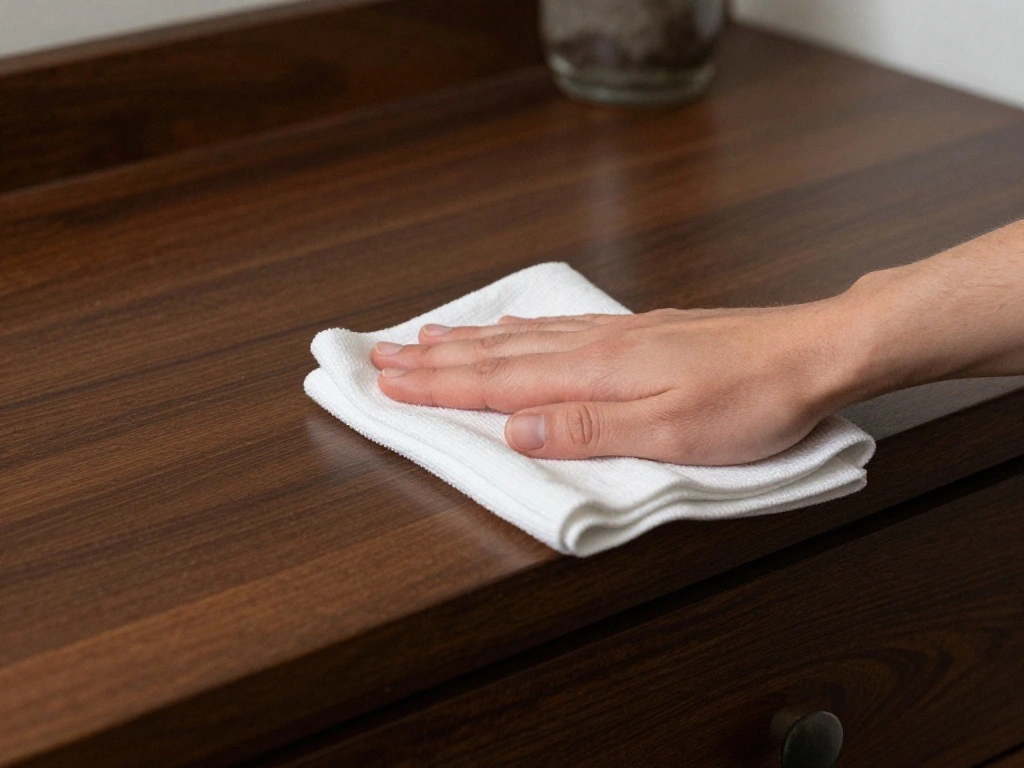
After sanding, it’s essential to clean the surface thoroughly to remove any dust or debris. This step ensures a clean surface for painting, which is crucial for achieving a flawless finish.
- Use a damp cloth to wipe down the entire vanity.
- Ensure all dust and particles are removed.
Warning: Do not skip this step, as dust can ruin your paint job.
Why this matters: A clean surface allows for even paint application and reduces imperfections.
Time Estimate: 10-15 minutes
Step 5: Apply Primer (Optional)
If your vanity has a dark color or is made of a material that typically absorbs paint, applying a primer can enhance the color and durability of your finish.
- Use a brush to apply a thin coat of primer to the vanity.
- Allow the primer to dry completely according to the manufacturer’s instructions.
Pro Tip: Choose a primer suitable for the type of paint you will be using.
Why this matters: Primer helps achieve a more vibrant color and better paint adhesion.
Time Estimate: 30 minutes
Step 6: Paint the Vanity
Now it’s time to apply the paint! This step will dramatically change the appearance of your vanity, so choose a color that complements your bathroom decor.
- Use a brush to apply the first coat of paint evenly.
- Allow the paint to dry completely before applying a second coat.
- Repeat until you achieve the desired color and coverage.
Warning: Ensure proper ventilation while painting to avoid inhaling fumes.
Why this matters: Multiple coats ensure a rich and even finish, which enhances the overall look.
Time Estimate: 1-1.5 hours
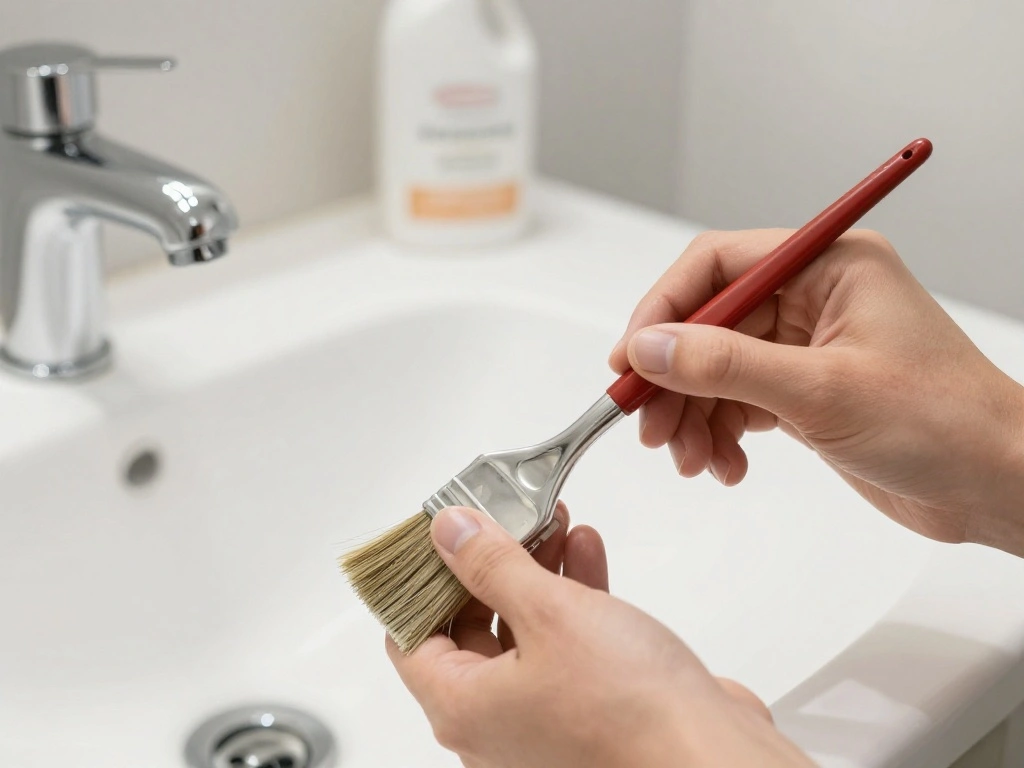
Step 7: Apply Sealant (Optional)
For added durability, especially in a bathroom setting, consider applying a clear sealant over your paint. This step protects against moisture and wear.
- After the final coat of paint dries, apply a clear polycrylic sealant.
- Use a clean brush to apply a thin layer and allow it to dry.
Pro Tip: Choose a sealant that is water-resistant and suitable for painted surfaces.
Why this matters: A sealant increases the longevity of your paint job, ensuring it withstands humidity and wear.
Time Estimate: 30 minutes
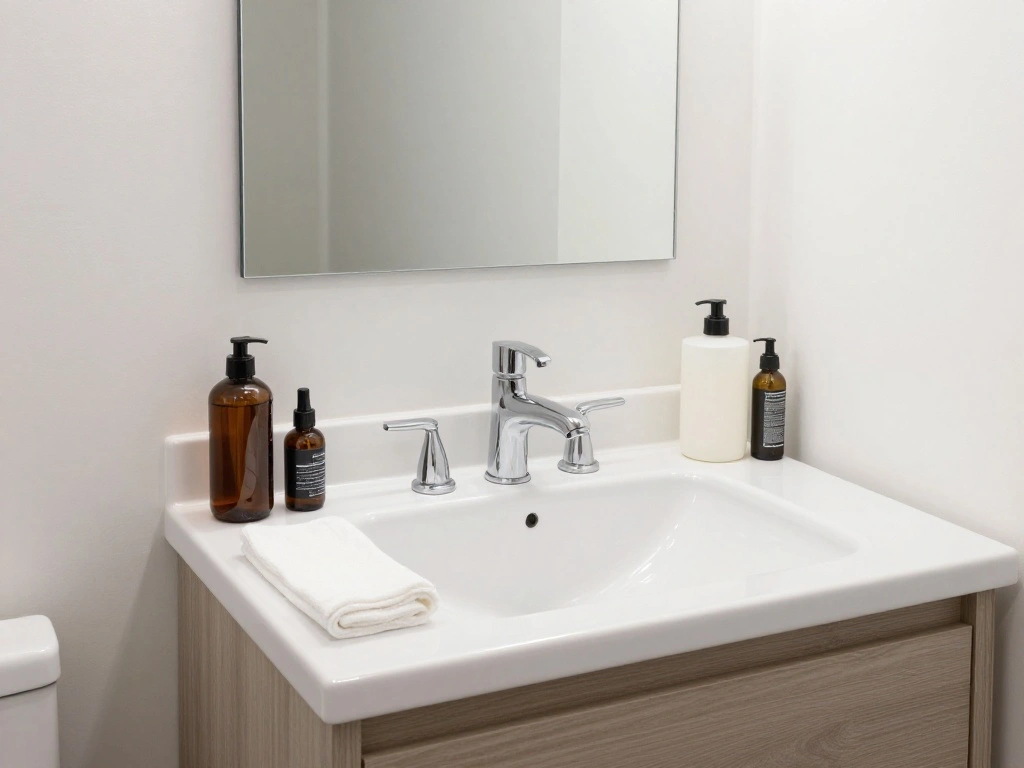
Step 8: Install New Hardware
With the paint dry and possibly sealed, it’s time to install your new cabinet knobs or pulls. This final touch can dramatically enhance the look of your vanity.
- Align the new hardware with the pre-drilled holes.
- Screw the knobs or pulls into place.
Pro Tip: Measure and mark the placement of the hardware for a professional look.
Why this matters: New hardware not only updates the look but also improves functionality.
Time Estimate: 15-20 minutes
Step 9: Organize the Vanity Interior
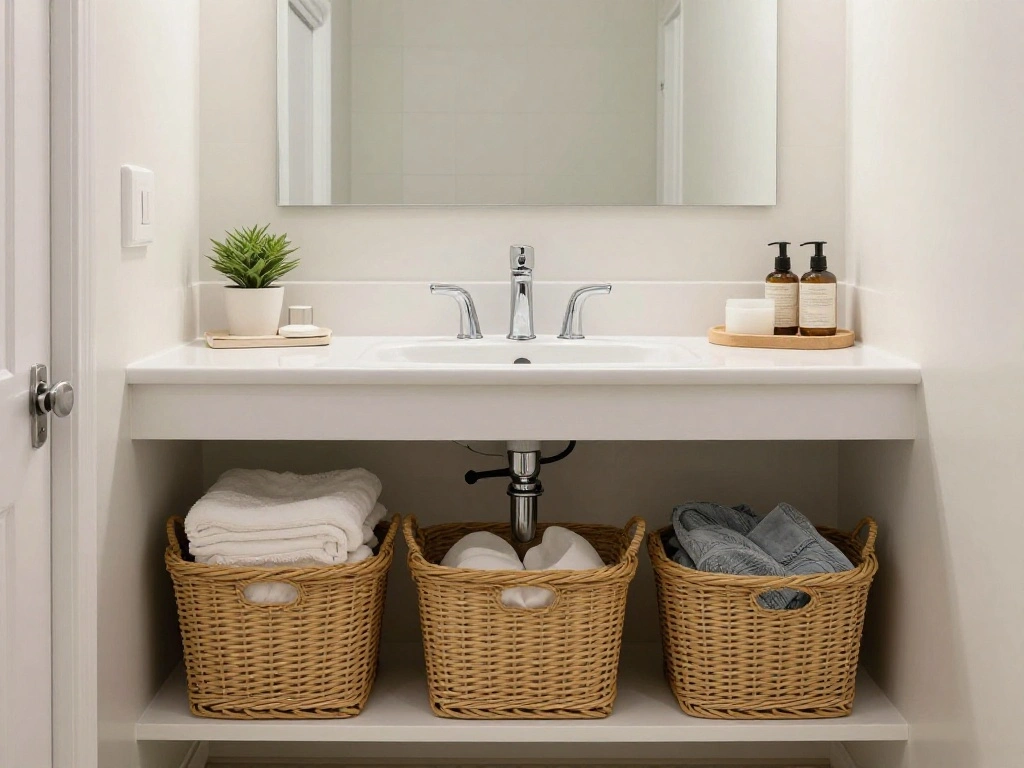
Once the exterior is complete, don’t forget about the inside of your vanity. Organizing this space can enhance functionality and make your bathroom feel more cohesive.
- Remove all items from the vanity.
- Use baskets or organizers to store smaller items neatly.
- Place frequently used items at the front for easy access.
Pro Tip: Label baskets or containers for even easier organization.
Why this matters: An organized vanity makes your bathroom more functional and visually pleasing.
Time Estimate: 20-30 minutes
Step 10: Final Touches
With everything in place, it’s time for the final touches to complete your bathroom vanity upgrade. This step ensures your hard work shines through!
- Step back and evaluate the overall look.
- Make any necessary adjustments, such as repositioning items or fixing hardware.
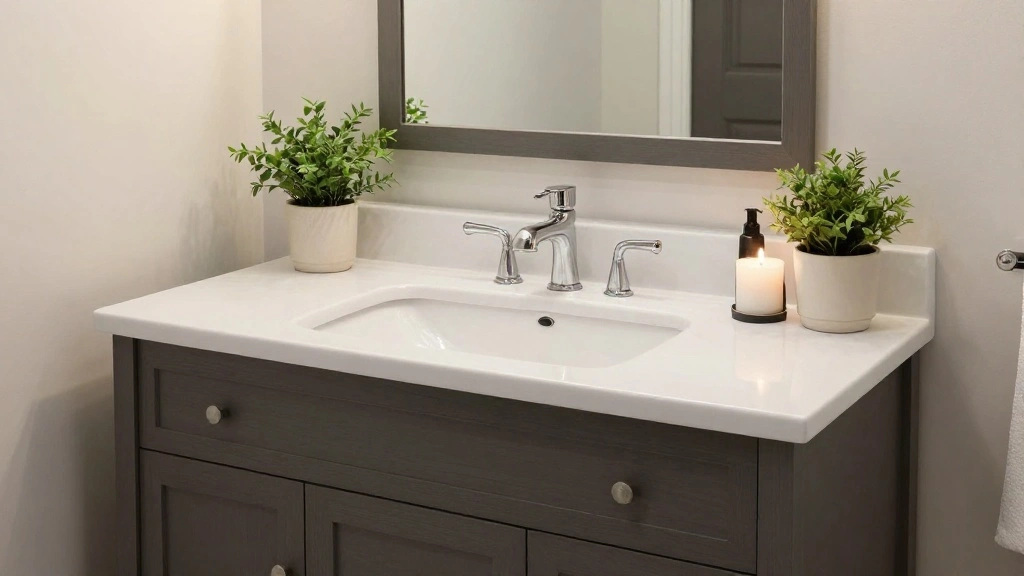
Pro Tip: Add decorative elements like a small plant or candles to enhance the aesthetic.
Why this matters: Final touches give your vanity a polished and inviting look.
Time Estimate: 15-20 minutes
Pro Tips
- Choose the Right Paint: Use paint specifically designed for furniture for best results.
- Work in a Well-Ventilated Area: Always ensure good airflow when painting to avoid inhaling fumes.
- Test Hardware Before Full Installation: Place hardware temporarily to ensure it looks good before final installation.
- Keep a Cleaning Kit Handy: Have a cloth and cleaner ready to wipe up any spills during the process.
- Measure Twice, Cut Once: Always double-check measurements for hardware placement.
Common Mistakes to Avoid
Warning: Avoid these common pitfalls to ensure a smooth upgrade process:
- Skipping Sanding: This can lead to uneven paint application. Always sand before painting.
- Not Using Primer: This can affect color vibrancy and adhesion. Consider primer based on your paint choice.
- Rushing Drying Time: Allow sufficient time for paint and sealant to dry to prevent smudging.
Troubleshooting Section
Problem: Paint is peeling or bubbling.
Solution: Strip the affected area, sand it down, and repaint with proper preparation.
Problem: Hardware doesn’t fit new holes.
Solution: Use wood filler for old holes and redrill for new hardware placement.
Problem: Vanity looks uneven after painting.
Solution: Touch up uneven areas with additional paint for a cohesive look.
Variations/Alternative Methods
For different styles or needs, consider these variations:
- Staining Instead of Painting: Use a wood stain for a natural look, ideal for wooden vanities.
- Contact Paper: Apply contact paper for a quick, removable update if you’re on a tight budget.
FAQs
- What if I don’t have a drill? You can use a screwdriver for easier hardware replacement.
- How long should I wait between paint coats? Generally, wait 1-2 hours, but check the paint can for specific drying times.
- Is it safe to use regular paint in a bathroom? Yes, but make sure it’s labeled as moisture-resistant.
Conclusion
Congratulations! You’ve successfully upgraded your bathroom vanity on a budget. Your hard work has paid off, and you should be proud of the transformation.
Now that you’ve completed this project, consider other areas in your home that could use a similar refresh. Explore DIY options for cabinets or shelves to maintain a cohesive look in your home.
Remember, small changes can make a big impact. Enjoy your new bathroom space and the satisfaction of a job well done!