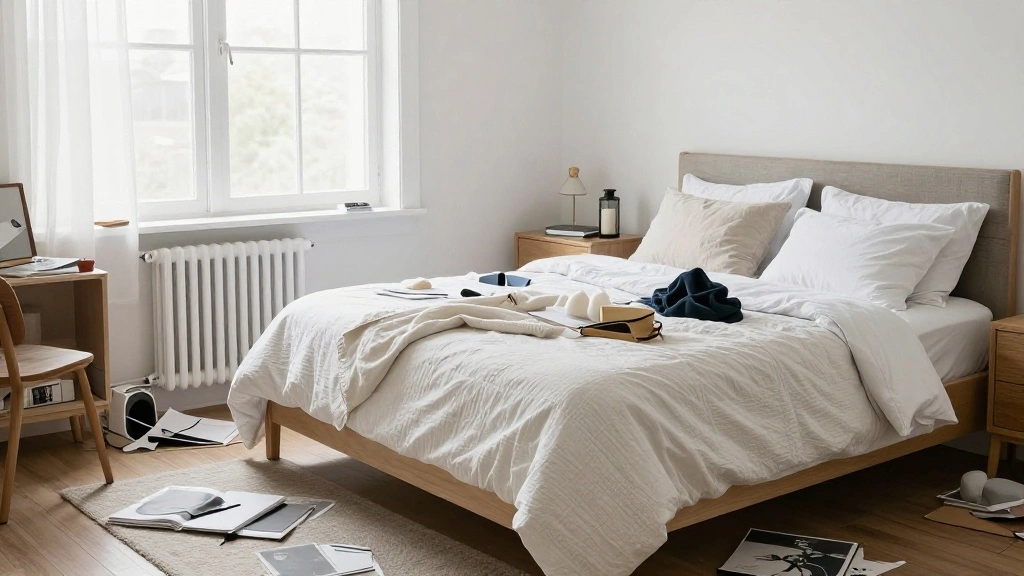

Your bedroom is your sanctuary, but cluttered furniture can turn it into a chaotic space. If you’re struggling to find items or feel cramped, it’s time to take action. You deserve a bedroom that fosters relaxation and efficiency.
In this guide, you will learn how to strategically arrange your bedroom furniture to create an inviting and functional space. By the end, you will have a well-organized bedroom that maximizes space and enhances your daily routine.
This beginner-friendly guide will walk you through seven actionable steps, ensuring you can execute each with ease. Expect to invest approximately 2-3 hours to achieve your desired results. So, grab your measuring tape and let’s transform your bedroom into a functional oasis!
TL;DR Summary
- Assess your bedroom layout and take measurements.
- Choose a focal point to anchor the room.
- Arrange larger furniture first, followed by smaller items.
- Utilize vertical space and storage solutions.
Prerequisites/Materials Needed
- Measuring tape
- Pencil and paper for sketching
- Furniture (bed, dresser, nightstands)
- Storage solutions (bins, shelves)
- Cleaning supplies (optional)
Skill Level & Time Estimate
Skill Level: beginner
Total time estimate: 2-3 hours
Breakdown by major steps: Planning (30 minutes), Arrangement (1-2 hours), Final touches (30 minutes).
Step 1: Assess Your Bedroom Layout
Start by evaluating your current bedroom layout. This step is crucial for understanding how to maximize your space effectively.
- Measure the dimensions of your room, including walls, windows, and doors.
- Sketch a simple floor plan to visualize where everything currently is.
- Identify any obstacles, like radiators or outlets, that might affect your arrangement.
Pro Tip: Use an online room planner for a digital layout!
Why this matters: A clear understanding of your space sets the foundation for efficient organization.
Time estimate: 30 minutes.
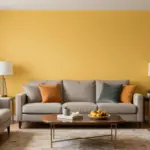
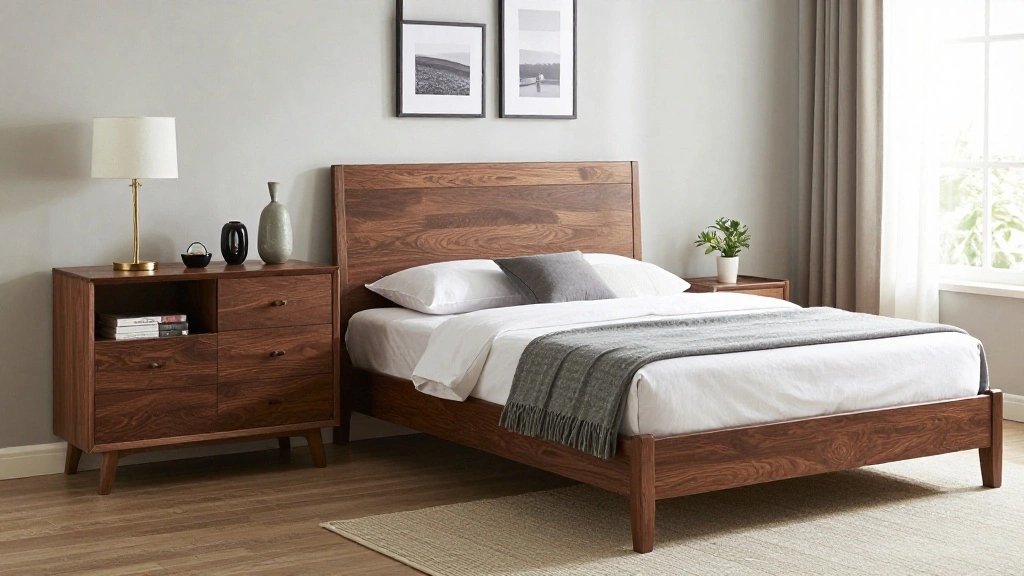
Step 2: Choose a Focal Point
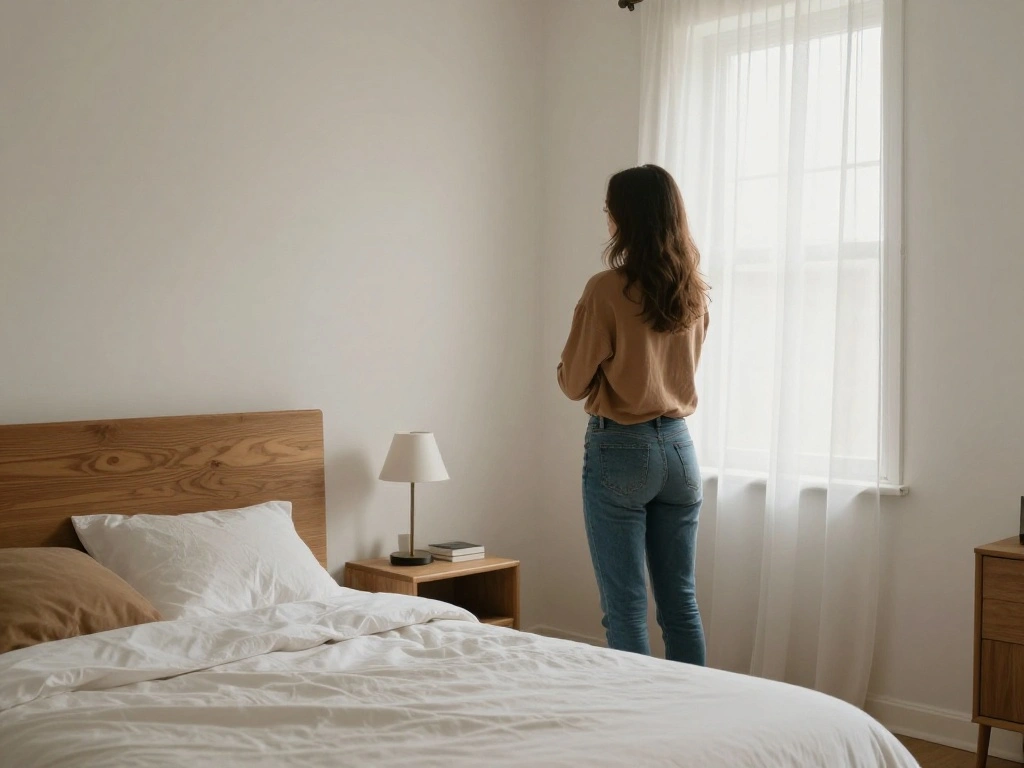
Selecting a focal point is essential to creating a cohesive design. This could be your bed, a piece of artwork, or a window view.
- Consider what draws your eye when you enter the room.
- Position your bed against the wall opposite the door for a welcoming feel.
- Ensure the focal point isn’t obstructed by other furniture.
Pro Tip: If you have a beautiful view, position your bed to enjoy it!
Why this matters: Establishing a focal point helps guide your arrangement and creates a visually appealing room.
Time estimate: 20 minutes.
Step 3: Arrange Larger Furniture First
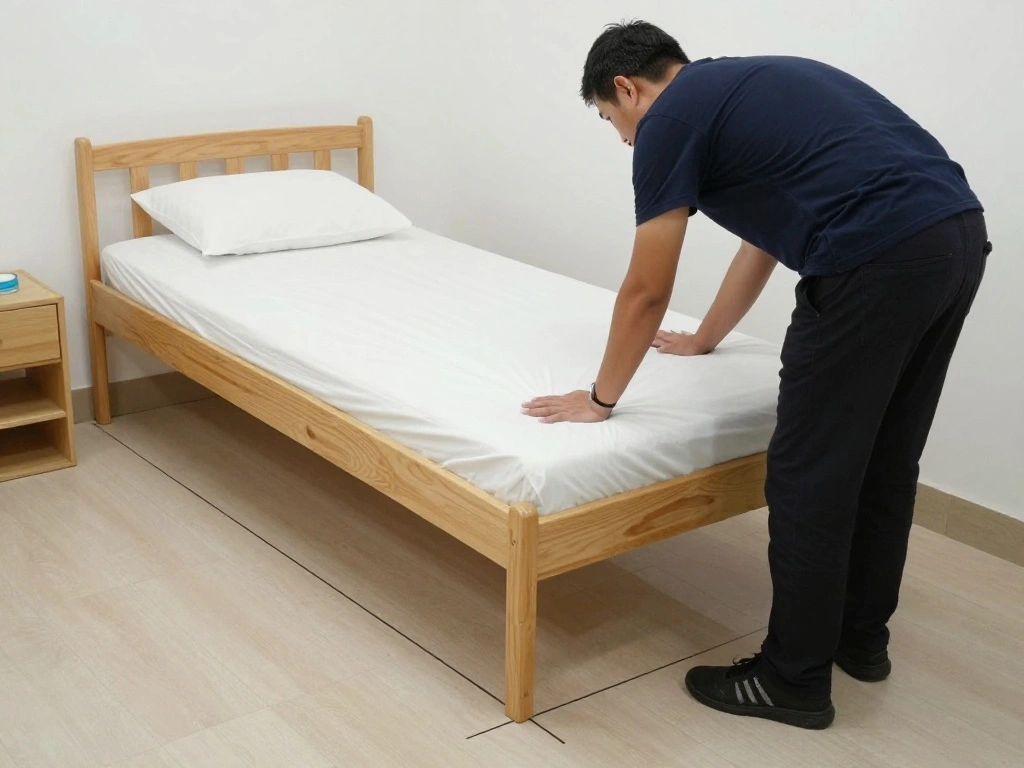
Now that you have a focal point, it’s time to arrange your larger pieces of furniture. This includes the bed, dresser, and any armoires.
- Position the bed first, ensuring ample space around it for movement.
- Place the dresser against a wall that allows easy access and complements the focal point.
- Keep pathways clear for easy navigation, aiming for at least 24 inches for walkways.
Pro Tip: Use painter’s tape to outline furniture dimensions on the floor before moving items!
Why this matters: Arranging larger items first creates a solid framework for the rest of the room.
Time estimate: 45 minutes.
Step 4: Incorporate Smaller Items
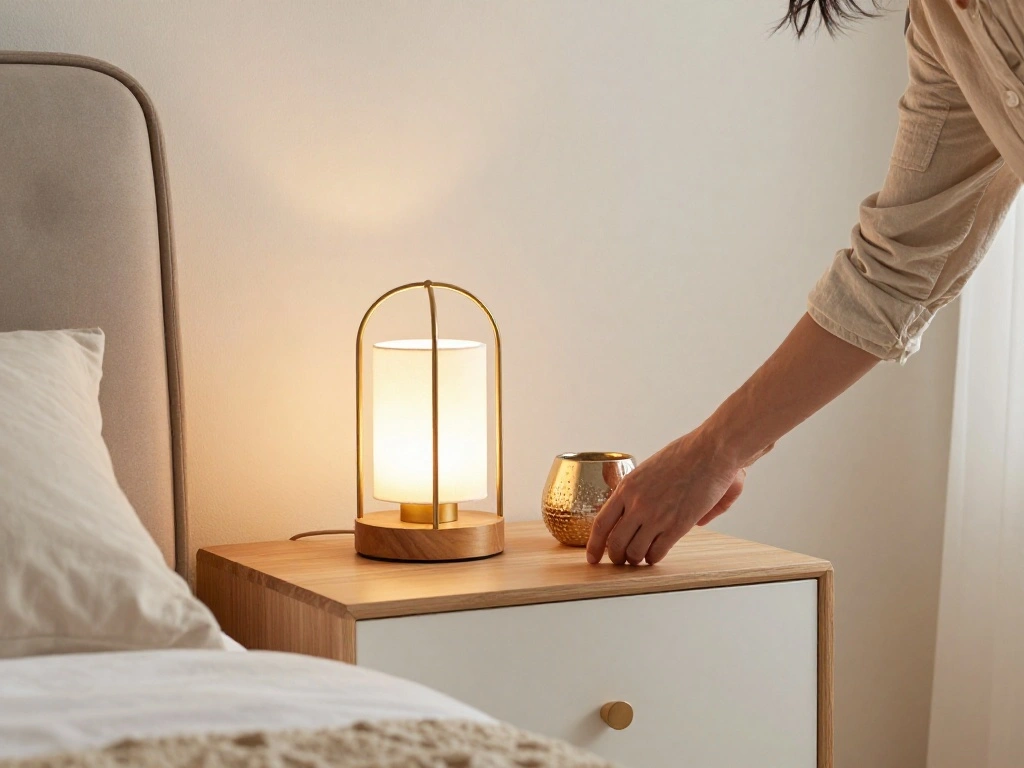
With larger furniture in place, it’s time to add smaller items like nightstands, chairs, and decorative pieces. This step enhances functionality and style.
- Place nightstands on either side of the bed for balance.
- Add a chair in a corner or near a window for relaxation.
- Incorporate decorative elements like lamps or artwork, keeping the overall theme in mind.
Pro Tip: Use multi-functional furniture to save space, like ottomans with storage!
Why this matters: Smaller items complete the look and improve usability, making the space feel finished.
Time estimate: 30 minutes.
Step 5: Utilize Vertical Space
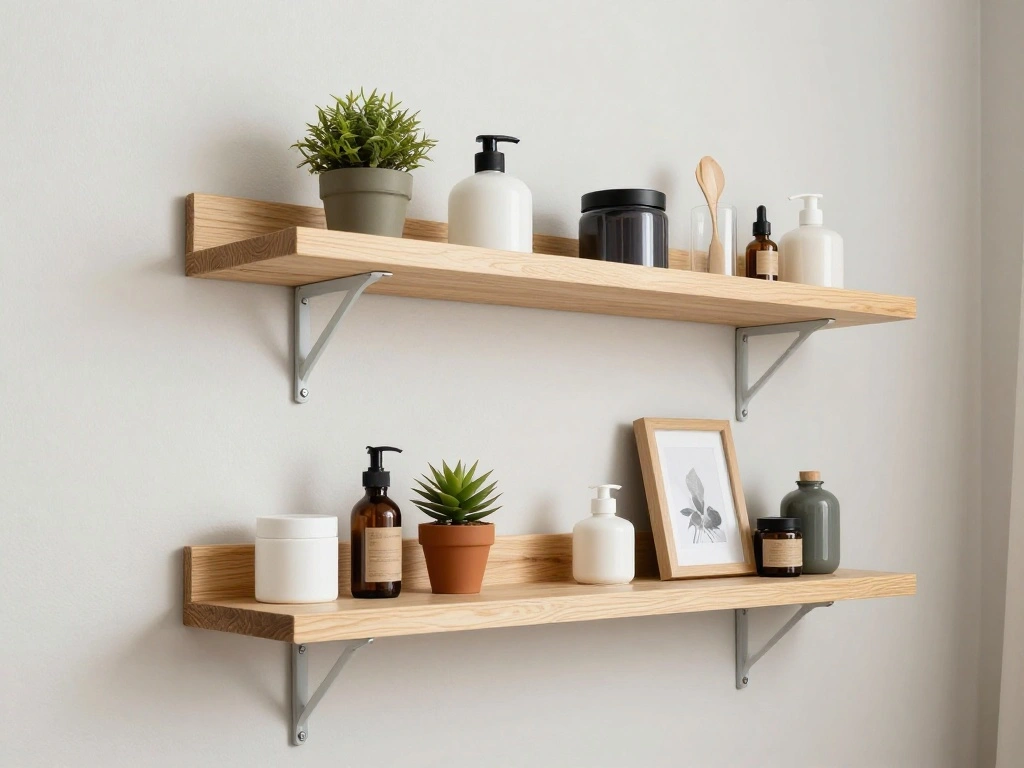
Don’t forget about vertical space! Wall-mounted shelves and hooks can free up floor space and provide additional storage.
- Install shelves above the bed or dresser for books or decor.
- Add hooks for bags, hats, or jewelry near the door or closet.
- Consider tall dressers to maximize storage without taking up much floor space.
Pro Tip: Use decorative baskets on shelves to keep items organized and visually appealing!
Why this matters: Utilizing vertical space increases storage and keeps your room organized.
Time estimate: 30 minutes.
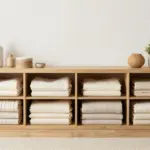
Step 6: Organize Storage Solutions

Effective storage is key to maintaining an organized bedroom. This step focuses on how to keep everything in its place.
- Sort items into categories (clothes, accessories, etc.) to decide what needs storage.
- Use bins or drawers to store smaller items neatly.
- Label boxes to find things quickly in the future.
Pro Tip: Consider under-bed storage for seasonal items or less frequently used items!
Why this matters: Organized storage reduces clutter and makes finding items easier, creating a serene environment.
Time estimate: 30 minutes.
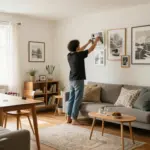
Step 7: Final Touches and Clean Up
Now that your furniture is arranged and organized, it’s time for the final touches and cleanup. This will polish your newly arranged bedroom.
- Dust and clean surfaces, ensuring all furniture shines.
- Add finishing touches like cushions, throws, or personal items to make it feel like home.
- Step back and assess the arrangement; make minor adjustments if necessary.
Pro Tip: Keep a small basket for items that don’t belong in your bedroom to maintain organization!
Why this matters: Final touches enhance comfort and style, making your bedroom a welcoming space.
Time estimate: 30 minutes.
Pro Tips
- Layer Lighting: Use a mix of ambient, task, and accent lighting for a cozy feel.
- Keep it Simple: Less is more; avoid overcrowding surfaces with too many items.
- Regular Maintenance: Dedicate 10 minutes daily to tidy up and keep things organized.
- Personalize: Incorporate personal items that reflect your style, making the space uniquely yours.
- Test Arrangements: Don’t hesitate to rearrange if something doesn’t feel right; comfort is key!
Common Mistakes to Avoid
Warning: Avoid placing furniture too close to the walls, which can limit flow and space. Instead, maintain distance for ease of movement.
Warning: Don’t overcrowd your nightstand; keep only essentials to avoid chaos.
Warning: Skipping storage solutions can lead to clutter; invest in multifunctional items.
Warning: Ignoring vertical space can waste potential storage; utilize wall areas as much as possible.
Warning: Forgetting to measure can result in awkward furniture arrangements; always check dimensions first.
Troubleshooting Section
Problem: Feeling cramped after rearranging.
Solution: Evaluate your layout; try moving furniture away from walls for better flow.
Problem: Items not fitting in storage.
Solution: Reassess what you store; declutter and donate items you don’t use.
Problem: Discomfort with the arrangement.
Solution: Don’t hesitate to rearrange until it feels right; comfort is essential.
Problem: Difficulty finding items.
Solution: Label storage bins and drawers clearly for quick access.
Problem: Clutter returning quickly.
Solution: Implement a daily tidy-up routine to maintain organization.
Variations/Alternative Methods
1. Minimalist Method: Focus on fewer items and multifunctional furniture for a sleek look. Ideal for small spaces but requires discipline to avoid clutter.
2. Zen Approach: Prioritize tranquility with a decluttered space, using soothing colors and natural elements. Great for creating a calming environment.
3. Personalized Style: Integrate unique decor elements that reflect your personality, even if it means sacrificing some space. Use for a more vibrant, lived-in feel.
FAQs
What if I don’t have enough storage? Consider under-bed storage or vertical solutions like shelves to maximize space.
How long should I wait before rearranging again? Allow at least a few months to adapt to changes; if it still feels off, it’s okay to rearrange sooner.
Is it safe to stack items on top of each other? Yes, but ensure heavier items are on the bottom to prevent accidents.
What if I can’t find a suitable focal point? Use a decorative piece or an accent wall to create a visual anchor instead.
Can I mix furniture styles? Yes, mixing styles can create a unique ambiance; just keep a cohesive color scheme to tie it all together.
Conclusion
Congratulations on successfully organizing your bedroom furniture for maximum efficiency! You now have a space that not only looks great but also functions well for your daily needs.
As you enjoy your newly arranged sanctuary, consider maintaining your organization by regularly decluttering and adjusting as needed. Explore additional resources on home organization or interior design to further enhance your living space.
Remember, a well-organized bedroom leads to a more peaceful mind and better rest. Enjoy your space!