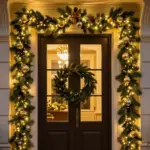
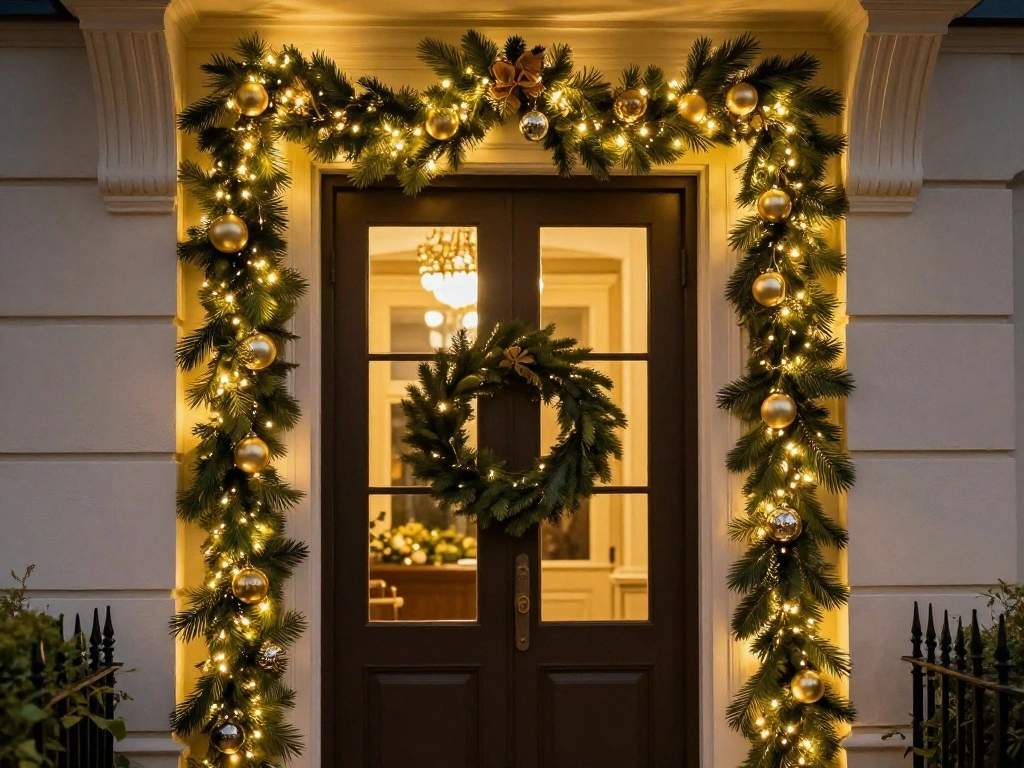
Are you tired of a bland living room doorway that lacks personality and charm? A beautifully hung garland from Hobby Lobby can transform your space, making it feel festive and inviting. Whether it’s for the holidays or just as a seasonal decoration, adding garland can elevate your home decor in a matter of minutes. In this guide, you’ll learn how to hang garland in a way that instantly beautifies your living room doorway.
Even if you have no prior decorating experience, this step-by-step guide will help you achieve a stunning look. You will discover the materials needed, easy steps to follow, expert tips, and common pitfalls to avoid. Difficulty level: beginner
Estimated time: 30 minutes.
Get ready to impress your guests with an eye-catching entrance that adds warmth and style to your home!
TL;DR Summary
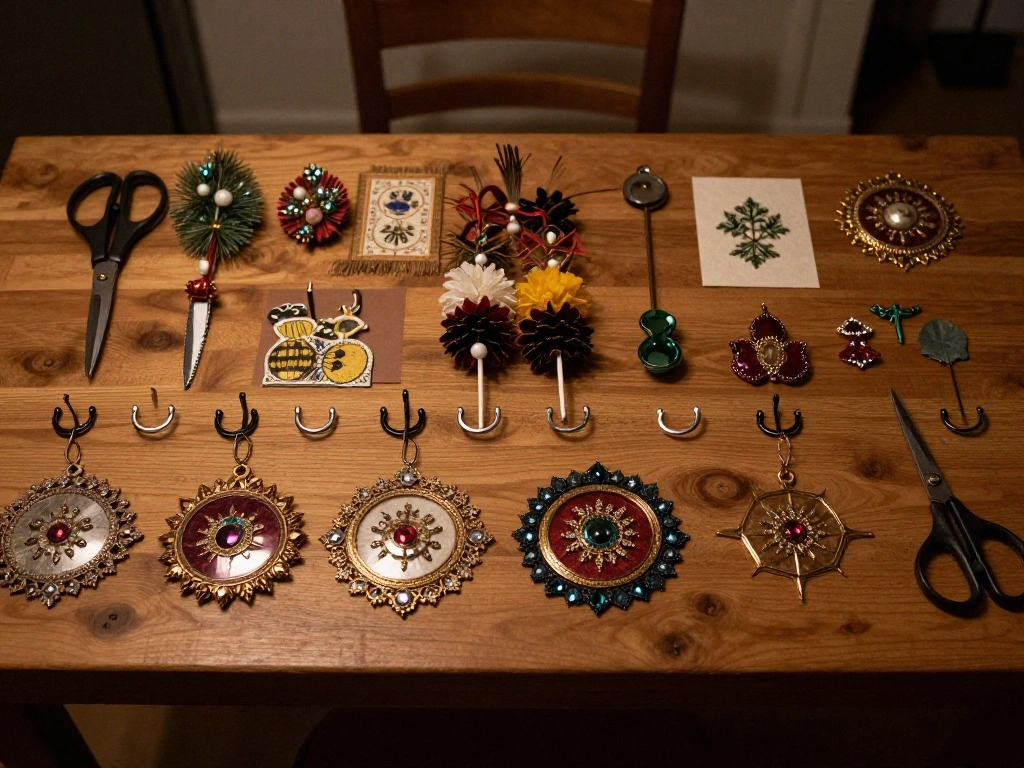
- Gather materials like garland, hooks, and scissors.
- Measure the doorway to determine garland length.
- Secure the garland using hooks or adhesive tape.
- Add embellishments for a personalized touch.
Prerequisites/Materials Needed
- Hobby Lobby garland (1 length appropriate for your doorway)
- Command hooks or adhesive tape (3-5 depending on garland length)
- Scissors (1 pair)
- Embellishments (optional: ribbons, ornaments, etc.)
- Measuring tape (1 piece)
Skill Level & Time Estimate
Skill Level: beginner
Total time estimate: 30 minutes.
Breakdown of steps:
– Gathering materials: 5 minutes
– Measuring doorway: 5 minutes
– Hanging garland: 15 minutes
– Adding embellishments: 5 minutes
Step 1: Gather Your Materials
Start by collecting all the materials you’ll need for this project. This ensures you have everything at hand and can work efficiently. Follow these steps:
1. Locate your Hobby Lobby garland.
2. Find command hooks or adhesive tape for hanging.
3. Grab a pair of scissors to cut the garland if needed.
4. Gather any embellishments like ribbons or ornaments to personalize your display.
Pro Tip: Choose garland that complements your existing decor for a cohesive look.
Why this matters: Having all your materials ready prevents interruptions during the project.
Estimated time for this step: 5 minutes.
Step 2: Measure Your Doorway
Accurate measurements are crucial for hanging garland that looks great. Follow these steps:
1. Use your measuring tape to measure the width of the doorway.
2. Note the measurement down, as this will determine how much garland you need.
3. If your garland is too long, plan to trim it to fit.
Warning: Ensure you measure carefully to avoid having too little or too much garland.
Why this matters: Proper measurements help you avoid an awkwardly fitted garland.
Estimated time for this step: 5 minutes.
Step 3: Prepare the Hooks or Adhesive Tape
Setting up your hooks or tape is essential for a secure hang. Do the following:
1. If using command hooks, peel the adhesive backing and stick them to the top corners of the doorway.
2. If using adhesive tape, cut small strips and place them where you’ll hang the garland.
3. Ensure that the hooks or tape are level for an even look.
Pro Tip: Use multiple hooks for longer garlands to distribute the weight evenly.
Why this matters: Properly installed hooks or tape ensure your garland stays put without sagging.
Estimated time for this step: 5 minutes.
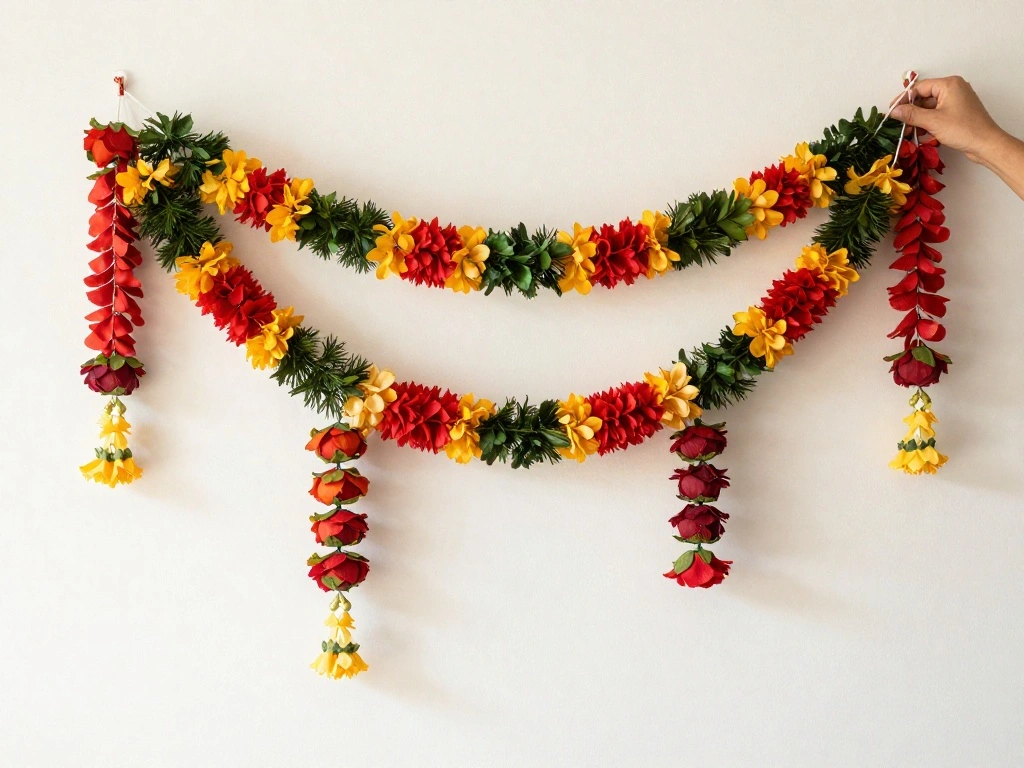
Step 4: Hang the Garland
Now it’s time to hang your garland. Follow these steps for a seamless process:
1. Start at one side of the doorway and gently place the garland onto the hooks or tape.
2. Gradually work your way across to the other side, ensuring the garland drapes evenly.
3. If needed, trim the garland at the end for a perfect fit.
Warning: Be cautious as you hang the garland to avoid it falling or damaging your walls.
Why this matters: A well-hung garland enhances the visual appeal of your doorway.
Estimated time for this step: 15 minutes.
Step 5: Adjust for an Even Look
After hanging your garland, take a step back and assess the look. Here’s how to adjust:
1. Look for any areas where the garland appears uneven or sagging.
2. Gently adjust the garland on the hooks or tape to create a balanced appearance.
3. If you have excess garland, trim it to achieve the desired length.
Pro Tip: Use clips to secure loose areas if needed.
Why this matters: A balanced garland makes a more polished and professional appearance.
Estimated time for this step: 5 minutes.
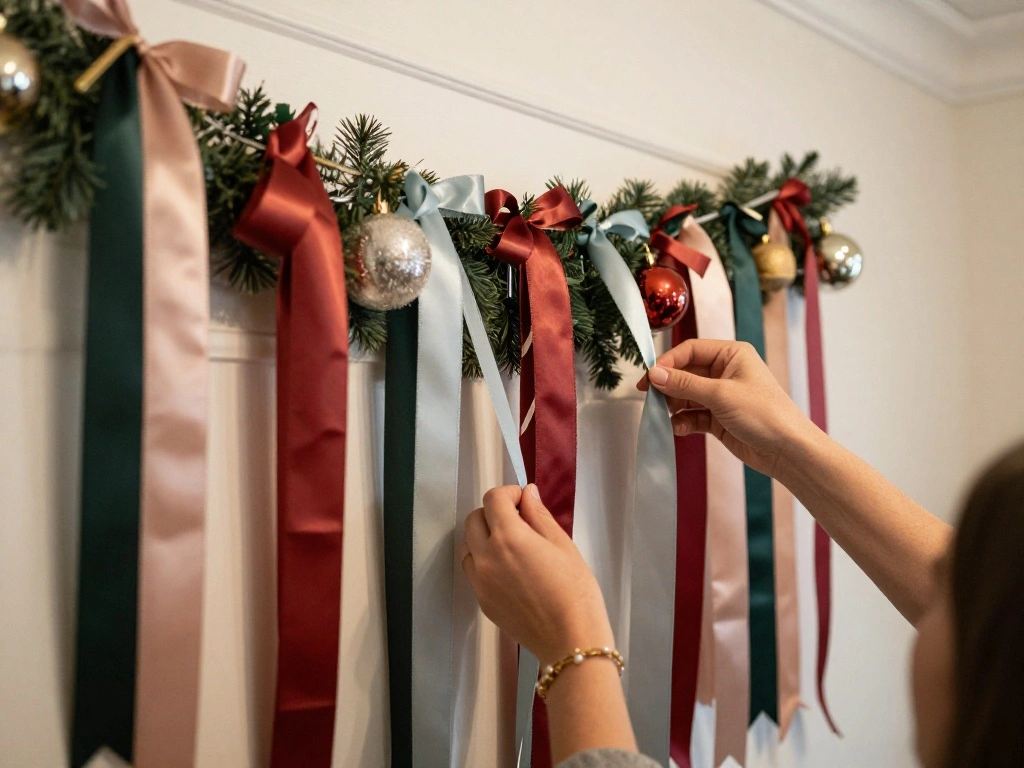
Step 6: Add Embellishments
Enhance your garland’s appearance by adding personal touches. Follow these steps:
1. Choose your embellishments, such as ribbons or ornaments.
2. Attach them to the garland using ties or adhesive as appropriate.
3. Space them out evenly for a cohesive look.
Warning: Avoid overcrowding the garland with too many decorations; it can look cluttered.
Why this matters: Embellishments personalize your garland and give it a unique flair.
Estimated time for this step: 5 minutes.
Step 7: Final Touches
Now it’s time for the finishing touches to ensure everything looks great. Here’s what to do:
1. Look closely for any loose ends or items that need adjusting.
2. Clean up the area around the doorway to highlight your new decoration.
3. Consider adding lights for a magical effect in the evening.
Pro Tip: Use battery-operated fairy lights for easy installation without the need for outlets.
Why this matters: Final touches make your decoration stand out and appear professionally done.
Estimated time for this step: 5 minutes.
Step 8: Enjoy Your Stunning Decor
Congratulations! You’ve successfully hung your garland. Here’s how to enjoy your new decor:
1. Step back and admire your handiwork.
2. Share your creation with friends or on social media to inspire others.
3. Consider changing your garland with the seasons for a fresh look year-round.
Warning: Regularly check the garland for wear and tear, especially if you use it seasonally.
Why this matters: Enjoying your decor allows you to appreciate the effort you put into creating a beautiful space.
Estimated time for this step: 5 minutes.
Pro Tips
- Choose Versatile Garland: Opt for garland that can be used in various seasons.
- Layer Textures: Combine different garlands for added depth.
- Use Natural Elements: Incorporate pinecones or berries for a rustic feel.
- Plan for Lighting: Consider how natural light will affect your decorations.
- Seasonal Swaps: Change decorations regularly to keep your space fresh.
Common Mistakes to Avoid
Warning: Hanging garland too low can obstruct views. Always check the height before securing.
Warning: Using too few hooks may lead to sagging. Ensure you use enough to support the weight.
Warning: Forgetting to check measurements can result in an ill-fitting garland. Measure twice before cutting.
Warning: Overloading with decorations can make it look cluttered. Choose a few statement pieces instead.
Warning: Not securing the garland properly can lead to accidents. Test its stability before finishing up.
Troubleshooting Section
Problem: The garland keeps falling.
Solution: Ensure you used enough hooks and they are securely attached.
Problem: The garland looks uneven.
Solution: Adjust the placement on the hooks for balance.
Problem: The garland is too short.
Solution: Check your measurements; if too short, consider adding additional garland.
Problem: No space for hooks.
Solution: Use adhesive tape or command strips instead.
Problem: Decorations are falling off.
Solution: Ensure they are secured tightly or consider using stronger adhesive.
Variations/Alternative Methods
1. Use Wire Garland: Wire can be shaped and secured in various forms for unique designs.
2. Hang from a Curtain Rod: If you have one, this can create an elegant look.
3. Use a Wreath Hook: For a more decorative touch, consider a decorative wreath hook for hanging.
FAQs
What if I don’t have a measuring tape?
Use a ruler or any straight object that can help you gauge the width of the doorway.
How long should I hang the garland?
It should be long enough to drape elegantly across the entire width of the doorway without being too tight.
Is it safe to use adhesive tape on painted walls?
Yes, but check for any specific warnings on the tape packaging regarding paint types.
What if my garland is too long?
Simply trim it with scissors to fit your doorway perfectly.
Can I reuse the garland each season?
Yes, if stored properly, garland can be reused year after year.
Conclusion
You’ve transformed your living room doorway into a stunning focal point! By following these easy steps, you’ve created a warm and inviting atmosphere that can be enjoyed by family and friends. Remember to switch out your garland as the seasons change to keep your decor fresh and exciting.
Consider exploring other areas of your home to add more decorative touches. Happy decorating!